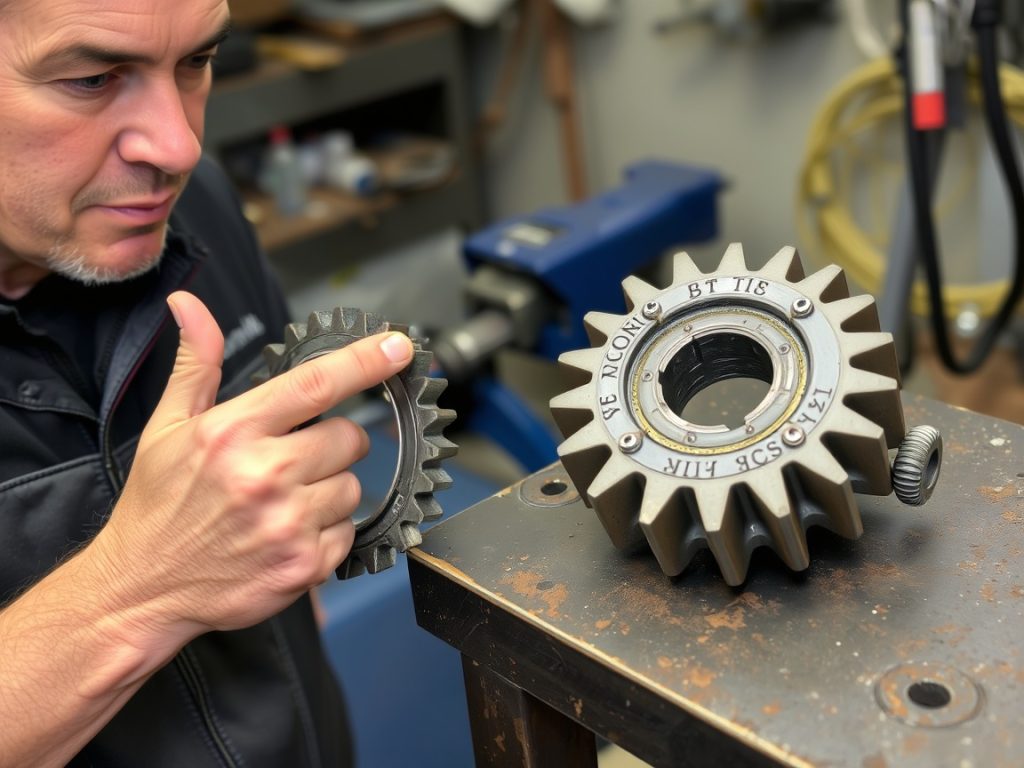
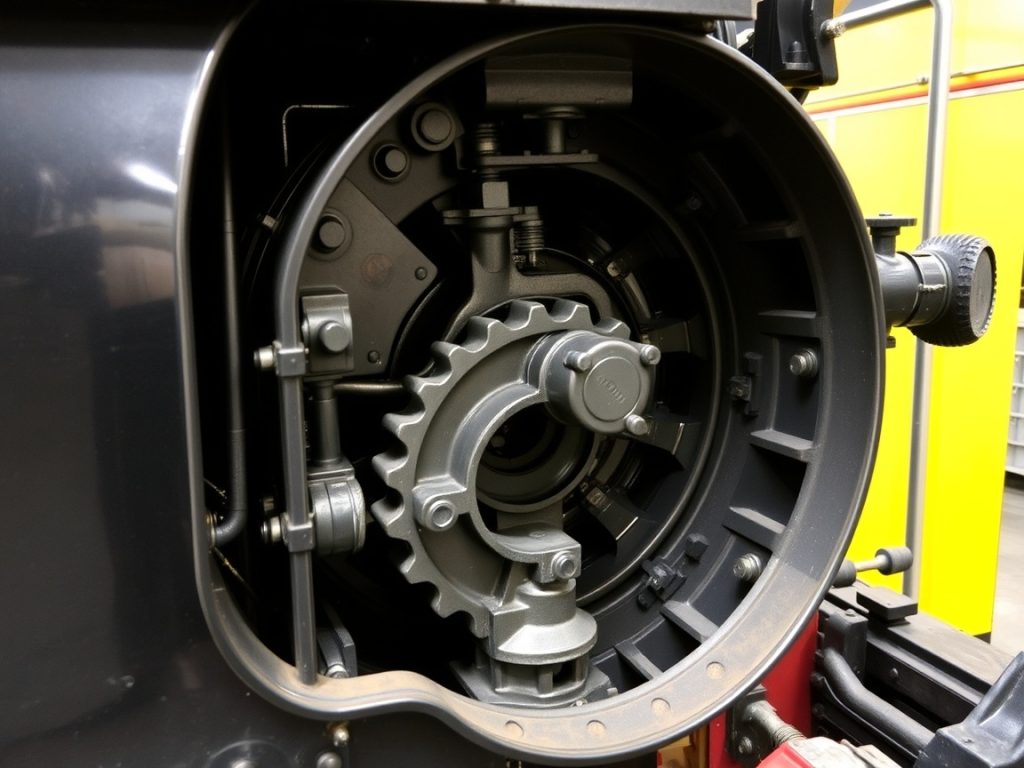
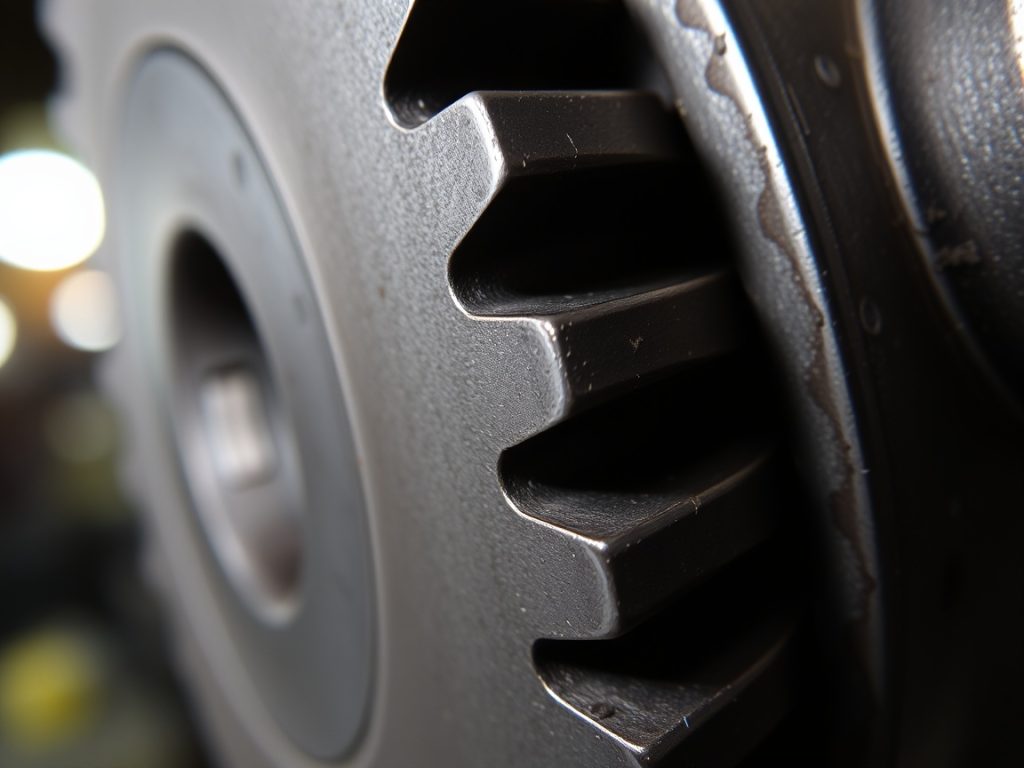
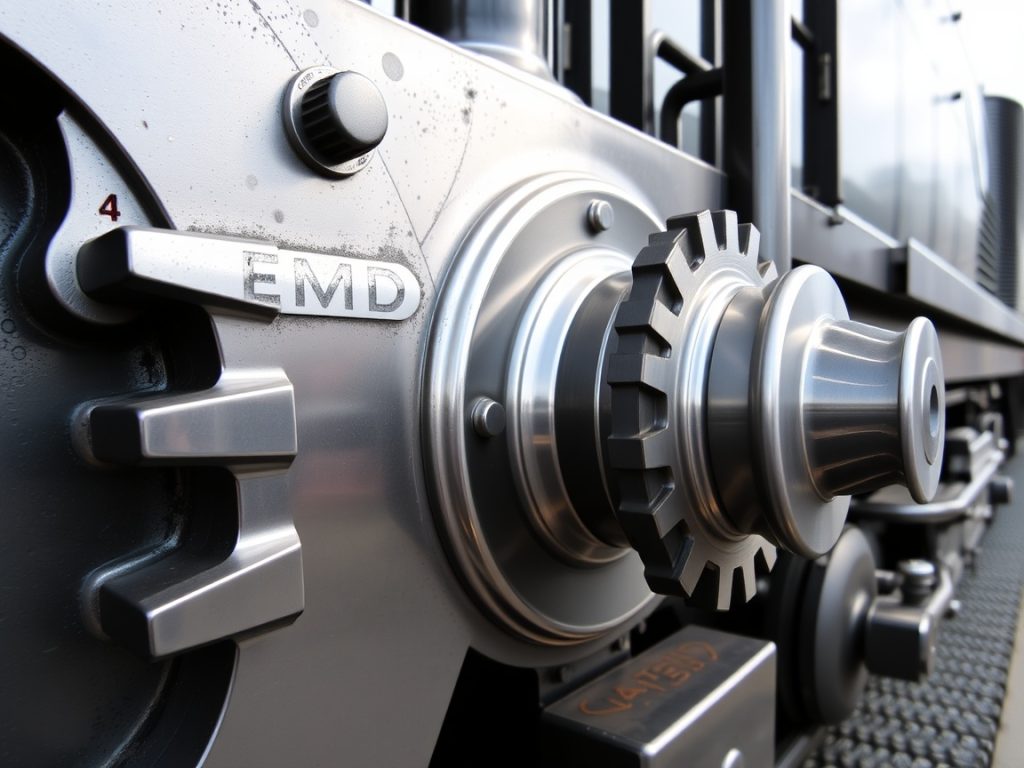
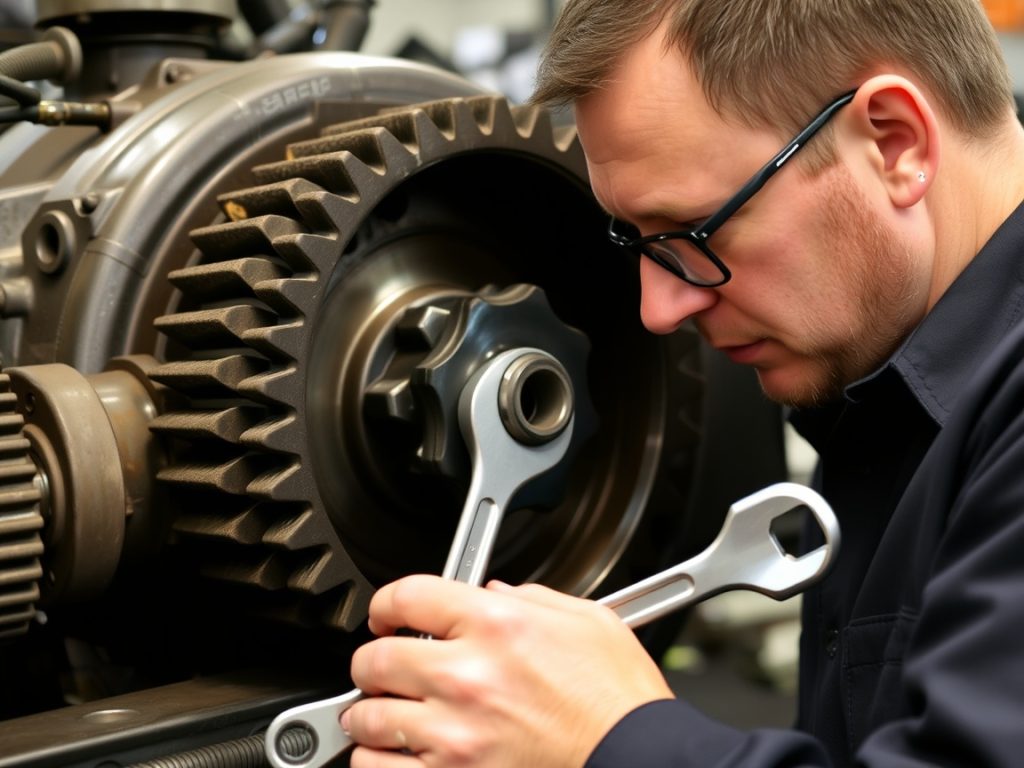
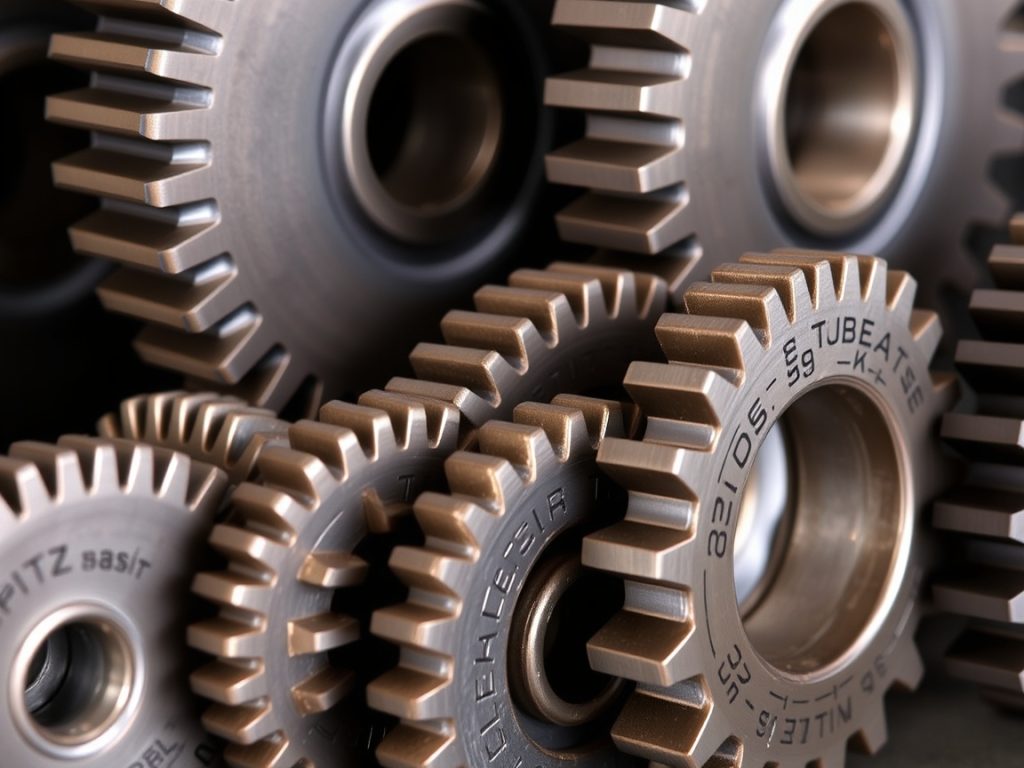
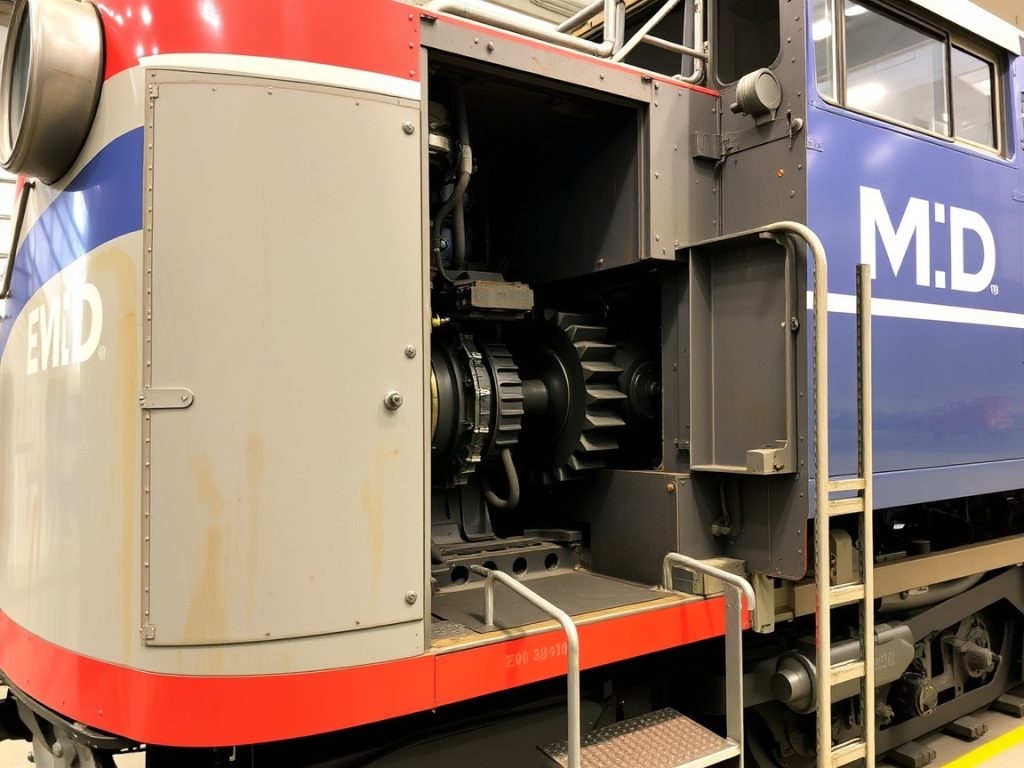
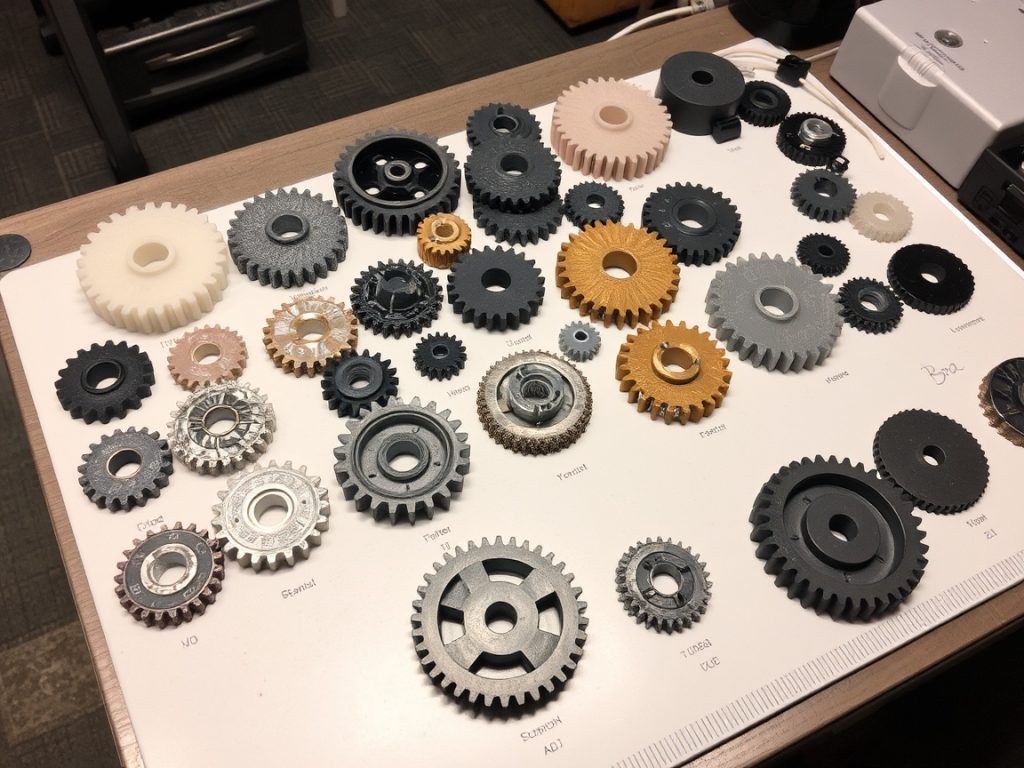
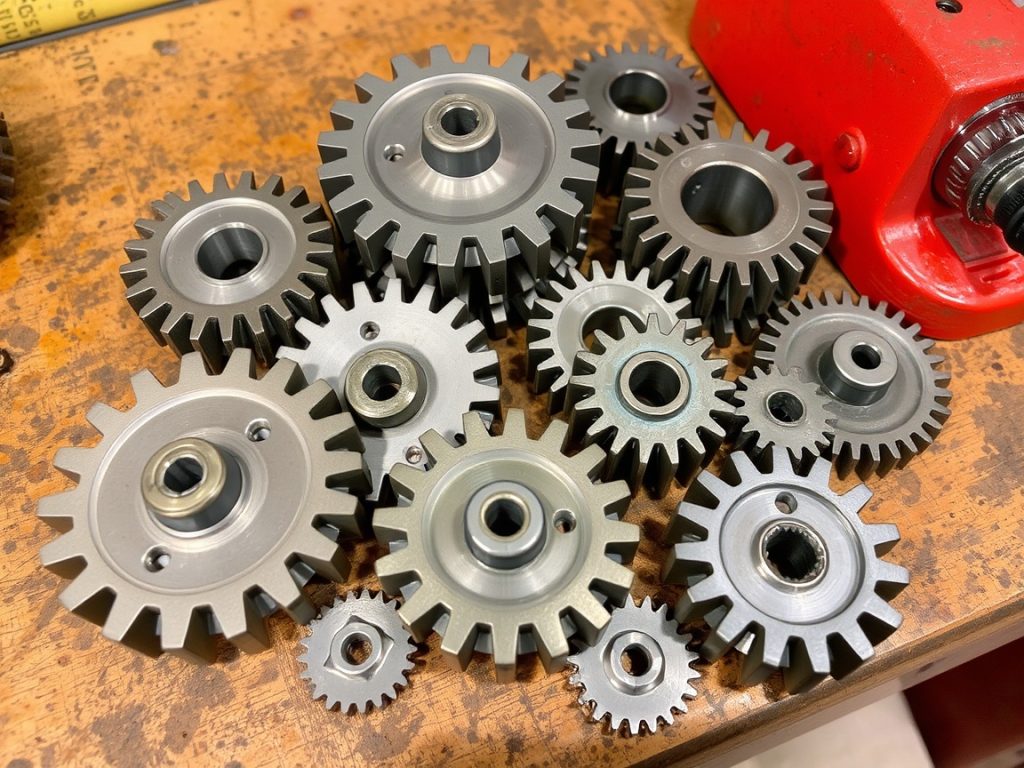
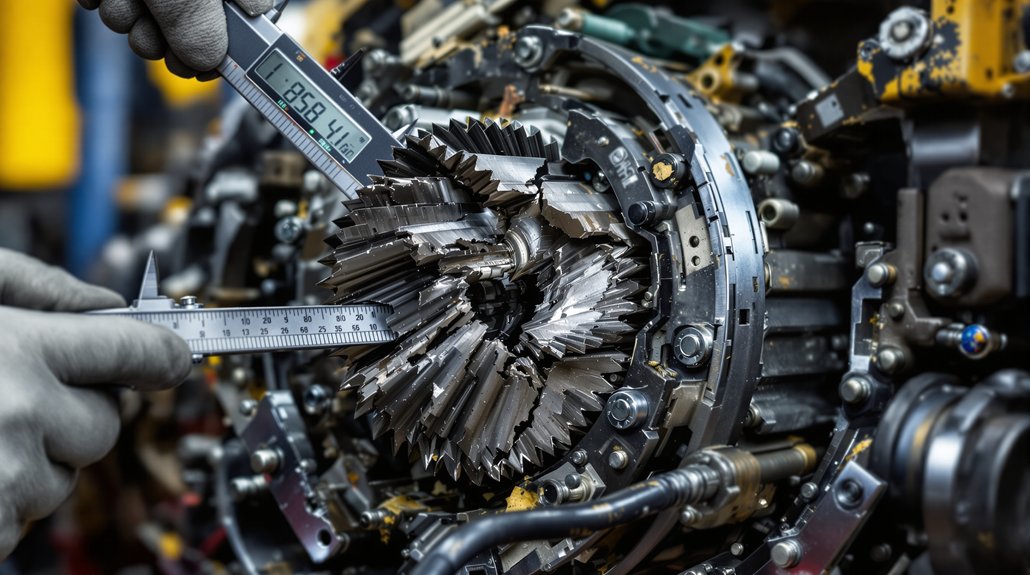
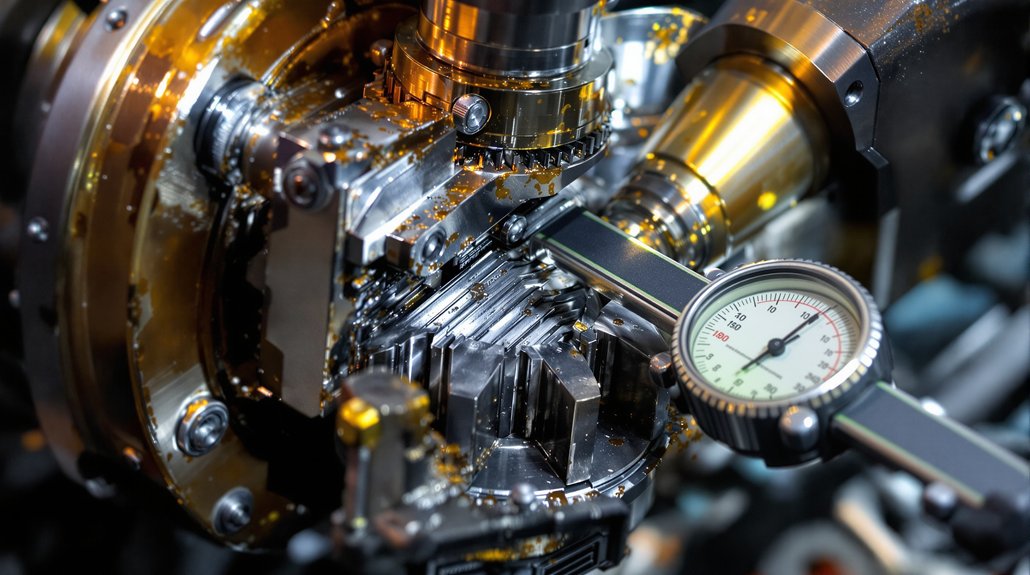
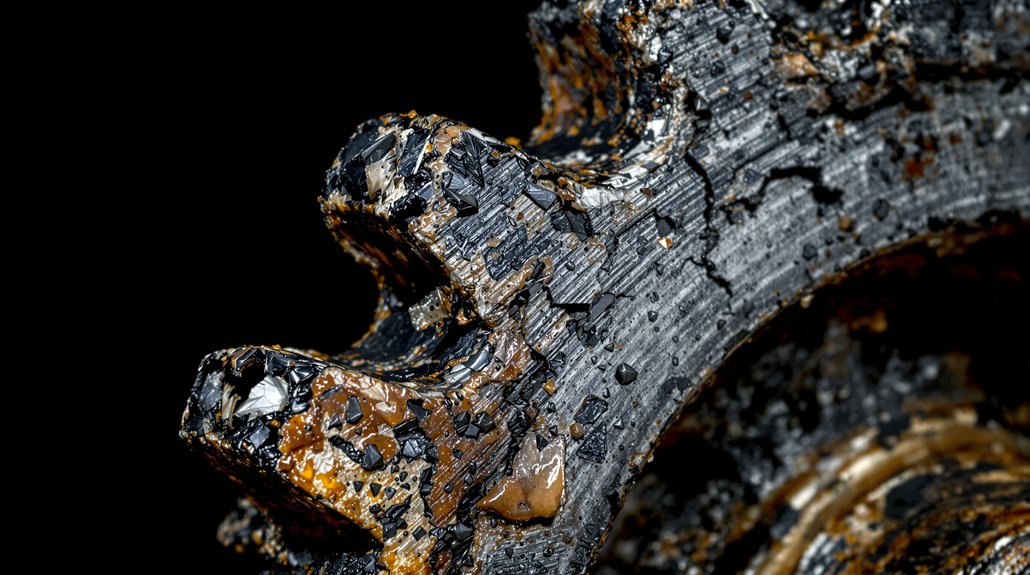
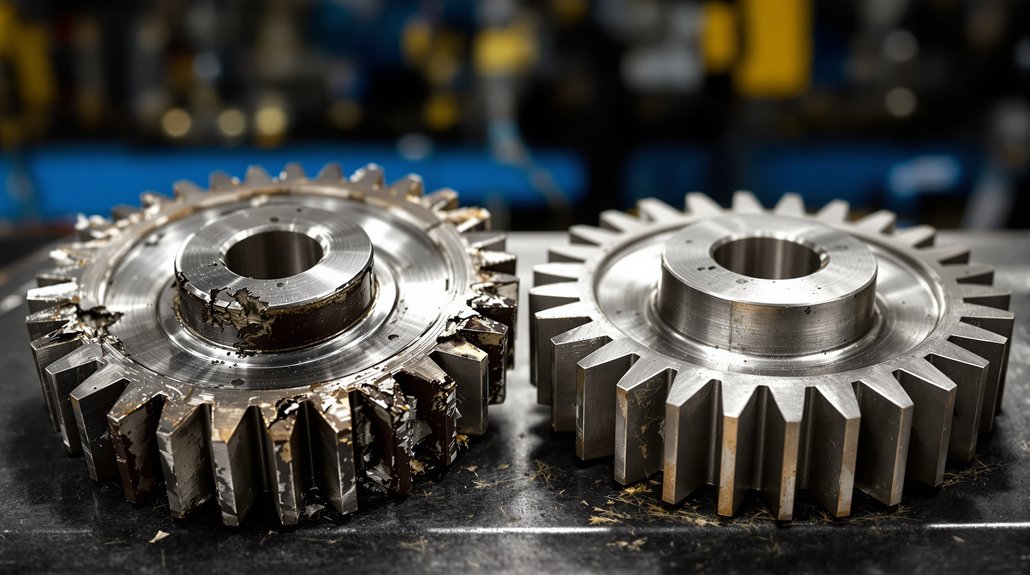
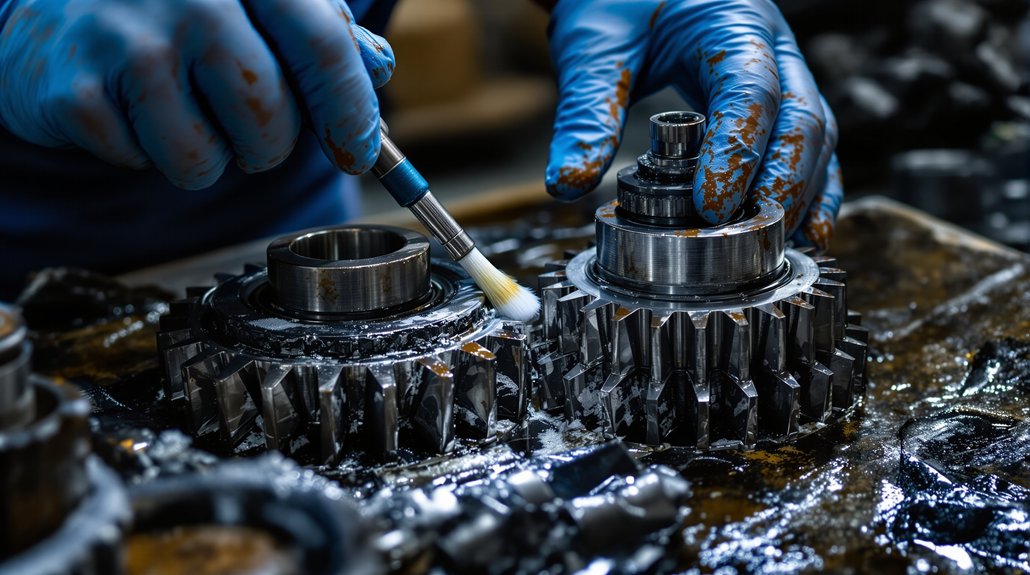
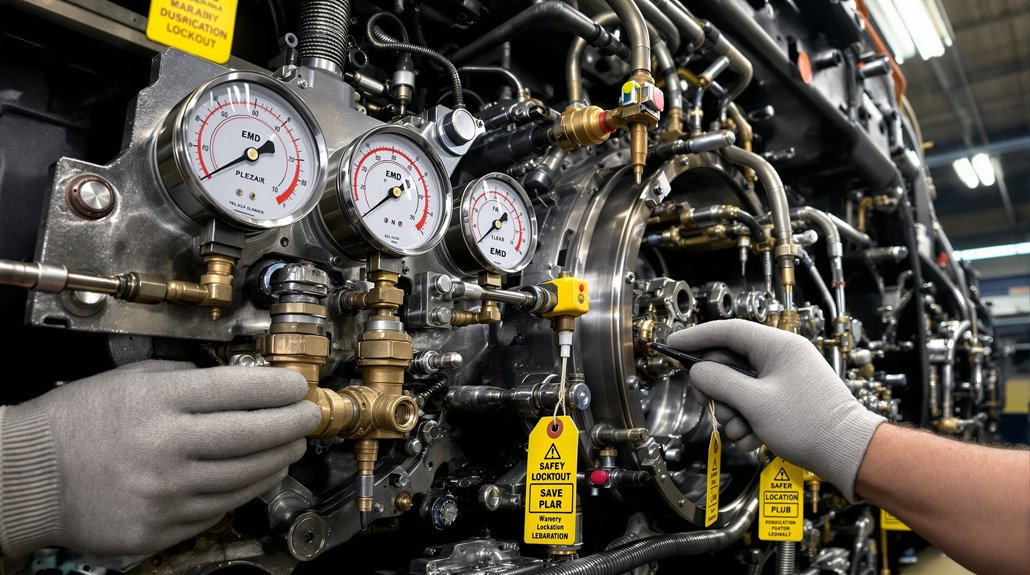
Locomotive traction motor pinion gears are critical components in the power transmission system of railway locomotives. This guide delves into the specifics of these vital parts, particularly within EMD (Electro-Motive Diesel) engines and axle systems. We will explore the function, importance, and maintenance of traction motor pinion gears to ensure optimal locomotive performance.
Understanding Locomotive Traction Motor Components
Locomotive traction systems consist of numerous interacting components. The engine generates power, which is then converted into rotational force to drive the wheels. The traction motor plays a vital role in converting electrical energy into mechanical energy. Understanding the various parts within the traction system is crucial for effective maintenance and troubleshooting, and Mikura International provides top quality parts.
What is a Traction Motor?
A traction motor is an electric motor used for propulsion in locomotives. Typically, these are DC traction motors or AC induction motors, selected for their robust performance and reliability in demanding industrial applications. The motor armature rotates, driving the gear system that ultimately turns the locomotive’s wheels. Mikura International supplies high-quality traction motors and associated parts for various locomotive models.
Importance of Pinion Gears in Locomotives
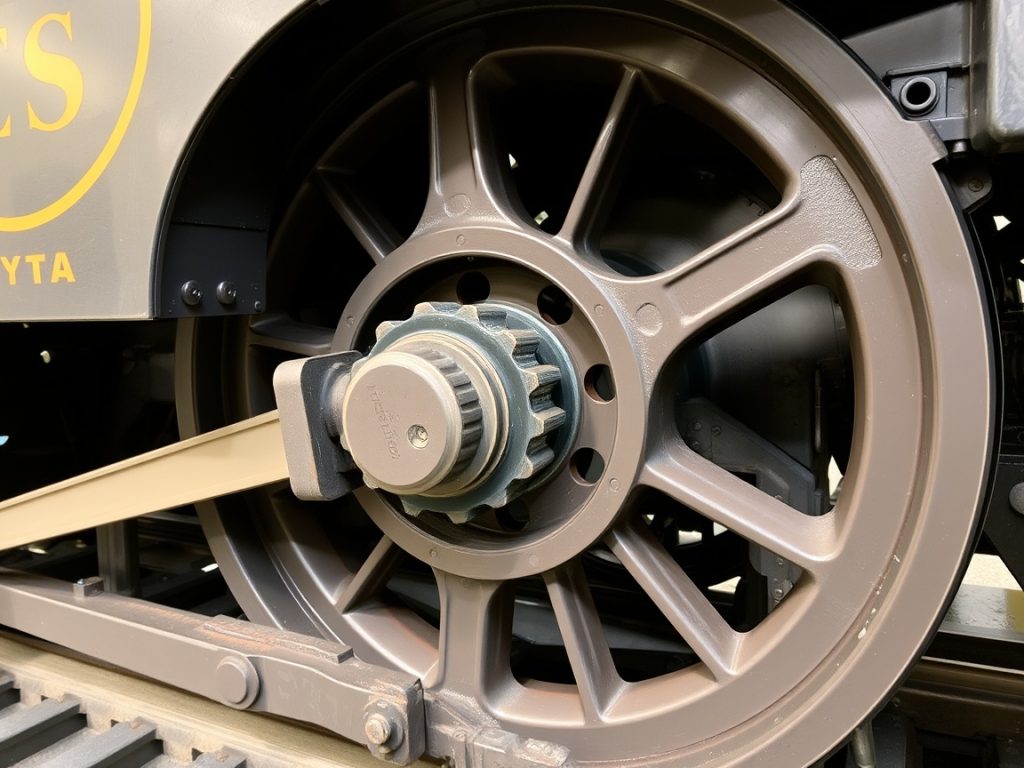
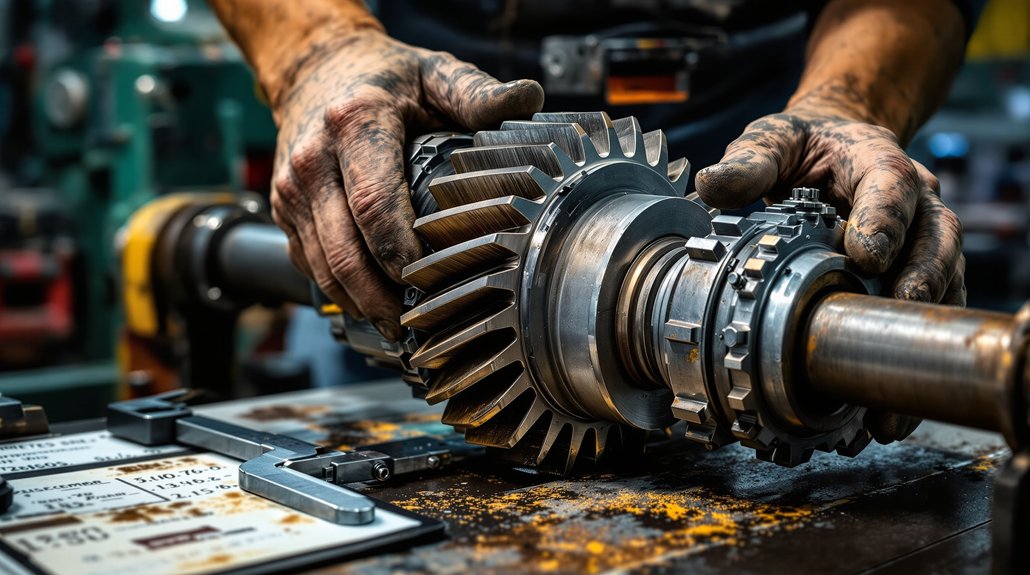
Pinion gears are essential for transmitting torque from the traction motor to the axle. The pinion gear is a small, toothed gear that meshes with a larger axle gear. This gear reduction system increases torque, providing the necessary force to move heavy trains. The material and manufacturing quality of the pinion gear are critical to its lifespan and performance, and Mikura International ensures its products meet the highest standards.
Overview of EMD Traction Motors
EMD locomotives are renowned for their reliability and power, and their traction motors are no exception. EMD traction motors are designed for demanding service and feature robust construction. Specific attention is paid to the design and material of the traction motor pinions, ensuring they can withstand the high stresses and wear associated with heavy-duty railway applications. Mikura International is a leading manufacturer of EMD locomotive parts, including traction motor pinion gears.
Details of EMD Pinion Gears
Specifications of EMD Traction Motor Pinion Gears
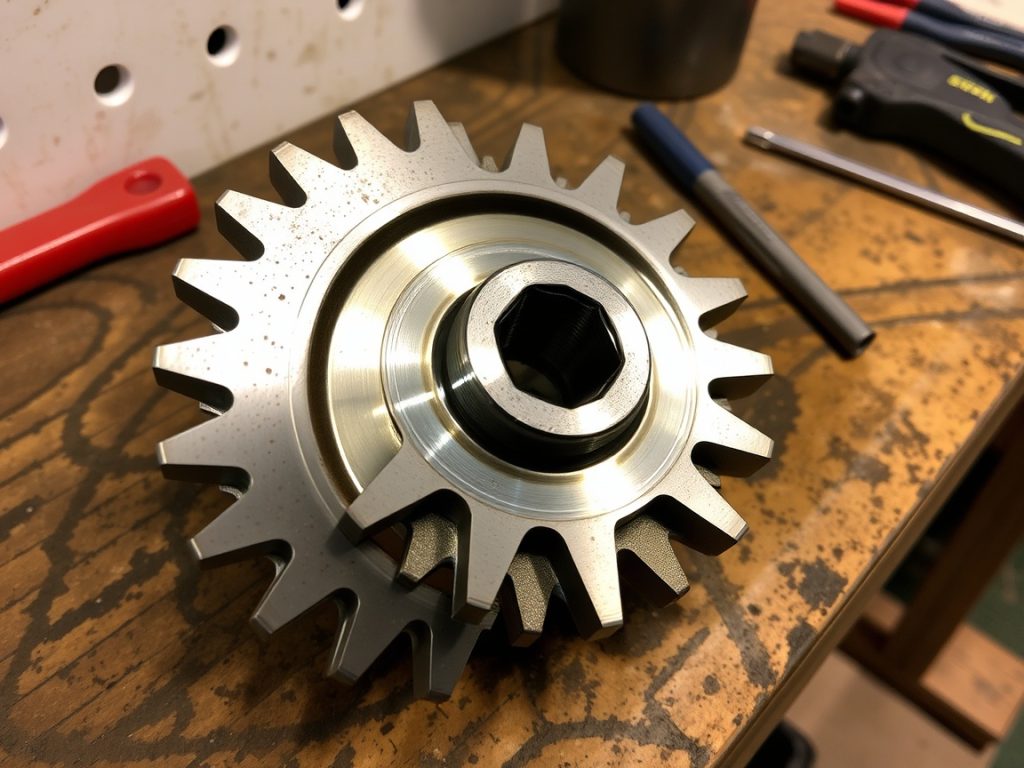
EMD traction motor pinion gears must meet precise specifications to ensure proper meshing and efficient power transfer. These specifications typically include the number of teeth, pitch diameter, pressure angle, and helix angle. The material and surface treatment are also carefully controlled to optimize wear resistance and fatigue strength. Mikura International offers pinion gears manufactured to the highest industry standards for EMD traction motors.
Common Materials Used in Pinion Gears
High-quality materials are essential for the durability and reliability of pinion gears. Common materials include alloy steels, which offer excellent strength and toughness. Surface hardening processes, such as case hardening or nitriding, are often used to improve wear resistance. Mikura International carefully selects materials for its pinion gear products to ensure optimal performance in demanding locomotive applications.
Design Considerations for High Performance
The design of high-performance pinion gears involves careful consideration of several factors. These include gear tooth geometry, load distribution, and lubrication. Finite element analysis (FEA) is often used to optimize gear design and minimize stress concentrations. Mikura International employs advanced engineering techniques to design pinion gears that deliver superior performance and longevity in EMD locomotive applications.
Maintenance of Locomotive Traction Motor Pinion Gears
Regular Inspection Practices
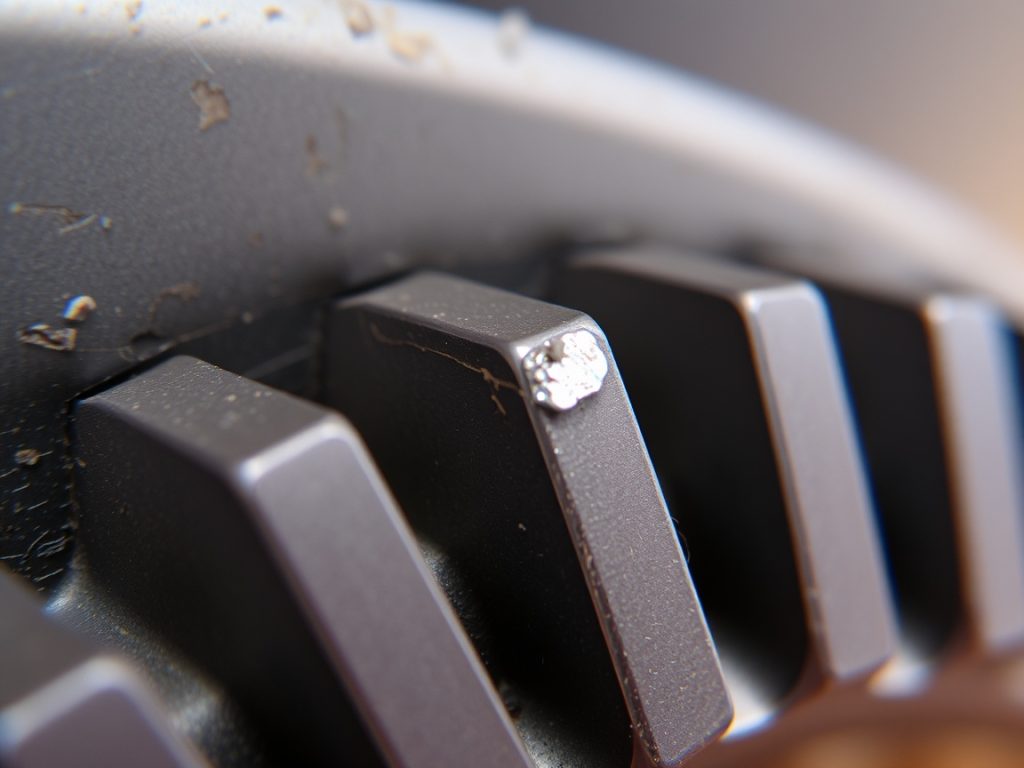
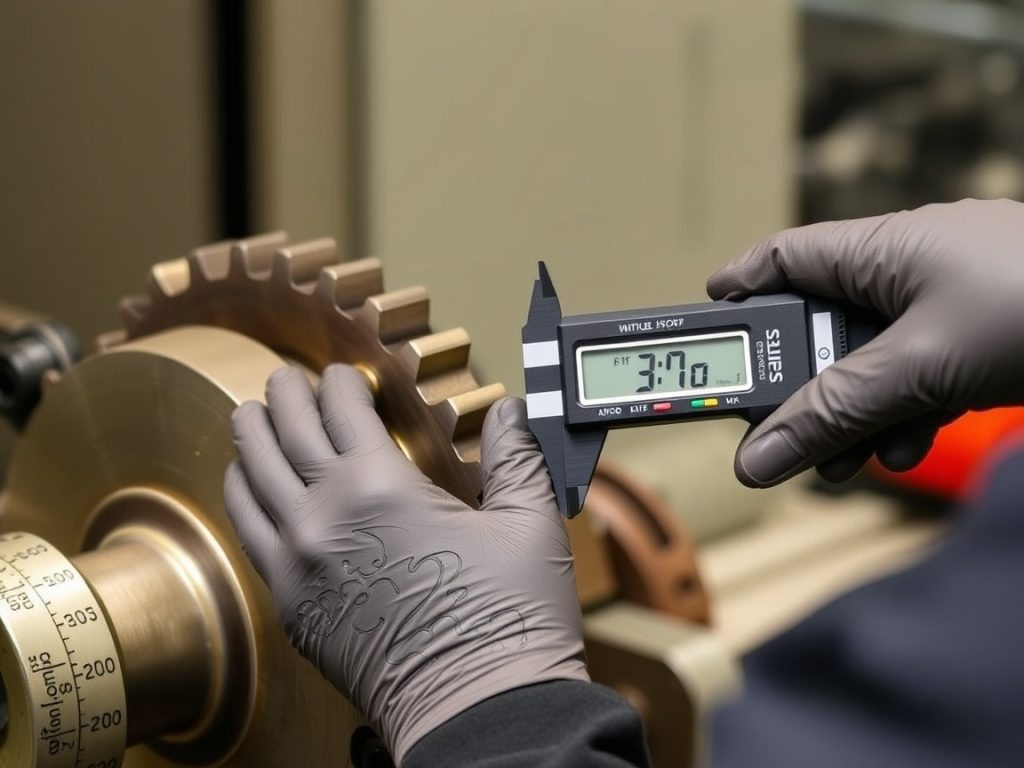
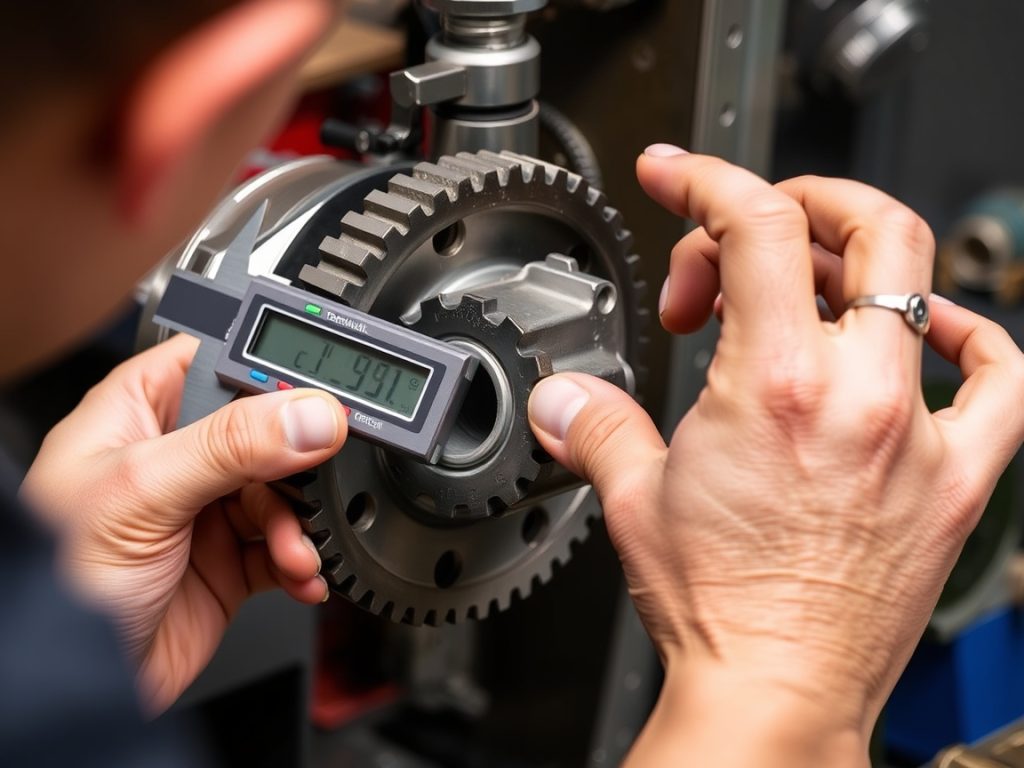
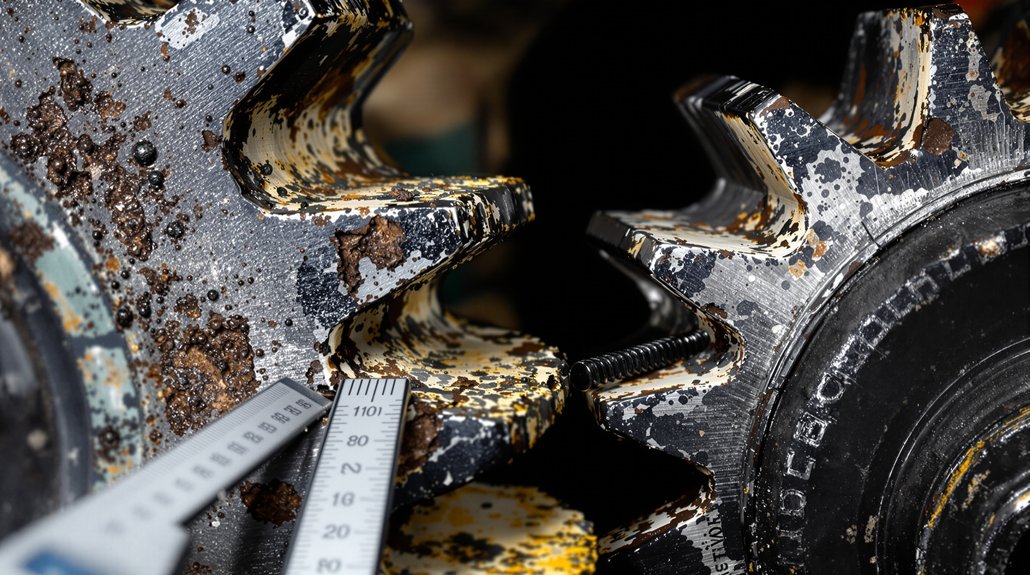
Regular inspection is crucial for identifying potential problems with pinion gears before they lead to failure. Visual inspections should include checking for signs of wear, such as pitting, spalling, or scoring on the tooth surfaces. Gear backlash should also be measured to ensure it is within specified limits. Mikura International recommends following a strict inspection schedule to maintain the health of your EMD locomotive traction motor pinion gears.
Identifying Wear and Tear on Pinion Gears
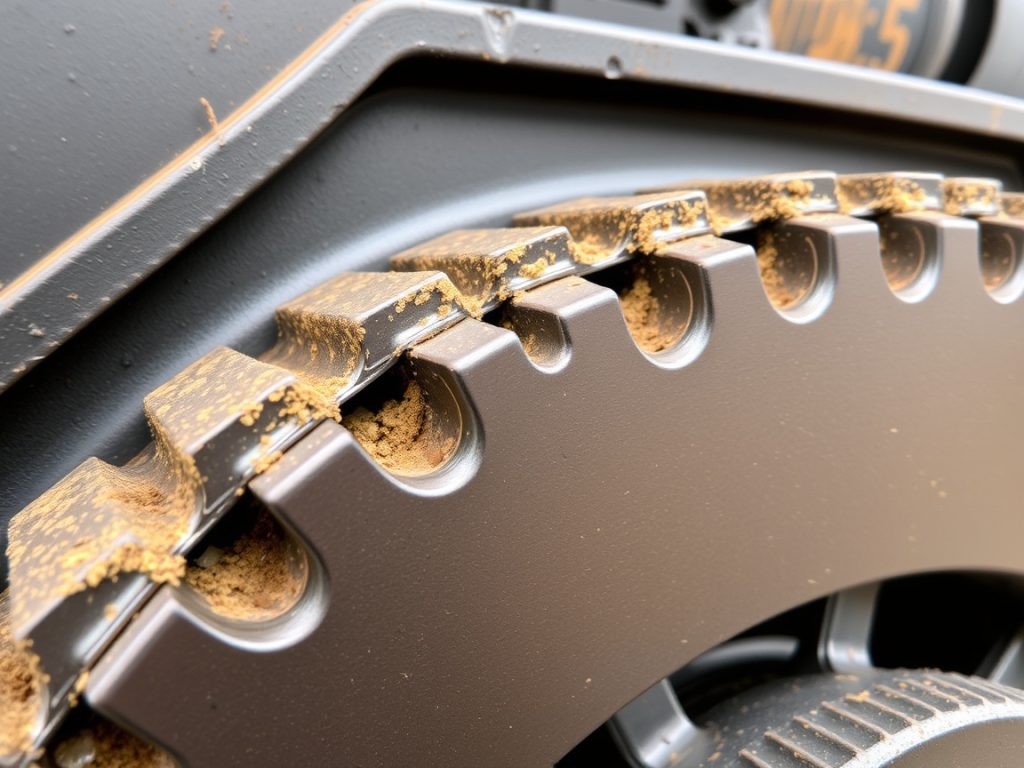
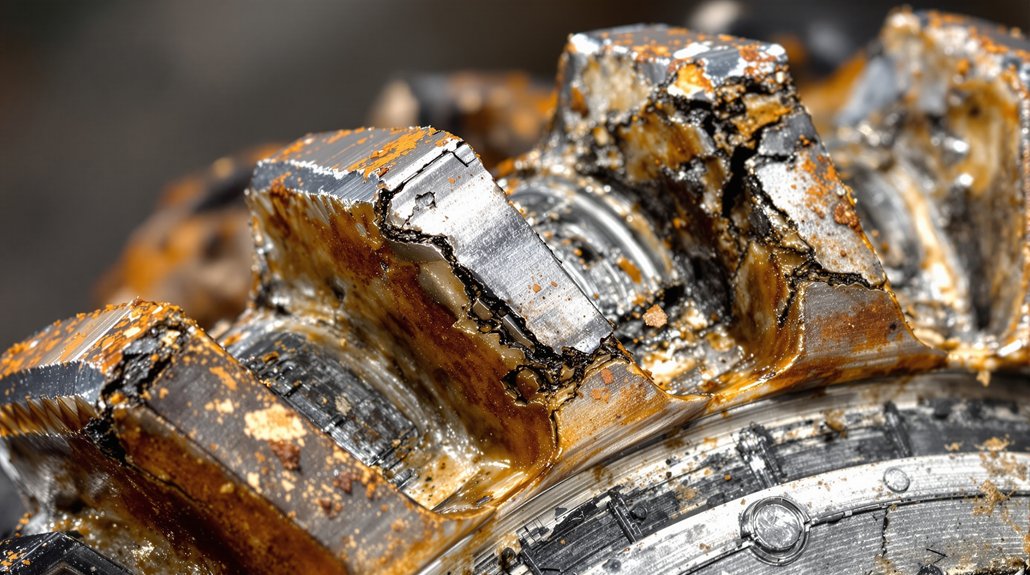
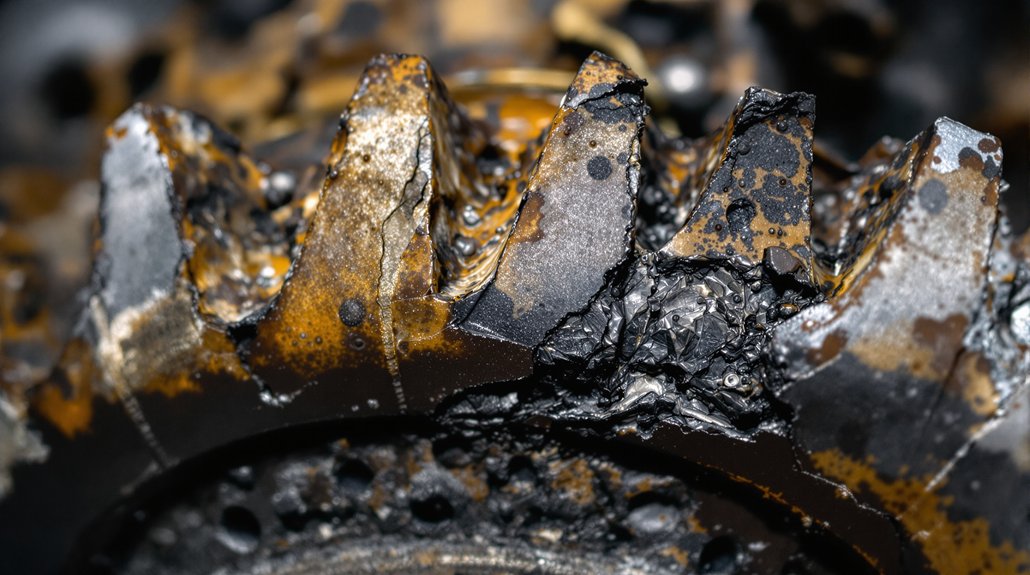
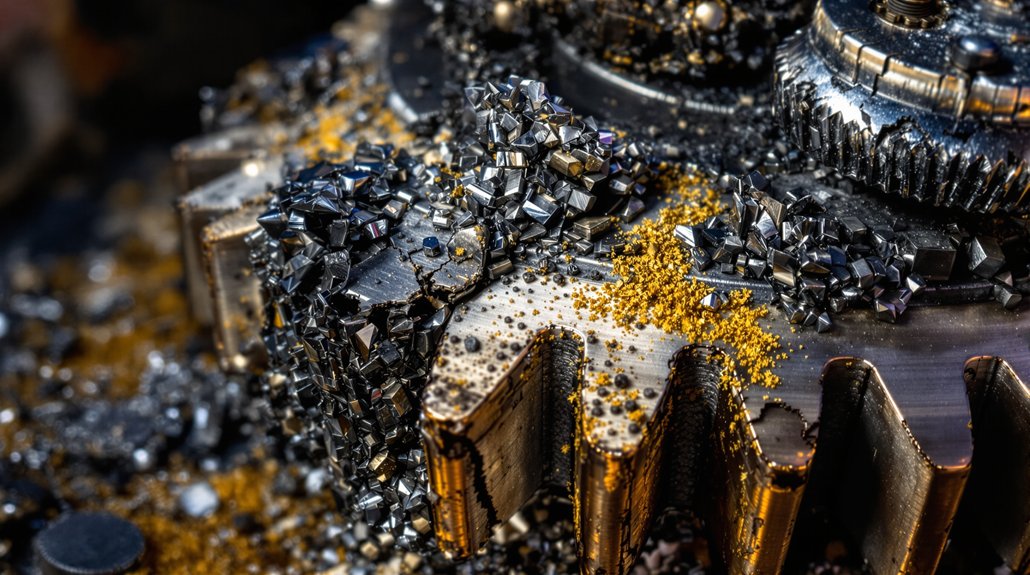
Several types of wear and tear can affect pinion gears, including abrasive wear, adhesive wear, and fatigue wear. Abrasive wear is caused by contaminants in the lubricant, while adhesive wear occurs due to metal-to-metal contact. Fatigue wear results from repeated stress cycles. Early detection of wear can prevent costly repairs and downtime, and Mikura International’s inspection guides provide detailed information on identifying these issues.
Best Practices for Longevity of Gear Parts
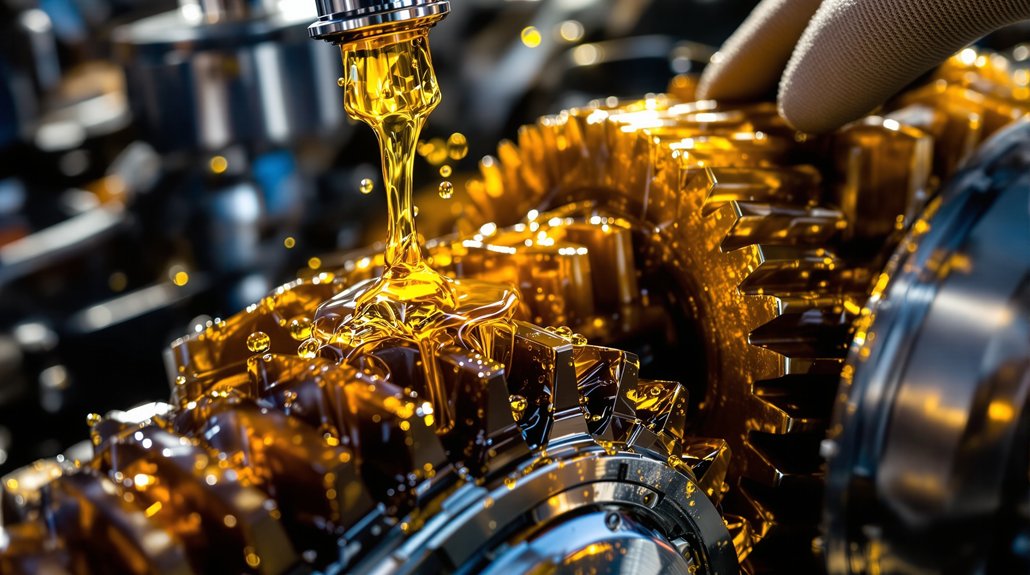
Proper lubrication is essential for maximizing the lifespan of pinion gears. Use high-quality lubricants that meet the equipment manufacturer’s specifications and ensure that the lubrication system is functioning correctly. Regularly inspect and maintain the lubrication system, and replace worn or damaged parts promptly. By following these best practices, you can significantly extend the service life of your EMD locomotive traction motor pinion gears. Mikura International offers complete maintenance solutions and high-quality replacement parts to keep your locomotive equipment running smoothly.
Choosing the Right Locomotive Parts
Factors to Consider When Selecting Pinion Gears
When selecting pinion gears for your locomotive, several factors come into play. It’s important to consider things like:
Material strength
Manufacturing precision
Intended application
High-quality alloy steel ensures durability under heavy loads, while precise machining guarantees proper meshing with the axle gear. Ensure the pinion gear is designed for the specific EMD traction motor model being used, and Mikura International provides expert guidance in choosing the right part.
How to Source Quality EMD Parts
Sourcing quality EMD parts requires careful vetting of suppliers. When selecting manufacturers, it’s important to check for key indicators of reliability:
Certifications and adherence to industry standards.
Mikura International stands out as a trusted source, offering EMD traction motor pinion gears that meet or exceed OEM specifications. Our extensive experience in the railway industry ensures you receive only the best products and service.
Benefits of Choosing Mikura International for Your Locomotive Needs
Choosing Mikura International for your locomotive needs offers numerous benefits. Specifically, you can expect advantages in several key areas:
High-quality EMD traction motor pinion gears designed for optimal performance and longevity.
Expert support for engine and axle maintenance.
Our commitment to quality, precision manufacturing, and excellent customer service sets us apart. Trust Mikura International to keep your locomotive equipment running smoothly with our superior products.
Conclusion and Key Takeaways
Axle mounted pinion gears are crucial components in EMD locomotives, playing a significant role in the operation of traction motors. These pinion gears engage with axle gears to transmit power effectively from the engine to the wheels. The quality of the materials used in the manufacturing of these parts directly impacts the performance and longevity of the locomotive.
In industrial applications, the precision of the tooth design on pinion gears ensures optimal engagement, reducing wear and enhancing service efficiency. EMD traction motor pinion gears are specifically engineered to withstand the demanding conditions of railway operations, making them a vital product for manufacturers and maintenance teams alike. Regular inspection and maintenance of these components are essential to maintain the reliability and performance of locomotive parts, ensuring that the engine operates smoothly and efficiently.
Summary of EMD Traction Motor Pinion Gear Importance
EMD traction motor pinion gears are crucial for efficient power transmission in locomotives. Their material, design, and maintenance significantly impact overall locomotive performance and reliability. Choosing high-quality gears and implementing proper maintenance practices are essential for maximizing the lifespan of these parts and ensuring smooth operation of the locomotive.
Final Tips for Locomotive Maintenance
For optimal locomotive maintenance, regularly inspect pinion gears for wear and tear. Ensure proper lubrication with high-quality lubricants designed for heavy-duty industrial applications. Replace worn parts promptly and adhere to a strict maintenance schedule. Trust Mikura International for all your EMD locomotive parts needs, including traction motor pinions and engine gears.
Contact Information for Expert Consultation
For expert consultation on EMD locomotive parts, including traction motor pinion gears, contact Mikura International. Our experienced team can provide guidance on selecting the right products for your specific application and offer maintenance tips to maximize the lifespan of your locomotive equipment. Reach out today to ensure your railway operations are supported by the best quality parts and service available in the industry.
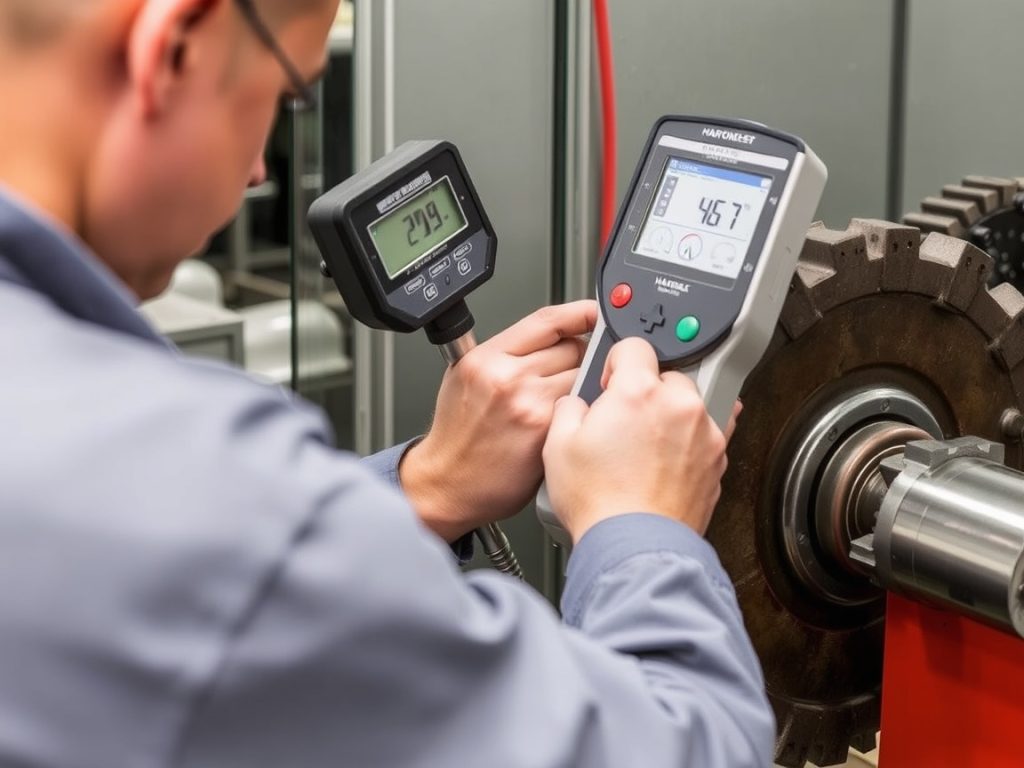
Locomotive gear hardness is a critical factor in ensuring the efficient and safe operation of railway systems. Different standards, such as ASTM, AGMA, and ISO, provide guidelines for hardness testing to maintain quality control. Understanding these standards and their implications is essential for engineers and manufacturers in the locomotive industry. This article provides a detailed overview of hardness testing for locomotive gears, focusing on the importance, methods, and specific standards involved, along with expert insights from Mikura International, a leading exporter of locomotive and marine engine parts.
Understanding Locomotives Gear Hardness
The hardness of locomotive gears directly influences their ability to withstand the demanding conditions they face. Gears must resist wear, shock loading, and the constant vibration experienced during operation. A proper design that considers material hardness and the use of tungsten is crucial for extending the lifespan and enhancing the reliability of these critical components. Hardness testing ensures that the materials used meet the required mechanical properties, guaranteeing durability and minimizing the risk of premature failure.
The Importance of Hardness in Locomotive Gears
Hardness is a primary factor determining the lifespan and performance of locomotive gears. Gears that are not sufficiently hardened are susceptible to rapid degradation due to wear and tear, especially when exposed to sulfur compounds. This can lead to decreased efficiency, increased maintenance costs, and potentially catastrophic failures. Ensuring the correct hardness values through rigorous hardness testing is essential for maintaining the reliability and safety of the entire locomotive system, as well as resisting wear and contributing to the coefficient of friction.
Common Hardness Testing Methods
To assess the mechanical properties of locomotive gears, various hardness testing methods are employed. These methods include:
Rockwell hardness test
Vickers hardness test
Brinell hardness test
Each test possesses its own advantages and applications. The selection of an appropriate testing method depends on the material being tested, the desired accuracy, and the specific requirements of the design. Understanding the principles behind each method is crucial for interpreting the results and ensuring quality control.
Overview of Rockwell Hardness Test
The Rockwell hardness test is a commonly used method for indentation hardness for determining the hardness of various metals and alloys. The method involves pressing an indenter into the material being tested with a minor load, followed by a major load. The depth of the indentation is measured, and the hardness number is determined based on the difference in indentation depth between the minor and major loads.
Different scales, such as HRC, are used depending on the material and the indenter, which can be a diamond indenter for harder materials like tool steels or a carbide ball for softer materials such as copper or aluminum alloys. The test is relatively simple, quick, and suitable for a wide range of materials, making it a popular choice in quality control processes. This method for indentation hardness and measurement is favored because of its accuracy in the ratio of hardness values.
Standards Overview
Understanding the array of standards governing gear hardness is paramount for ensuring locomotive component reliability. Several standards provide unique guidelines, including:
ISO, which offers a global perspective, harmonizing international practices.
These standards are essential for maintaining quality control and ensuring that locomotive gears meet stringent performance requirements to resist wear.
ASTM Standards for Hardness Testing
ASTM standards are commonly used for defining hardness testing methods for a wide variety of metals, including steel and aluminum. These standards specify how to perform the Rockwell hardness test, including parameters such as the indenter type, load application, and scale selection. ASTM standards ensure that the testing procedure is consistent and accurate, providing hardness values which can be compared across different laboratories. For instance, ASTM E18 details the Rockwell hardness test for metallic materials and includes procedures to calculate the hardness number accurately.
AGMA Guidelines and Their Implications
AGMA (American Gear Manufacturers Association) guidelines provide specific recommendations for gear design, manufacturing, and hardness requirements. These guidelines are essential for ensuring the durability and reliability of locomotive gears. AGMA standards often include detailed specifications for material selection, heat treatment processes, and hardness testing to withstand shock loading and vibration. Adhering to AGMA guidelines helps minimize degradation and extend the lifespan of critical gear components, ensuring optimal performance and safety through rigorous gauge testing.
ISO Standards: A Global Perspective
ISO standards offer a globally recognized framework for hardness testing and material specifications, providing a comprehensive approach to ensure quality control and reliability of locomotive gears. These standards harmonize testing methods and hardness values across different regions, facilitating international trade and collaboration. For instance, ISO 6508 specifies the Rockwell hardness test for metals, aligning with ASTM standards but offering a broader scope for global applications. Adhering to ISO standards helps ensure that locomotive gears meet international benchmarks.
Comparison of Testing Methods
Comparing different testing methods for gear hardness is crucial for selecting the most suitable approach. Several techniques are available, each with specific characteristics:
The Rockwell hardness test, Vickers hardness test, and Brinell hardness testing each offer unique advantages in terms of accuracy and speed.
Applicability to different materials is also a key differentiator.
The choice depends on the material being tested, the desired level of accuracy, and specific requirements, considering that a diamond indenter is often used for steel and a carbide ball for aluminum. Mikura International advises careful consideration of these factors.
Accuracy and Reliability of Different Standards
The accuracy and reliability of hardness testing methods significantly impact the assessment of gear performance. The Rockwell hardness test is commonly used for its speed and ease of use, while Vickers offers higher accuracy for thin or surface-hardened materials. Brinell is suitable for larger, coarse-grained metals. Each method yields different hardness values and requires proper calibration. Understanding these nuances is vital for ensuring that the design meets specified mechanical requirements and that lifespan is ensured. Mikura International prioritizes accurate and reliable standards.
Practical Applications in Locomotive Industry
In the locomotive industry, hardness testing is essential for ensuring the durability and reliability of gears under demanding conditions. The Rockwell hardness test is commonly used for quick checks on steel components, while Vickers may be employed for more precise measurements. Understanding the practical implications of hardness values helps engineers select appropriate materials and heat treatment processes. This hardness testing guarantees optimal performance, reduces the risk of premature degradation, and enhances safety by minimizing vibration and shock loading.
Choosing the Right Standard for Your Needs
Selecting the appropriate hardness testing standard requires considering factors such as the material being tested, the desired accuracy, and the specific application. ASTM standards are commonly used in North America, while ISO standards provide a global perspective. AGMA guidelines offer gear-specific requirements to resist wear. Evaluating these factors ensures that the chosen standard aligns with your project’s goals, guarantees quality control and enhances the durability and reliability of locomotive gears for optimal performance.
Best Practices for Hardness Testing
Tips for Accurate Hardness Testing
To achieve accurate hardness testing, several practices should be followed meticulously. First, the surface of the material being tested must be clean and smooth, free from any contaminants or surface imperfections, as these can interfere with the indenter and affect the hardness values. Accuracy can be significantly improved by ensuring the testing machine is properly calibrated and maintained, using the correct indenter and load for the material, and carefully interpreting the results based on the testing methods.
Common Pitfalls to Avoid
Several pitfalls can compromise the accuracy and reliability of hardness testing results. One frequent error is failing to properly prepare the surface of the metal, which can introduce irregularities that affect the indenter’s penetration. Another common mistake is using an inappropriate load or indenter for the material, leading to inaccurate hardness values. Additionally, overlooking environmental factors such as vibration or temperature variations can introduce errors. Ensuring thorough quality control prevents these issues and ensures correct data.
Expert Insights on Improving Testing Processes
Experts emphasize the importance of regular calibration and maintenance of testing equipment to maintain accuracy. They also recommend using multiple testing methods to cross-validate results, especially for critical applications. Furthermore, proper training of personnel is crucial to minimize errors. Mikura International suggests investing in advanced testing equipment with automated features can improve speed and reduce human error, enhancing overall testing process accuracy. Properly evaluating the hardness values is a primary factor in determining the integrity of the gear.
Conclusion and Future Trends
Summary of Key Points
In summary, adhering to ASTM, AGMA, and ISO standards is crucial for ensuring the reliability and durability of locomotive gears. Proper selection of testing methods, such as the Rockwell hardness test, along with meticulous attention to surface preparation and equipment calibration, helps to achieve accurate hardness values. Understanding these standards and best practices are essential for engineers and manufacturers. Mikura International stands ready to assist with high-quality gear components and expert guidance.
Future Developments in Gear Hardness Testing
The future of gear hardness testing is poised for advancements with the integration of non-destructive testing methods such as ultrasonic and eddy current techniques, enhancing accuracy and efficiency. These innovations enable in-situ testing without damaging the material, facilitating real-time monitoring of gear performance. Moreover, the utilization of advanced data analytics and machine learning algorithms can predict gear lifespan and prevent premature failures, ensuring optimal performance.
Final Thoughts on Standard Compliance
Adhering to stringent standards such as ASTM, AGMA, and ISO is paramount for guaranteeing the reliability and safety of locomotive gears, preventing degradation. Compliance with these standards not only enhances the durability of gears but also ensures regulatory adherence, fostering trust among stakeholders. By prioritizing standard compliance, the locomotive industry can maintain high levels of performance, minimizing risks and ensuring operational excellence, particularly through the Rockwell hardness test testing methods to validate the hardness of the material.
Q: What are the key differences between ASTM, AGMA, and ISO standards for locomotive gear hardness testing?
A: ASTM, AGMA, and ISO standards provide guidelines for hardness testing but differ in their specific methodologies and requirements. ASTM focuses on material properties and testing methods in a broader context, AGMA specializes in gear-related standards, and ISO offers international consistency across various industries. Each standard may use different instruments and testing procedures, especially when considering factors like plastic deformation and brittleness.
Q: How does the hardness testing procedure impact the performance of locomotive shafts?
A: The hardness testing procedure is crucial for assessing the durability and performance of locomotive shafts. By evaluating hardness, manufacturers can identify the material’s resistance to deformation, which is influenced by the testing standards applied. For instance, a shaft that meets the hardness criteria set by ASTM or AGMA is likely to perform better under stress and has a lower chance of becoming brittle or failing during operation.
Q: What testing instruments are commonly used for measuring hardness according to these standards?
A: Common hardness testing instruments include Rockwell, Brinell, and Vickers testers, with some using specialized methods like laser or magnetic hardness testing for specific applications. The choice of instrument may depend on the material being tested, such as tungsten carbide or polymer, and the type of hardness measurement required.
Q: How does moisture content affect the hardness of locomotive gears?
A: Moisture content can significantly influence the hardness of locomotive gears, particularly those made from polymer materials. Excess moisture can lead to swelling or softening, resulting in lower hardness levels. It’s important to control moisture during the manufacturing and testing processes to ensure accurate hardness measurements.
Q: Are there lightweight options available for testing gear hardness in locomotives?
A: Yes, there are portable and lightweight hardness testing options available that allow for easy on-site testing of locomotive gears. These portable instruments can provide accurate readings without the need for heavy equipment, making them suitable for various testing environments.
Q: What role does nitrogen play in the hardness testing of locomotive gears?
A: Nitrogen is often used in heat treatment processes to enhance the hardness of locomotive gears. By controlling the nitrogen atmosphere during hardening, manufacturers can achieve specific hardness levels and improve the overall mechanical properties of the gears, ensuring they meet the required standards.
Q: Can hardness testing reveal information about the brittleness of locomotive components?
A: Yes, hardness testing can provide insights into the brittleness of locomotive components. A high hardness value may indicate a material is more brittle, while lower values may suggest better ductility. Understanding this relationship helps engineers design components that balance strength and toughness.
Q: What are the implications of using different hardness testing standards for the same gear?
A: Using different hardness testing standards for the same gear can lead to discrepancies in results, as each standard may have different criteria and methodologies. This can affect the perceived quality and performance of the gear. Therefore, it’s essential to use a consistent standard throughout the manufacturing and testing process to ensure reliability and compliance.
This technical resource delves into the essential aspects of maintaining pinion and bull gears, crucial components of the locomotive’s transmission system. With our expert insights and actionable advice, you’ll gain a deeper understanding of how to optimize performance and extend the lifespan of your locomotive’s dc traction motor gear. We at Mikura International, being a top exporter of locomotive and marine engine parts, are committed to providing reliable information and solutions for the railway industry.
Understanding Locomotive Traction Motor Gear
The traction motor gear is a critical part of the locomotive, responsible for transferring the torque from the electric traction motor to the wheels. This transmission is crucial for the locomotive’s traction and its ability to pull heavy loads. Understanding the components and their function is vital for effective maintenance and repair. The assembly includes the pinion and bull gear, housed within a gear case, all working in tandem to deliver the necessary power for rail operations. We at Mikura International specialize in providing high-quality gear components.
Components of the Traction Motor Gear
Here are the key components of a traction motor gear:
The pinion gear, a smaller gear on the motor shaft that engages with the bull gear.
The bull gear, which is connected to the axle and drives the wheels.
The gear case, a protective cover that houses the gears and retains lubricant.
Bearings, which allow smooth and efficient rotation of the gears, are particularly important in heavy-duty dc traction applications.
Ensuring each component is in optimal condition is critical for maximizing the lifespan of the traction motor and ensuring reliable railway operations. At Mikura International, we provide all these components.
Function of Pinion and Bull Gear in Traction
The pinion and bull gear work together to transmit torque and reduce the RPM from the traction motor to the wheels. The smaller pinion gear, driven by the motor, engages with the larger bull gear, increasing the torque and decreasing the speed. This transmission system allows the locomotive to generate the necessary tractive effort for pulling heavy loads. The gear ratio between the pinion and bull gear is crucial for achieving the desired traction and adhesion. Proper lubrication is essential for minimizing wear and tear on the gear teeth, maintaining efficiency, and prolonging the lifespan of these critical components. Mikura International ensures optimal gear solutions for enhanced traction.
Importance of Gear Case in Traction Motor
The gear case provides a protective cover for the pinion and bull gear, retaining the gear lubricant and preventing contamination. Its primary function is to retain the gear lubricant, preventing it from leaking out and ensuring adequate lubrication for the gears. Additionally, the gear case seals the gears from external contaminants such as dirt, dust, and moisture, which can accelerate wear and damage. Maintaining a properly sealed gear case is essential for minimizing maintenance requirements and extending the life of the traction motor gear. Mikura International supplies robust gear cases for optimal protection.
Maintenance Best Practices for Locomotive Pinion and Bull Gear
To maintain optimal performance and longevity of the locomotive’s pinion and bull gear, it is vital to regularly lubricate the components. implementing robust maintenance practices is essential. Regular inspections, effective lubrication strategies, and proactive troubleshooting can significantly minimize downtime and costly repairs. The goal is to keep the traction motor gear operating smoothly and efficiently, ensuring reliable dc traction and maximizing the lifespan of these critical components. Mikura International offers expert guidance and top-quality parts to support your maintenance efforts for both dc traction and ac traction systems.
Regular Inspection and Monitoring Techniques
Regular inspections are vital for identifying potential issues with the pinion and bull gear. These inspections should include visual checks for signs of wear, such as pitting, spalling, or cracking on the gear teeth. Monitoring techniques, such as vibration analysis, can detect irregularities in the gearbox. Regularly checking the gear case for any leaks is also crucial to ensure that the gear lubricant is retained. Any unusual noises or changes in performance should prompt a more detailed inspection to prevent further damage and ensure that the electric traction is performing optimally. Mikura International recommends thorough inspections for all locomotive components.
Lubrication Strategies for Optimal Performance
Effective lubrication is crucial for maintaining the health of the pinion and bull gear. Using the correct type of gear lubricant, with the appropriate viscosity, is essential for minimizing friction and wear in both dc traction and ac traction motors. Regular lubrication, according to the manufacturer’s recommendations, helps to dissipate heat and prevent premature failure of the gear teeth. Proper lubrication also helps seal the gear case and prevent contaminants from entering the system, reducing the risk of damage and prolonging the lifespan of the transmission system. Mikura International provides high-quality gear lubricants for superior performance.
Common Issues and Troubleshooting Tips
Several common issues can arise with locomotive pinion and bull gears. These include excessive wear, tooth breakage, and bearing failures. Overloading the locomotive or operating at high speeds can accelerate wear and lead to tooth damage. Identifying these issues early through regular inspections can prevent more significant problems. Troubleshooting tips include checking for proper lubrication, inspecting the gear case for leaks, and monitoring vibration levels. Addressing these issues promptly will ensure the longevity and reliability of the traction motor. Mikura International offers expert advice for troubleshooting common locomotive gear issues.
Maximizing Power and Torque through Proper Maintenance
Impact of Gear Maintenance on Power Efficiency
Proper maintenance directly impacts power efficiency by minimizing energy loss due to friction. When the pinion and bull gear are well-lubricated and free from damage, the transmission system operates smoothly, minimizing energy loss due to friction. Regular lubrication ensures that the gear rotates with minimal resistance, optimizing the transfer of torque from the electric traction motor to the wheel. Neglecting maintenance can lead to increased friction, reduced power output, and higher energy consumption. Mikura International highlights the importance of maintaining gears to maximize locomotive efficiency and minimize energy costs, particularly in ac traction motors.
Optimizing Torque Output in Traction Motors
Optimizing torque output involves ensuring the pinion and bull gear are in excellent condition for effective torque transfer. Worn or damaged teeth can significantly reduce the ability of the transmission system to effectively transfer torque. Proper gear maintenance, including regular lubrication and timely repairs, helps maintain the gear’s original specifications, ensuring optimal engagement and torque transfer. By addressing issues such as wear and misalignment, the locomotive can deliver its rated horsepower efficiently. Mikura International provides high-quality gear components to ensure the maximum rated output in traction applications.
Case Studies of Effective Gear Maintenance
Numerous case studies illustrate the impact of effective gear maintenance on locomotive performance. In one instance, a railway company implemented a proactive maintenance program, which included regular inspection and lubrication of the dc traction motor gear. This resulted in a significant reduction in downtime and maintenance costs. In another case, replacing worn pinion and bull gear components with high-quality parts from Mikura International improved the locomotive’s reliability and extended its lifespan. These examples demonstrate the tangible benefits of investing in proper gear maintenance for railway operations.
Expert Insights on Locomotive Traction Motor Maintenance
Industry Standards and Best Practices
Adhering to industry standards and best practices is crucial for effective maintenance, minimizing downtime, and ensuring safe operations. Standards set by organizations emphasize regular inspection, proper lubrication, and the use of high-quality replacement parts. Best practices include implementing a preventative maintenance schedule, conducting vibration analysis to detect irregularities, and maintaining detailed records of maintenance activities. By following these guidelines, railway operators can minimize downtime, extend the lifespan of their equipment, and ensure safe and reliable operations. Mikura International supports compliance with industry standards by providing reliable gear components.
Future Trends in Locomotive Gear Maintenance
Future trends focus on predictive maintenance and advanced monitoring technology for early detection of issues. These technologies enable real-time monitoring of the gear’s condition, allowing for early detection of potential issues. Data analytics and machine learning are being used to predict when maintenance will be required, optimizing maintenance schedules and reducing unexpected downtime. The use of advanced materials and coatings is also on the rise, improving the durability and lifespan of gear components. Mikura International is committed to staying at the forefront of these advancements to provide innovative solutions for locomotive maintenance.
Advice from Leading Experts in the Field
Leading experts in the field of locomotive maintenance emphasize the importance of proactive maintenance and the use of high-quality parts. Regular inspections and lubrication are essential for preventing premature failure of the pinion and bull gear. Experts recommend using gear lubricants with the correct viscosity and additives to minimize wear and corrosion. They also advise addressing any unusual noises or vibrations promptly to prevent further damage. Trust Mikura International for advice from leading experts to optimize the longevity and performance of your locomotive traction motors.
Q: What is the role of the pinion and bull gear in a locomotive’s traction motor?
A: The pinion and bull gear are crucial components in the drivetrain of an EMD locomotive, working in tandem to convert the rotational motion generated by the traction motor into the necessary torque required to propel the locomotive’s wheels. This conversion is fundamental for the efficient operation of electric locomotives, where the pinion gear, being smaller in diameter, meshes with the larger bull gear. This gear arrangement not only facilitates effective power transmission but also helps in optimizing the locomotive’s performance by ensuring that the torque is adequately scaled to meet the demands of different operational conditions.
Understanding the tolerance requirements for these gears is essential for maintaining their integrity and functionality. Precise tolerances ensure that the pinion and bull gear engage smoothly, reducing wear and tear and enhancing the overall efficiency of the locomotive. Any deviations from specified tolerance levels can lead to increased friction, potential gear failure, and ultimately compromised locomotive performance. Therefore, adherence to the established tolerance requirements for EMD locomotive pinion gears is vital for ensuring reliable and effective operation in various environments and conditions.
Q: How often should the pinion and bull gear be maintained in heavy duty applications?
A: In heavy duty applications, maintenance of the pinion and bull gear should be performed regularly, typically every 1,000 to 2,000 operating hours, depending on the volume of usage and environmental conditions. This maintenance is crucial for ensuring that the gear components operate smoothly and efficiently over time. Regular checks not only help in identifying potential wear and tear but also play a significant role in preventing unexpected breakdowns that can lead to costly downtime. By adhering to these maintenance schedules, operators can ensure that their EMD locomotive systems remain reliable and effective in their performance.
Furthermore, understanding the tolerance requirements for the pinion gear is essential for maintaining optimal functionality. These tolerance requirements dictate the acceptable limits for dimensional deviations, which are critical to the proper meshing of the pinion and bull gear. Failure to adhere to these specifications can result in increased wear, reduced efficiency, and ultimately, equipment failure. Therefore, operators must be diligent in monitoring these tolerances as part of their regular maintenance routines to ensure the ongoing performance and longevity of the locomotive’s drivetrain components.
Q: What type of grease is recommended for lubricating the pinion and bull gear?
A: A high-quality, heavy-duty grease that can withstand the operating conditions of the locomotive is recommended for lubricating the pinion and bull gear. The grease should have good adhesion and resistance to water and temperature fluctuations.
Q: How do you check the condition of the pinion end in a traction motor?
A: To check the condition of the pinion end, inspect for wear and damage, and measure the clearance between the pinion and bull gear. It’s also important to check for any signs of overheating or improper lubrication that could affect performance.
Q: What are the signs of wear on the bull gear?
A: Signs of wear on the bull gear include visible pitting, scoring, or unusual noise during operation. If you notice any of these symptoms, it’s essential to perform a detailed inspection and consider replacing the gear to prevent further damage.
Q: Can fluid leaks indicate a problem with the pinion and bull gear assembly?
A: Yes, fluid leaks can indicate a problem with the lubrication system associated with the pinion and bull gear assembly. Insufficient lubrication can lead to increased wear and damage, so it is crucial to address any leaks promptly.
Q: What is the importance of the diameter of the pinion and bull gear in traction motor performance?
A: The diameter of the pinion and bull gear affects the gear ratio, which in turn influences the torque and speed of the locomotive. An appropriate diameter ensures optimal performance and efficiency in power transfer from the traction motors to the wheels.
Q: How can improper maintenance of the pinion and bull gear affect locomotive operations?
A: Improper maintenance can lead to increased wear on components, reduced efficiency, and even failure of the traction motors. This may result in costly repairs and downtime, negatively impacting the overall operational capability of the locomotive.
You’ll fix locomotive traction motor pinion failures by first identifying tribological degradation through visual inspection and thermal imaging to detect wear patterns exceeding 0.015 inches. Remove damaged pinions using specialized induction heating equipment, then prepare shaft surfaces to 16 micro-inch finish while removing all oils and burrs. Apply RC compound during reinstallation to prevent slippage, make certain proper case hardening meets DIN 17182 specifications, and implement continuous monitoring protocols. These fundamental steps establish the foundation for all-encompassing failure prevention strategies.
Key Takeaways
Identify failure through visual inspection for wear patterns, thermal imaging for hot spots, and precision measurements exceeding 0.015-inch wear thresholds.
Address lubrication failures by replacing contaminated lubricant with GE-specification oil and ensuring proper flow distribution through clean lubricator wicks.
Perform corrective realignment when gear contact patterns show improper meshing and apply RC compound to prevent pinion slippage issues.
Use proper induction heating (45-second maximum cycles) and achieve 16 micro-inch surface finish during pinion removal and installation procedures.
Implement continuous vibration and acoustic monitoring systems to detect early gear tooth damage before catastrophic failure occurs.
Identifying Common Pinion Failure Modes and Symptoms
When diagnosing traction motor pinion failures in locomotive systems, you’ll encounter five primary failure modes that each present distinct symptoms and require specific identification techniques.
Pitting and Surface Wear manifests as degradation along dedendum, pitch point, and addendum sections. You’ll observe uneven wear patterns from improper meshing and surface scoring when lubrication fails.
Tooth Cracking and Breakage appears as crack initiation on helical pinion shafts, particularly in WAG-9 locomotives using 17CrNiMo4 forged steel. Reverse bending fatigue combines with misalignment to create stress concentrations at tooth roots.
Pinion Slippage results from damaged bore areas or improper mounting without RC compound application. Excessive lapping creates ridge formation on taper portions. Unlike belt-driven systems, spur gears eliminate slipping through normal force transmission between meshing teeth rather than relying on friction-limited tangential traction.
Misalignment Issues increase loading on specific tooth portions and squeeze out lubrication, causing metal-to-metal contact.
Heat-Related Damage includes case hardening loss and untempered martensite formation. Use thermal imaging and vibration signatures for early detection and preventive maintenance scheduling.
Understanding Tribological Root Causes of Surface Degradation
When you examine pinion surface degradation, you’ll find that sliding contact between gear teeth creates concentrated stress points that initiate pitting and wear patterns across the dedendum, pitch point, and addendum sections. Surface sliding phenomena inevitably generates frictional forces that squeeze protective lubricant films from critical contact zones, leading to metal-to-metal contact and accelerated material removal.
You must recognize that lubrication failure amplifies these tribological effects by eliminating the boundary layer that prevents direct surface interaction and heat buildup in gear mesh zones. Implementing vibration monitoring systems allows you to detect early signs of pinion degradation before catastrophic failure occurs, as changes in vibration patterns often indicate developing gear tooth damage and deteriorating mesh quality.
Surface Sliding Effects
Although locomotive wheels appear to roll smoothly along rails, complex tribological mechanisms within the contact zone create the root causes of pinion surface degradation. You’ll find that adhesion mechanics govern how contact areas divide into forward adhesion zones where surfaces stick together and rear slip regions where separation occurs. This creates tangential stress concentrations at zone interfaces, causing localized surface damage. The contact patch between wheel and rail measures approximately the size of a US dime, which concentrates enormous forces into an extremely small area and intensifies stress at the tribological interface.
Creep deformation makes wheel surfaces spin faster than actual travel speed due to elastic stretching in the contact patch
Stick-slip cycles within single contact events cause progressive surface fatigue through repeated loading and stress release
Stress gradients across contact patches create non-uniform wear patterns leading to surface irregularities and material degradation
Understanding these sliding effects helps you identify why pinion failures develop systematically.
Lubrication Failure Impact
Surface degradation mechanisms accelerate dramatically when lubrication systems fail to maintain adequate film thickness between pinion and bull gear contact surfaces. You’ll observe direct metal-to-metal contact causing surface sliding across dedendum, pitch point, and addendum sections. Inadequate lubricant chemistry protection results in increased friction coefficients and premature pitting formation at both sides of the pitch point.
Water contamination from condensate generation plugs lubricator wicks, preventing proper flow distribution. Environmental monitoring becomes critical when locomotives operate between warm and cold climates, as temperature variations affect viscosity properties and thermal expansion coefficients. Heat buildup from bearing failures melts plastic seal rings while accelerating lubricant breakdown. You must guarantee proper lubricant selection meets GE specifications and maintains tribological performance under varying operational conditions.
The #4 traction motor position experiences disproportionate stress loading due to weight transfer dynamics during locomotive operation, making it the most vulnerable location for pinion failure initiation. Preventive maintenance schedules should account for higher inspection frequency on rear axle assemblies where maximum tractive effort concentrates during normal service conditions.
Inspection Methods for Detecting Pinion Damage
Pinpointing pinion damage before it leads to catastrophic failure requires systematic inspection protocols that combine visual assessment with advanced non-destructive testing methods. You’ll need to establish routine visual inspection schedules to identify wear patterns, pitting, and scoring on gear teeth. Remove all dirt and debris using manufacturer-approved cleaning agents before examining the dedendum, pitch point, and addendum sections for damage indicators.
Advanced techniques include dye penetrant inspection for crack detection and borescope examination of hard-to-reach areas. Acoustic emission monitoring can detect stress concentrations during operation that visual methods might miss. Incorporate insulation resistance tests into your inspection protocol to evaluate the electrical integrity of traction motor components and detect potential insulation breakdown that could affect pinion performance.
Document wear patterns meticulously to establish baseline measurements for trend analysis and predictive maintenance scheduling
Focus on critical alignment points including motor suspension, wheelset positioning, and axle centerlines per manufacturer specifications
Implement vibration analysis protocols to quantify motor performance degradation and identify developing mechanical issues before failure
Proper Mounting and Installation Procedures
You’ll achieve successful pinion installation by mastering three critical preparation steps that directly impact motor reliability and operational safety. Start with proper induction heating to reach the specified thermal expansion requirements, then apply RC compound correctly to guarantee peak surface bonding. Complete your shaft surface preparation by removing all oils and burrs while achieving the required 16 micro-inch surface finish before proceeding with installation. Monitor for pinion slippage during the first 80 motors processed, as this critical period often reveals installation defects that can lead to catastrophic shaft failures in heavy-duty service conditions.
Induction Heating Process
When performing locomotive traction motor pinion installations, proper induction heating procedures form the foundation of successful mounting operations. You’ll need specialized equipment like T60170/T60171 models for 752 motors or T60220/T60221 for 761 applications, available in 230V and 460V configurations. Critical induction timing requires limiting heating cycles to 45 seconds maximum during removal operations. Proper coil positioning guarantees uniform heat distribution across the pinion assembly.
Essential induction heating requirements include:
Equipment Integration – Coordinate hydraulic pump assembly reaching 15,000 PSI before activating induction heating systems
Advance Specifications – Maintain hot advance measurements of 0.085″-0.100″ for GE locomotives, 0.055″ for GM/MKO units
Following successful induction heating operations, RC compound application becomes the next critical step in preventing pinion slippage failures during traction motor assembly. You must apply RC compound as mandatory protocol during pinion fitment on shaft, serving as critical interface material between pinion bore and armature shaft seating area. Don’t consider alternatives to RC compound—it’s standardized per maintenance manual requirements and instruction bulletin MP.EM. 10.31.08.
Your application techniques must guarantee complete coverage of seating surfaces to prevent bore damage and shaft deterioration. While environmental concerns exist with compound usage, you can’t compromise on this requirement. Proper RC compound application prevents slippage failures and protects both pinion and shaft integrity during operational service. Use titanium ball studs for maximum strength connections in high-stress mounting applications where durability is paramount.
Shaft Surface Preparation
Prepare shaft surfaces meticulously before pinion installation, as contaminated or damaged surfaces directly cause mounting failures and premature wear. Complete spline cleaning removes oils, grime, and debris that prevent proper contact between components. Edge deburring eliminates sharp edges and surface irregularities that interfere with precise fitting tolerances.
Execute thorough surface preparation by removing all contaminants from both shaft and hub assemblies. Clean exposed traction motor pinion parts to prevent abrasive damage during operation. Apply proper surface preparation techniques to smooth rough pinion surfaces before mounting. Use manufacturer-recommended cleaning agents to ensure compatibility with component materials and avoid chemical damage.
Remove all oils and burrs from shaft surfaces using approved cleaning solvents
Inspect spare parts during cleaning to identify wear indicators masked by dirt accumulation
Verify dimensional accuracy within ±0.38mm tolerance specifications after surface preparation
Material Processing and Hardening Requirements
Although locomotive traction motor pinion failures often stem from inadequate material processing, you can prevent these costly breakdowns by implementing precise carburizing and hardening procedures that meet DIN 17182-17CrNiMo4 specifications. Your case hardening process must begin with preheating at 450°C for one hour, followed by austenizing at 940°C for two hours under CP 1.5 atmosphere. You’ll need to maintain boost cycles targeting 2.5mm case depth and allow minimum four-hour diffusion for uniform carbon distribution.
Proper grain refinement requires controlled cooling to 520°C before air cooling. Your hardening cycle should use 870°C with two-hour homogenization, then quench in agitated oil at 50°C for 20-25 minutes. Complete the process with tempering at 180°C for two hours to achieve target hardness of 26-28 HRC. This precise temperature control guarantees proper martensite formation and prevents material softening that compromises pinion durability. When prevention fails and traction motor seizure occurs, field crews face extensive downtime that can cost up to $1 million per hour in rail operations.
Preventive Maintenance Strategies for Extended Service Life
Systematic preventive maintenance protocols directly impact traction motor pinion longevity and can prevent up to 80% of premature failures when you implement rigorous inspection schedules every 184 days. You’ll need thorough operator training on GE traction component specifications to identify wear patterns before catastrophic breakdown occurs. Monitor electrical parameters during routine checks to detect early motor deterioration signs.
Your lubrication management system must utilize high-grade lubricants meeting GE specifications. Apply gear oil sparingly but sufficiently to reduce friction while preventing dirt attraction. Steam wash disassembled components during overhauls to remove contamination that masks critical wear indicators. Pinions manufactured from high-speed carbon steel provide superior durability and resistance to mechanical stress during heavy load operations.
Conduct noise diagnosis techniques to identify misalignment through unusual sound patterns
Replace pinions when abnormal wear is detected during assessment procedures
Use calibrated torque wrenches following manufacturer specifications for proper installation
Implement inventory forecasting strategies for strategic replacement timing. Coordinate component replacement with scheduled maintenance windows to minimize operational disruption while maintaining safety standards.
Addressing Secondary Failure Effects in Support Systems
When preventive maintenance protocols fail to detect early warning signs, you’ll face cascading failures throughout the traction motor’s support systems that compound the original pinion damage. These secondary failures create a destructive chain reaction that’ll mask the root cause and dramatically increase repair costs.
Failed support bearings generate excessive heat that melts plastic seal rings, causing oil leakage from gear case openings. You’ll need systematic bearing diagnostics to identify the original failure point before secondary damage obscures evidence.
Water condensate accumulation exceeds one quart per bearing well in extreme climates, requiring regular drainage. You must address case ventilation improvements to prevent moisture buildup that causes lubricator wick plugging and complete lubrication system failure.
Monitoring and Alignment Techniques for Optimal Performance
Before you can prevent the costly secondary failures outlined in support systems, proper monitoring and alignment techniques must become integral to your maintenance strategy. You’ll need to implement predictive analytics alongside traditional diagnostic methods to identify misalignment issues before they cascade into catastrophic failures. Thermal imaging technology reveals hot spots indicating excessive friction from improper gear meshing, while precision measurement tools detect wear discrepancies exceeding 0.015 inches between mating components.
Your alignment verification process must include thorough gear contact pattern analysis and wheelset positioning checks. When you observe abnormal wear patterns, discoloration, or unusual operational sounds, immediate reassessment becomes critical. Proper alignment prevents uneven stress distribution and maintains peak power transmission efficiency.
Monitor gear contact patterns continuously for early detection of 0.015-inch wear discrepancies
Utilize thermal imaging to identify friction hot spots indicating misalignment problems
Implement predictive analytics systems for proactive maintenance scheduling and failure prevention
Frequently Asked Questions
What Is the Typical Cost Difference Between Repairing Versus Replacing Damaged Pinions?
Like choosing between patching a tire versus buying new, you’ll find repair costs typically run 40-60% of replacement costs for damaged pinions. When you’re facing extensive pitting damage, replacement costs become more justified since repairs require complex hardening processes and precision tooling. You’ll spend around $195 for new gear pinions, while repairs involve substantial labor for re-manufacturing field coils and armature work.
How Long Should Locomotives Be Out of Service During Pinion Replacement Procedures?
You’ll typically need 8-12 hours of scheduled downtime for complete pinion replacement, depending on locomotive model and access complexity. If you’re dealing with emergency situations, you can implement emergency bypass procedures using auxiliary power units to maintain limited operations while awaiting parts. Always follow manufacturer specifications for torque settings and alignment verification. Plan additional time for post-installation testing and operational verification before returning to full service.
Can Pinion Failures Cause Derailments or Other Serious Safety Incidents?
Absolutely catastrophic consequences can result from pinion failures if you don’t address them immediately. You’re facing serious derailment risk when damaged pinions cause wheel slippage, loss of traction control, or complete motor seizure during operation. You must follow strict safety protocols including immediate locomotive removal from service, thorough inspections, and mandatory testing before return to duty. Never operate with suspected pinion damage—it compromises train control and endangers crew safety.
Which Pinion Manufacturers Offer the Best Warranty Coverage for Locomotive Applications?
You’ll find major locomotive manufacturers like GE Transportation, Wabtec, and Siemens provide thorough OEM warranties covering traction motor pinions, typically ranging from 12-24 months or specific mileage thresholds. Third party guarantees from specialized suppliers like Timken and SKF often extend coverage beyond standard terms. You should evaluate warranty scope, covering material defects, workmanship issues, and premature wear. Always verify warranty compliance with FRA standards and AAR specifications for peak protection.
Are There Retrofit Solutions for Older Locomotives With Recurring Pinion Problems?
Yes, thorough retrofit solutions exist for legacy locomotives experiencing chronic pinion failures. For instance, a freight operator with 1980s EMD units eliminated recurring failures through complete gearbox retrofits featuring enhanced shaft hardening processes and upgraded metallurgy.
You’ll replace EMD locomotive pinion gears when wear progression threatens your entire drivetrain system. Critical replacement triggers include feeler gauge measurements reaching 0.24mm thresholds, surface pitting on both sides of pitch points, and scuffing from lubrication film breakdown. Worn pinions cause misalignment-induced tooth fractures, bearing heat damage, and immediate locomotive immobilization. Emergency replacements cost 200-400% more than scheduled maintenance, while preventive replacement using remanufactured components saves 30-40%. Proper monitoring protocols and measurement techniques guarantee optimal replacement timing for maximum operational efficiency.
Key Takeaways
Misalignment issues and axial run-out create uneven tooth contact patterns leading to premature wear and deterioration.
Surface pitting on both sides of pitch point indicates tribological breakdown requiring immediate gear replacement.
Lubrication film breakdown causes scuffing and metal-to-metal contact, generating excessive heat beyond safe operating limits.
Manufacturing defects like insufficient case depth and heat treatment anomalies compromise gear integrity and service life.
Tooth fracture from concentrated loading and reverse fatigue creates critical failure modes necessitating urgent replacement.
Primary Causes of Pinion Gear Deterioration in EMD Locomotives
When examining EMD locomotive pinion gear failures, you’ll find that misalignment issues consistently rank as the primary cause of premature deterioration. Axial run-out creates uneven tooth contact patterns, while axial eccentricity between bearing bore and outer diameter produces irregular loading cycles that accelerate wear progression.
Surface contact damage compounds these problems through inevitable sliding at dedendum, pitch point, and addendum sections. You’ll observe pitting development on both sides of the pitch point as tribological factors intensify material loss during operation.
Lubrication degradation markedly accelerates deterioration rates. When lubricant film breaks down between tooth surfaces, you’re dealing with scuffing damage and increased friction coefficients. Contaminated lubrication systems create abrasive wear patterns that reduce component lifespan. Additionally, debris contamination in the gear housing introduces foreign particles that create scoring damage on tooth surfaces.
Excessive load conditions worsen these issues when only portions of designed gear face width carry operational loads, creating concentrated stress points that lead to premature fractures and discoloration patterns.
Critical Failure Modes That Demand Immediate Pinion Replacement
Several critical failure modes in EMD locomotive pinion gears require immediate replacement to prevent catastrophic drivetrain damage and costly operational downtime. You’ll encounter reverse fatigue when multiple initiation sites develop at opposing mid-tooth locations, creating fracture surfaces that compromise structural integrity. This failure pattern typically presents with a third initiation site at the tooth end, demanding urgent attention.
Surface pitting at both sides of the pitch point indicates tribological breakdown requiring immediate intervention. When you observe misalignment-induced tooth fracture from angular meshing conditions, replacement becomes critical as load concentration exceeds design specifications on active gear face portions.
Scuffing from complete lubrication film breakdown represents another immediate replacement trigger. You’ll need tooth realignment procedures during replacement to address axial run-out and eccentricity issues. Thermal distress causing case hardness loss, combined with bearing temperatures exceeding atmosphere plus 120°C, signals urgent replacement requirements to maintain locomotive operational safety and performance standards.
Manufacturing Defects That Compromise EMD Pinion Performance
Manufacturing defects in EMD pinion gears create systemic vulnerabilities that’ll compromise locomotive performance long before normal wear patterns emerge. Heat treatment anomalies represent the most critical failure pathway—incorrect carburizing operations produce insufficient case depth below 0.2mm specifications, while quench furnace temperature variations create inconsistent hardness distribution throughout your pinion body.
Material segregation during forging concentrates impurities at stress points, accelerating fatigue crack initiation. You’ll encounter profile deviations exceeding tolerance limits when manufacturers use improper tooth cutting procedures, creating meshing irregularities that generate destructive vibrations.
Case hardening defects leave soft surface areas vulnerable to accelerated wear, while contaminated gear compounds degrade lubrication effectiveness. Bore diameter inconsistencies prevent proper motor shaft fitment, causing misalignment-induced failures. Proper gear alignment during installation becomes critical to compensate for manufacturing tolerances and prevent premature failure modes.
Quality control breakdowns compound these issues—inadequate inspection procedures allow defective pinions into service, while incorrect backlash measurements at TM ends rather than wheel ends provide false assembly parameters.
Measuring Wear Limits and Establishing Replacement Criteria
You’ll need precise measurement techniques to determine when your EMD pinion gears have reached condemning limits and require replacement. The involute profile gauge method using feeler gauges provides the most accurate assessment, with the industry-standard 0.24mm gap serving as your critical replacement benchmark. Your feeler gauge inspection protocol must target specific measurement points on the gear tooth flanks to quantify wear deviation from the original involute profile. Alternative inspection methods include using soft lead wire positioned at the minimum point between meshing teeth to measure backlash, though the wire thickness must exceed the expected backlash by up to three times for accurate readings.
Involute Profile Gauge Methods
When measuring involute wear on EMD locomotive pinion gears, you’ll rely on profile deviation measuring gauges that utilize p-value and k-value measurements with feeler gauges for standard bull gear 65 teeth mating pinion 16 teeth configurations. These specialized gauges enable precise involute mapping and contact analysis to determine deviation from original tooth profiles.
Your measurement process involves three critical steps:
Gauge positioning – Place the profile gauge against one side of the tooth profile to create measurable gaps
Gap quantification – Insert feeler gauges through openings to measure involute wear starting at 0.24mm thresholds
Profile comparison – Compare actual measurements against original design specifications to identify wear progression
You’ll find these gauges mirror the original tooth profile design, establishing baseline measurements for accurate variance detection between worn and specified configurations.
0.24mm Gap Benchmark Standards
After mapping involute wear through profile gauge measurements, you’ll establish replacement criteria using the 0.24mm gap benchmark standard. This condemning specification determines when gears and pinions require removal from service based on tooth profile clearances measured through feeler gauge insertion.
Assessment Parameter
Specification
Maximum Gap Tolerance
0.24mm
Measurement Method
Feeler Gauge
Application Scope
New & Re-profiled
Service Action
Condemning Limit
Evaluation Type
Tooth Thickness
Your metric calibration procedures must verify gauge accuracy before conducting gap measurements. Both new component assessment and re-profiled gear evaluation follow identical tolerance requirements. Material traceability documentation guarantees compliance with ASTM 837 standards throughout the replacement decision process. When gaps reach or exceed this threshold, you’ll initiate component replacement protocols rather than attempting further re-profiling procedures. Comprehensive vibration monitoring systems track gear mesh frequencies to detect early signs of deterioration before reaching condemning limits.
Feeler Gauge Inspection Protocols
Carrying out feeler gauge inspections requires systematic measurement protocols that build upon the 0.24mm gap benchmark you’ve established. These clearance checks demand precise blade calibration to guarantee accurate wear assessments across all pinion gear contact surfaces.
Your inspection protocol must include:
Calibrated blade selection – Use manufacturer-certified feeler gauges with verified thickness measurements for consistent clearance checks
Multiple measurement points – Document gap measurements at minimum three locations around each gear tooth interface
Torque specification verification – Cross-reference clearance readings with EMD technical specifications before determining replacement necessity
You’ll need to document each measurement systematically, comparing readings against established wear thresholds. When clearance measurements exceed manufacturer limits or show inconsistent patterns, you’ve identified components requiring immediate replacement to prevent cascading traction system failures and maintain locomotive operational reliability. Safety inspections must include exposed gears within the engine compartment to identify defects that could compromise operational integrity.
Secondary System Failures Triggered by Worn Pinion Gears
When you ignore worn pinion gear replacement schedules, you’ll encounter support bearing heat damage as misalignment forces excessive loads through the bearing assembly. The resulting thermal stress breaks down bearing lubricant properties and creates metal-to-metal contact that generates destructive heat cycles. You’ll then face oil leakage cascade effects as deteriorated seals and gaskets fail under increased operating temperatures, contaminating adjacent systems with debris-laden lubricant. Field technicians often mistake these secondary failures for slipped pinion conditions when the actual problem involves electrical system malfunctions that simulate locked axle symptoms.
Support Bearing Heat Damage
Worn pinion gears consistently trigger a destructive cascade of secondary failures that devastates support bearing systems through excessive heat generation. When gear misalignment creates metal-to-metal contact, frictional heat exceeds safe working limits of atmosphere temperature plus 120°C maximum. This thermal stress causes silver-and-lead bearing material to soften and extrude into oil channels, blocking lubricant flow.
Lubricant chemistry breakdown accelerates when film strength fails under marginal lubrication conditions
Steel-to-steel contact occurs after protective bearing material completely wears away from heat exposure
You’ll observe progressive wear patterns starting with surface material displacement, followed by wristpin burning and heavy scoring as bearing protection fails completely.
Oil Leakage Cascade Effects
Heat-damaged support bearings create the initial failure point that triggers a destructive oil leakage cascade throughout the entire pinion gear system. You’ll observe that worn bearings generate excessive pinion movement, damaging sealing surfaces and creating primary oil seepage points. This leaked oil attracts environmental contaminants, establishing contamination pathways that accelerate system-wide degradation.

Your gear case experiences secondary seal failures as misalignment stresses propagate through the sealing system. Grooved pinion flanges develop from continuous wear, allowing persistent oil seepage even after seal replacement. Drive shaft damage from dents or cracks generates vibration that accelerates seal wear and compounds the leakage problem. You’ll face escalating repair costs as contaminated oil circulation damages precision-machined surfaces throughout the gear train. The cascade effect transforms isolated bearing wear into all-encompassing system failure, requiring complete component replacement rather than targeted maintenance interventions.
Operational Disruptions Caused by Failed EMD Pinions
Once EMD locomotive pinion gears fail, you’ll face immediate and severe operational disruptions that can bring your entire rail operation to a standstill. Failed pinions create three critical operational challenges:
EMD pinion gear failures trigger immediate locomotive immobilization and cascading operational disruptions that can paralyze entire rail networks.
Immediate locomotive immobilization – Your units become essentially immovable when wheel pairs lock up, requiring emergency repairs wherever they stop, including on main tracks
Cascading service delays – You’ll experience significant revenue loss as disabled locomotives block critical rail infrastructure until repairs are completed
Emergency repair complications – Your crews must perform repairs in challenging field conditions, creating crew safety hazards and requiring specialized equipment access
You’ll need to nurse disabled units into sidings when possible to minimize main line disruption. Slipped pinions rank among the three primary causes of locomotive immobilization alongside seized motor armatures and failed journal bearings. Torsional vibration from damaged pinion teeth affects operational stability, while progressive gear wear leads to increasingly severe disruptions over time.
Cost Analysis of Preventive Versus Emergency Pinion Replacement
The financial impact of EMD pinion gear failures extends far beyond the immediate operational disruptions, creating a compelling case for preventive replacement strategies. Emergency replacements force you into expedited procurement scenarios where pinion gear costs increase 200-400% over standard pricing. You’ll face overnight shipping charges and premium labor rates at 150-200% of normal maintenance costs.
Preventive replacement enables inventory optimization through bulk purchasing and scheduled maintenance windows. You can utilize remanufactured components at 60-70% of new part costs while avoiding overtime premiums. Emergency repairs often require specialized technician callouts and extended diagnostic procedures to assess secondary damage to bull gear assemblies.
Your preventive approach minimizes revenue-generating downtime by scheduling replacements during planned maintenance windows. Emergency failures create missed freight schedules, potential contract penalties, and customer dissatisfaction. Proper preventive measurement using profile deviation gauges prevents cascade failures that compound repair costs exponentially. Quality suppliers with North American manufacturing capabilities ensure faster delivery times and reduced supply chain risks during planned maintenance cycles.
Best Practices for EMD Pinion Gear Maintenance and Replacement Scheduling
While emergency repairs drain resources through reactive responses, implementing systematic maintenance protocols transforms pinion gear management into a predictable cost center with measurable performance outcomes.
Systematic maintenance protocols transform reactive pinion gear repairs into predictable cost centers with measurable performance outcomes.
You’ll maximize component lifespan through three critical maintenance practices:
Scheduled Inspections Every 92 Days – Assess pinion gears for pitting, scoring, and uneven wear patterns. Check axles for discoloration indicating excessive stress. Compare findings against your locomotive’s minimum continuous speed and tonnage ratings.
Lubricant Audits Using GE-Approved Specifications – Apply high-grade lubricants designed for high-load gear systems. Clean traction motor pinions regularly to remove abrasive grime that accelerates wear.
Torque Verification with Calibrated Equipment – Follow manufacturer’s specifications meticulously during installation. Re-check torque after initial operation periods to confirm proper tightening.
You’ll prevent cascading failures by addressing wear issues promptly. Monitor consistent wear patterns as performance indicators, integrating proactive practices that minimize downtime while extending your pinion gear service intervals. The pinion’s high-speed carbon steel construction provides superior durability under demanding operational conditions.
Frequently Asked Questions
Can Worn EMD Pinion Gears Be Refurbished Instead of Replaced?
Ironically, you’ll often spend more replacing what could’ve been saved. Yes, you can refurbish worn EMD pinion gears when wear measurements remain within acceptable limits. Your refurbishment process requires systematic visual inspection, precise tolerance verification, and specialized heat treatment including case hardening and carburizing operations. Critical factors include maintaining 0.13mm axle bore alignment, using refurbished bearings, and ensuring spline dimensions meet manufacturer specifications before determining refurbishment feasibility.
What Is the Typical Lifespan of EMD Pinion Gears Under Normal Operation?
You’ll typically see EMD pinion gears lasting 500,000 to 1,500,000 miles under normal operating conditions, depending on your locomotive’s service intervals and load cycles. Heavy freight operations with high tractive effort demands reduce lifespan to the lower range, while passenger service extends it. You should expect 8-15 years of service life with proper lubrication maintenance and adherence to manufacturer-specified torque settings during installation.
Are Aftermarket Pinion Gears Compatible With Original EMD Locomotive Specifications?
You’ll find aftermarket compatibility with original EMD specifications when suppliers maintain identical diametral pitch requirements of 2.25 and 20-degree pressure angles. Leading manufacturers like SUPCO Canada and PowerRail guarantee their material standards match EMD’s carburizing processes and hardening cycles. Cross-reference systems let you identify compatible parts using original EMD numbers like 9556211 or 8452310, maintaining proper gear mesh and operational reliability.
How Do Weather Conditions Affect EMD Pinion Gear Replacement Frequency?
While pinion gears endure constant mechanical stress, you’ll find temperature extremes create the harshest replacement conditions. You’re dealing with accelerated wear when operating in sub-zero conditions versus desert heat – thermal expansion cycles stress gear teeth differently. Moisture intrusion becomes your primary concern in humid environments, causing corrosion that compromises gear integrity. You’ll need more frequent inspections and replacements in coastal or high-humidity regions where salt accelerates deterioration.
What Special Tools Are Required for EMD Pinion Gear Removal and Installation?
You’ll need specialized hydraulic removal tools rated for 40,000 PSI, dual air-powered pump systems, and hydraulic pinion puller sets with tube-to-motor shaft adapters. Essential precision instruments include dial indicators for alignment verification, pinion taper plug gauges for D90 motors, and armature shaft taper gauges. You’ll also require calibrated torque wrenches, EMD-specific pinion nut wrenches, and various adapters including MAC 90 pinion adapters with 3/4″ hex configurations.
You’ll maintain EMD locomotive gear drives through daily pre-operation inspections of housing integrity, drive assemblies, and seal conditions, plus mandatory 184-day thorough examinations. Monitor oil pressure ranges of 8-12 psi at idle and 25-29 psi at full speed using proper lubrication schedules. Replace turbocharger oil filters every 1,400 hours and perform monthly cleaning of lube oil strainers. Check component alignment, bearing preload specifications, and temperature differentials regularly. These systematic protocols will reveal advanced troubleshooting techniques and emergency response procedures.
Key Takeaways
Conduct daily visual inspections of gear drive assemblies for wear patterns, scoring, or metal fatigue signs.
Perform systematic gear drive examinations every 184 days, listening for unusual noises and monitoring vibrations.
Maintain proper lubrication by checking oil levels and quality per manufacturer specifications during inspections.
Monitor temperature differentials between gear drive components to identify potential performance issues early.
Document all gear drive maintenance findings in logs to ensure regulatory compliance and guide future maintenance.
Daily Pre-Operation Inspection Protocols for Gear Housing Systems
Starting off your daily routine with a systematic gear housing inspection sets the foundation for reliable locomotive operations and prevents costly mechanical failures. Begin with a thorough visual inspection of the exterior housing, checking for cracks, structural damage, and mounting bolt integrity. Examine drive gear assemblies for wear patterns, scoring, or metal fatigue that could indicate impending failure.
Conduct thorough seal testing around gasket interfaces and connection points, monitoring for oil leaks or fluid accumulation beneath assemblies. Check drain plugs, fill ports, and cooling line connections for proper sealing specifications. Verify mechanical clearances between rotating components and housing walls, ensuring proper alignment of drive assemblies within operational parameters. Inspect locomotive trucks, wheels, gear cases, and drive gears for cracks or physical defects, as these components experience significant stress during brake shoe operations and require careful monitoring for structural integrity.
Don’t overlook safety equipment verification—confirm protective guards are secure, walkways are clear, and emergency shutdown systems function properly. Document all findings in standardized maintenance records, noting deviations from normal parameters and any required corrective actions for regulatory compliance.
Lubrication System Management and Filter Maintenance Schedules
You’ll need to establish a systematic approach to lubrication system management that coordinates filter replacement intervals with oil pressure monitoring requirements. Your maintenance schedule must align filter changes at 1400-hour intervals with thorough crankcase system inspections to prevent contamination buildup and guarantee peak gear drive performance. Monitor oil pressure control valve operation during each service cycle, as inadequate pressure at idling speeds below 200 RPM can compromise bearing lubrication in drilled rod systems. Document all maintenance activities in a comprehensive maintenance log to ensure compliance with manufacturer specifications and establish a reliable service history for future troubleshooting needs.
Filter Replacement Intervals
Proper filter replacement intervals directly impact your EMD locomotive’s operational reliability and component longevity. You’ll need differential monitoring systems installed to qualify for extended two-year intervals on main, auxiliary turbocharger, and fuel filters. Without this monitoring, you must maintain annual replacement schedules to prevent system failures.
Critical Filter Replacement Schedule:
Turbocharger oil filters – Replace every 1,400 hours using original equipment specifications to protect high-speed bearings
Engine-mounted fuel filters – Monthly replacement with elements meeting original equipment standards
Rack-mounted fuel filters – Monthly changes using pleated cotton-paper elements only
Lube oil strainers – Clean monthly with mandatory oil refill before operation
You can extend intervals by 25% when technical specifications permit, but always prioritize original equipment filter specifications for peak filtration effectiveness. Following manufacturer guidelines prevents emergency repairs, which cost 3-4.7 times more than scheduled maintenance and helps maintain continuous operational efficiency.
Oil Pressure Monitoring
Continuous oil pressure monitoring serves as your locomotive’s primary defense against catastrophic engine failure, requiring vigilant attention to operating parameters that range from 8-12 psi during idle to 25-29 psi at full speed. EMDEC sensors detect pressure directly at manifold passages, ensuring optimal placement for accurate readings throughout the lubrication system.
Your governor-integrated shutdown systems establish critical alarm thresholds with 1-2 second delay periods, preventing false shutdowns while protecting bearings. When pressure drops below minimum thresholds, automatic protection systems engage immediately. You’ll notice the governor’s push button extending 3/8 inch with visible red warning bands when safety systems activate.
Monitor your gear-type oil pumps working with crankcase-mounted pressure control valves to maintain adequate pressure across all operating speeds, ensuring proper lubrication reaches crankshaft passages and turbocharger systems. Filter elements should be changed when pressure exceeds 25 PSI at rated RPM to prevent bypass conditions and maintain optimal oil flow.
Crankcase System Maintenance
Effective pressure monitoring systems depend on clean oil circulating through properly maintained crankcase components, making systematic lubrication system management your next priority for locomotive reliability. Your maintenance approach must integrate crankcase ventilation system care with thorough filter replacement schedules to prevent catastrophic engine failure.
Execute these critical maintenance procedures during scheduled intervals:
Complete oil drainage – Remove bottom pipe plug and drain cooling water simultaneously before disassembly operations
Solvent flushing – Clean crankcase interior with petroleum solvent, then wipe with lint-free towels
Filter system service – Replace air filters, breather components, and inspect pressure relief valve operation
Component inspection – Perform magnetic-particle testing on cleaned parts, avoiding wire brushing on pistons and crankshafts
Schedule thorough crankcase maintenance during major overhaul cycles based on operating hours rather than calendar time.
Traction Motor Gearing Component Service Procedures
Breaking down traction motor gearing component service requires systematic attention to inspection, lubrication, alignment, and preventive maintenance protocols. You’ll need to examine pinion and gear components closely, detecting abnormal wear patterns that indicate replacement needs. Conduct thorough visual inspections of gear teeth for pitting, cracking, or excessive wear while performing noise diagnosis to identify misalignment issues.
During disassembly procedures, check bearing preload specifications and verify shaft balancing meets manufacturer standards. Use high-grade lubricants specifically designed for high-load gear systems, applying proper gear oil for newer traction motor combinations. Monitor temperature conditions regularly as part of your all-encompassing protection strategy.
Follow precise alignment procedures using calibrated torque wrenches, adhering meticulously to manufacturer specifications. Re-check torque values after initial operation periods to confirm proper tightening. Implement 184-day inspection schedules for locomotives with microprocessor controls, conducting steam washing procedures and exhaustive testing to identify problems before component failure occurs. Utilize vibration monitoring systems to detect bearing irregularities and gear mesh problems that may not be visible during standard inspections.
Troubleshooting Low Oil Pressure and Safety System Responses
When your EMD locomotive’s oil pressure drops below safe operating levels, you’ll need to quickly identify the cause and respond to automatic safety system activations. The engine’s governor safety controls will immediately shut down operations once low pressure conditions are detected, requiring you to understand both the diagnostic process and proper reset procedures. Your ability to troubleshoot pressure loss sources and safely restart the system after emergency shutdowns directly impacts both locomotive availability and operational safety. Start by checking the crankcase oil level as insufficient oil below the pump supply tube will prevent proper circulation to critical engine components.
Low Pressure Detection
Although EMD locomotives incorporate multiple pressure monitoring systems, you’ll need to understand how these interconnected detection points work together to prevent catastrophic engine damage. Your governor safety controls continuously monitor lubricating oil pressure at 70 PSI during normal operation, triggering immediate shutdown when levels drop dangerously low. Detection occurs on both the pump’s suction side and within the main circulation system.
Critical monitoring includes:
Filter pot pressure monitoring – provides independent detection separate from main engine readings
Electronic sensor calibration – guarantees accurate pressure readings and electrical signal generation
Visual and audible alarm testing – verifies yellow signal lights and alarm bells function properly
Automatic filter bypass activation – engages when pressure differential exceeds 40 PSI across elements
Regular alarm testing prevents detection failures. Engine temperatures cause oil to thin and reduce pressure readings throughout the monitoring system.
Governor Safety Controls
Your locomotive’s governor safety controls act as the final barrier between low oil pressure detection and catastrophic engine failure. When the Woodward Governor‘s electro-hydraulic system detects low oil pressure or high vacuum on the lube oil pump’s suction side, it initiates redundant shutdowns through multiple safety mechanisms.
The governor’s push button extends 3/8″ and exposes a red band, while yellow “LOW OIL” and purple “NP” lights activate immediately. Electrical interlocks prevent restart until you press the reset button and move the isolation switch to “START” position. These dual reset actions stop alarm bells and extinguish alternator failure lights. You’ll find the control unit in your cab with the actuator mounted directly on the engine for immediate response. Regular troubleshooting of governor components helps identify potential issues before they trigger emergency shutdowns.
Emergency Shutdown Procedures
Should your locomotive experience an emergency shutdown, you’ll need to quickly assess whether the cause stems from low oil pressure or another safety system response. Emergency shutdowns bypass normal procedures and require systematic troubleshooting to prevent recurring failures.
Emergency Shutdown Response Protocol:
Check alarm indicators – Yellow “Low Oil” lights and blue “Alternator Failure” signals indicate specific system failures requiring immediate attention
Locate governor reset button – Look for the 3/8 inch extension with red band exposure indicating safety shutdown activation
Complete reset sequence – Press governor reset button fully, then move isolation switch to “START” position to extinguish alarms
Document incident details – Record shutdown cause, alarm patterns, and reset procedures for crew training and maintenance analysis
Wait forty seconds before restart attempts to allow system stabilization and cause determination.
Turbocharger Integration With Gear Drive Cooling Systems
Through careful integration of turbocharger and gear drive cooling systems, you’ll achieve peak thermal management that protects both critical engine components from heat-related failures. Proper aftercooler integration requires finned-tube designs that maximize surface area between compressed air and your cooling system. You’ll need copper and aluminum materials for optimal thermal conductivity in tubes and fins.
Configure multiple-pass systems so compressed air flows through the aftercooler several times, enhancing cooling efficiency. Install air-side and water-side separators to prevent moisture accumulation that damages turbocharger components.
Focus on coolant routing through gear-driven pumps that maintain consistent flow throughout the system. These positive displacement pumps handle high flow rates essential for turbocharger cooling under demanding conditions. You’ll want dual gear pump configurations to enhance pressure and flow capacity.
Maintain pressurized cooling systems for consistent circulation through both turbocharger and gear drive components, ensuring thorough thermal protection. Monitor heat transfer rate and airflow speed regularly to enable early detection of system problems before they affect locomotive performance.
Performance Monitoring Through Dynamic Brake Operations
When dynamic brake operations place extreme thermal and electrical loads on your locomotive’s gear drive system, thorough performance monitoring becomes essential for preventing catastrophic failures and optimizing braking efficiency. Real time diagnostics enable continuous assessment of critical parameters during high-stress braking cycles.
Real-time monitoring prevents catastrophic gear drive failures during high-stress dynamic braking operations through continuous assessment of critical locomotive parameters.
Your monitoring strategy should focus on these key areas:
Traction Motor Current Analysis – Monitor individual motor currents through 4-20 ma sensor inputs to detect imbalances that stress gear components during dynamic braking
Temperature Management – Track thermal conditions across gear housings using integrated sensor networks to prevent overheating damage
Axle Specific Monitoring – Implement Individual Axle Control technology with dedicated inverters to assess rear axle loading more intensively than front axles
Voltage Monitoring – Utilize analog inputs with 0.1V resolution across 0-80V ranges for precise electrical parameter tracking during brake engagement
Dynamic braking adjustments during these monitoring cycles help manage speed variations and enhance overall traction control under changing operational conditions.
Machine learning algorithms analyze historical performance data, enabling predictive maintenance scheduling that reduces operating costs while maximizing gear drive reliability.
700-Hour and 1400-Hour Maintenance Interval Requirements
Thorough gear drive maintenance extends beyond real-time monitoring into structured interval-based procedures that form the backbone of reliable locomotive operations. You’ll need to establish a disciplined inspection cadence that aligns with EMD’s proven maintenance intervals for optimal gear drive performance.
At regular inspection intervals, you must systematically examine gear drives for wear patterns, unusual noises, and vibrations that indicate potential failures. Your maintenance schedule should incorporate lubrication checks, guaranteeing proper oil levels and quality meet manufacturer specifications. Temperature differential monitoring between components provides critical performance data you can’t afford to overlook.
Component alignment verification becomes essential during these intervals, as misalignment causes accelerated wear and catastrophic failures. You’ll want to inspect drive system mechanical integrity, checking for loose bolts, damaged seals, and abnormal clearances. Document all findings meticulously, as these records guide future maintenance decisions and safeguard regulatory compliance while maximizing gear drive reliability.
Emergency Shutdown Procedures and Governor Control Systems
Although normal locomotive operations rely on predictable maintenance schedules, emergency situations demand immediate response protocols that can mean the difference between minor incidents and catastrophic failures. Your locomotive’s governor safety control mechanisms serve as the primary line of defense against engine damage during critical system failures.
Governor safety controls stand as your critical defense against catastrophic engine failures when emergency situations override standard maintenance protocols.
Emergency Response Protocol
Governor Reset Verification – Check if the reset button extends 3/8 inch with red warning band exposed, indicating automatic shutdown activation
Diagnostic Logging Window – Utilize the 40-second delay after restart to identify and document shutdown causes before normal operations resume
Operator Ergonomics Assessment – Access emergency stop button on throttle handle for immediate shutdown without triggering governor systems
Integrated Protection Response – Monitor yellow “Low Oil” and blue “Alternator Failure” signal lights while coordinating alarm bell shutoff through both governor reset and isolation switch repositioning
Understanding these emergency procedures guarantees you’ll respond effectively when protective systems activate during low oil pressure or water pump differential failures.
Frequently Asked Questions
What Gear Drive Components Require Replacement During Major Locomotive Overhauls?
You’ll replace 58 tooth gear assemblies and 19 tooth gears during major overhauls due to high stress loads. Inspect bearing assemblies for wear patterns and replace damaged components. Check tooth profiling on 22 tooth and 57 tooth gears for surface degradation. Replace armature assemblies and rewind kits completely. Don’t overlook pinion gear alignment specifications and bull gear surface hardening treatments for safety compliance.
How Do Environmental Conditions Affect Gear Housing Seal Longevity and Replacement Intervals?
Environmental conditions markedly accelerate seal degradation, requiring you to adjust replacement intervals based on climate impact. Extreme temperature fluctuations cause TPU seals to crack and lose flexibility, while chemical exposure from diesel fuel and ozone creates material breakdown. You’ll need shorter inspection cycles in harsh climates, monitoring for surface damage and proper seating to prevent pressurized oil leakage during operation.
What Torque Specifications Apply When Reassembling Gear Drive Housing Bolts and Fasteners?
You’ll apply specific torque values ranging from 90-335 ft-lbs depending on fastener size and application—gear box mounting bolts requiring the highest at 335 ft-lbs. Use proper torque calibration equipment to guarantee accuracy within ±3% tolerance. Maintain fastener traceability records for safety compliance. Follow sequential tightening patterns on housing joints, verify thread condition before assembly, and lubricate threads to prevent galling during installation procedures.
Can Gear Drive Oil Be Mixed Between Different EMD Locomotive Models?
Yes, you can mix gear drive oil between different EMD locomotive models due to standardized specifications. EMD’s oil compatibility guarantees lubricant mixing across 645 and 710 engines without performance issues. You’ll maintain consistent viscosity grades and base number requirements when mixing oils between models. However, you must verify both oils meet zinc-free and chlorine-free formulation requirements for proper component compatibility and operational safety.
What Warranty Coverage Exists for Gear Drive Failures in Rebuilt Locomotives?
EMD provides limited warranty coverage for gear drive failures in rebuilt locomotives, but you’ll face significant warranty exclusions if you’ve used non-authorized lubricants or components. Coverage typically doesn’t transfer between owners, creating transferability limits that affect resale value. You must maintain documented service intervals and use only EMD-approved parts to preserve protection. Third-party modifications void coverage entirely, leaving you responsible for costly gear drive repairs and potential cascading transmission failures.