
Overheating is one of the most common failures we see in locomotive cooling systems. It often comes from poor airflow balance.
Fans may run, but the duct network resistance mismatch reduces real cooling flow. That hurts radiator performance and can lead to thermal derating or component damage.
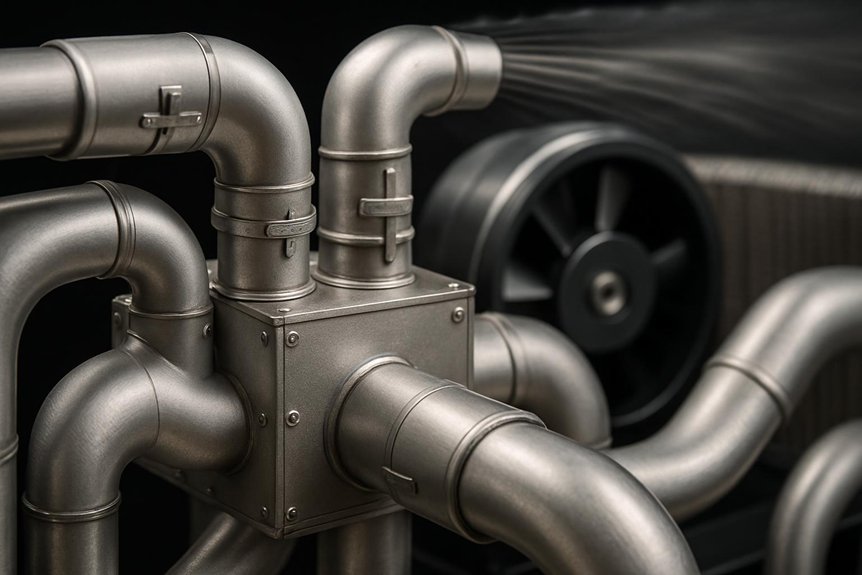
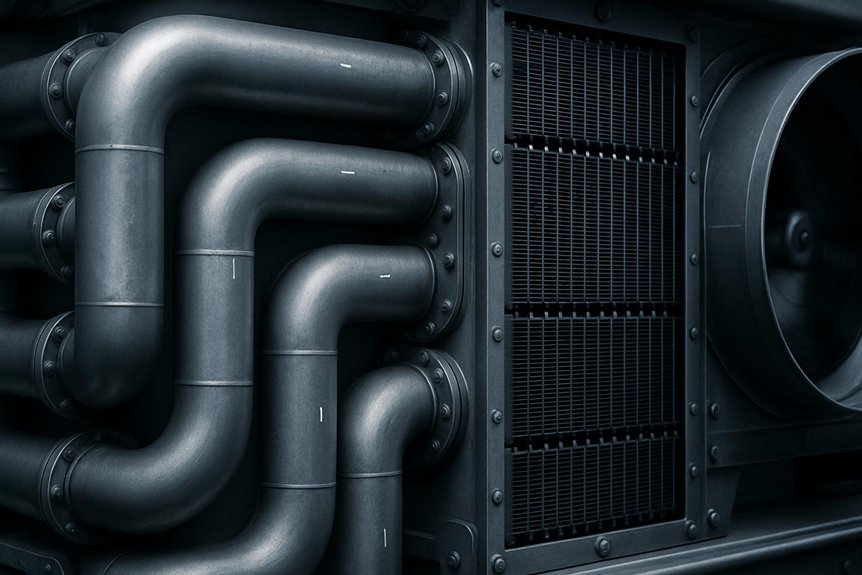
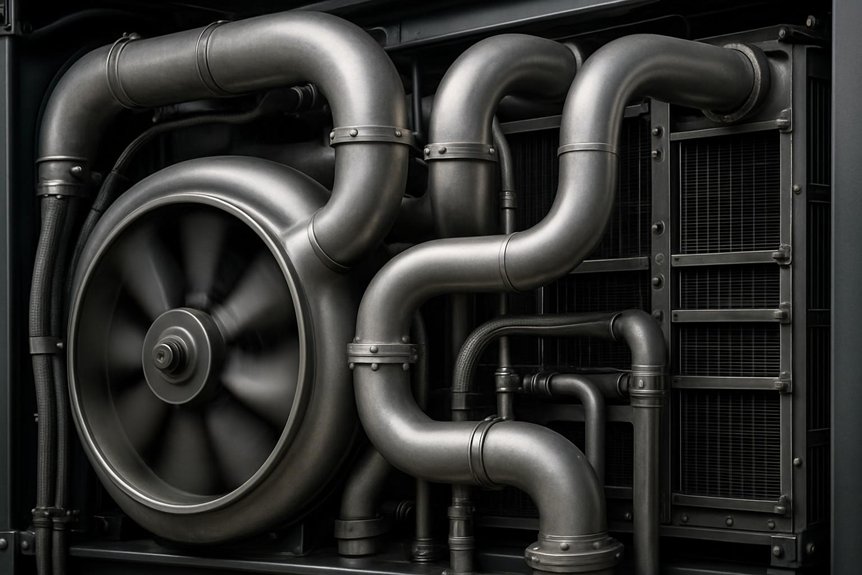
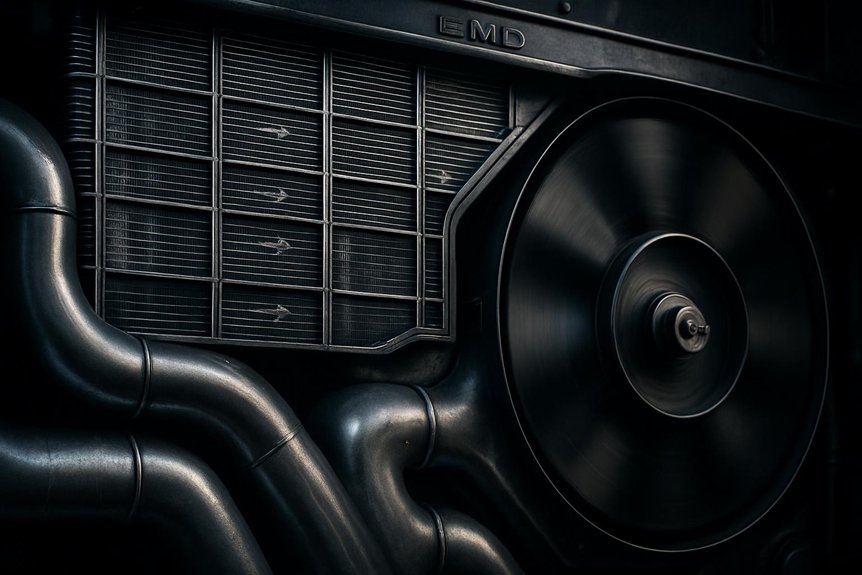
Below is how to match the cooling duct network to the fan curve. This is critical for optimal airflow in EMD locomotives.
- Match the fan curve to the system resistance curve.
- Size ducts by target cross-sectional area.
- Control duct velocity to limit friction losses.
- Include bends, contractions, expansions, and fittings.
- Account for radiator and coil pressure drops.
- Use fin geometry and fouling assumptions in calculations.
- Keep branch resistance as uniform as possible.
- Avoid maldistribution across cooling cores.
- Condition the inlet for stable flow at fan operation.
| Design item | What to match or estimate | Why it matters for airflow |
|---|---|---|
| Duct cross-sectional area | Target velocity vs. required flow | Sets friction loss level |
| Major friction loss | Pipe/duct length and roughness | Shifts system curve upward |
| Minor losses | Bends and fittings losses (K-values) | Adds extra resistance at operating flow |
| Radiator/coil pressure drop | Core design and condition | Directly sets required fan pressure |
| Fin fouling factor | Expected fouling reduction | Raises pressure drop over time |
| Branch duct balance | Equal resistance per core | Prevents airflow starvation in some cores |
| Inlet flow condition | Pressure/velocity stability at fan | Keeps fan near best efficiency point |
At Mikura International, we supply genuine locomotive engine parts and cooling-related components. We import and export original parts from ALCO, EMD, GE, WABCO, and other OEM sources.
We are not the locomotive manufacturer, but we support your maintenance and correct assembly with authentic components.
If you share your locomotive model and cooling layout, we can help identify the correct genuine parts. We can also help verify compatibility with your cooling airflow design.
Key Takeaways
- Size duct cross-sectional area to set target airflow velocity and drive the system resistance (ΔP ∝ Q²) for fan matching.
- Minimize local losses by optimizing bend radius, contraction/expansion tapering, and limiting elbow count to reduce pressure-drop peaks.
- Control surface roughness and aging effects because higher friction factor increases duct resistance and shifts fan operating point.
- Include heat-exchanger/radiator pressure drops as series system losses, accounting for fouling and bypass leakage that change airflow and heat transfer.
- Ensure uniform branch pressure drops across parallel cooling cores using plenum/manifold design to avoid maldistribution that moves airflow off fan optimum.
Introduction to Cooling System Design in Locomotives
When you design the Cooling Duct Design for a locomotive, you treat the fan and duct as one coupled system—your system resistance sets the airflow demand, so you match it to the fan curve for stable operation. You model the cooling module’s heat rejection as a thermal boundary condition, then compute the required mass flow and heat transfer while predicting flow resistance through the duct network. In confined engine-space layouts, you optimize duct geometry and component layout to hit airflow targets without excessive pressure drop, keeping fan-duct integration efficient across the operating range.
Importance of an integrated approach to fan and duct design
- Match duct area changes to maintain favorable pressure recovery
- Shape bends and transitions to control turbulence and tonal noise
- Use system resistance accounting to predict airflow at duty temperatures
Role of the cooling module in heat rejection from the engine
The cooling module drives heat rejection from the locomotive engine by converting engine-reject heat into a controlled air-side load that your cooling duct design can handle. You treat it as a coupled thermal–fluid element: you balance Thermal Load Balancing across cores, fans, and duct passages so the required mass flow matches the cooling demand. Heat Exchanger Efficiency sets the effective temperature rise and governs outlet air enthalpy, which then determines downstream System Resistance seen by the fan–duct integration.
| Module function | Dominant metric | Implication for duct/fan matching |
|---|---|---|
| Heat pickup from engine | Heat Exchanger Efficiency | Sets required airflow for target temperatures |
| Core and fin passages | Flow resistance | Shifts system curve; raises pressure drop |
| Exit mixing into duct | Thermal Load Balancing | Stabilizes temperature/velocity profile for airflow optimization |
Overview of the challenges in optimizing airflow in confined spaces
In confined locomotive cooling bays, you face persistent airflow optimization challenges because duct passages, bends, and equipment housings force fast local accelerations and sharp pressure gradients that don’t “average out” cleanly; instead, they reshape the velocity field, increase flow resistance, and alter the effective system curve the fan sees. As you tune Cooling Duct Design, you must treat the flow network as a coupled fan-diffuser system, not a simple duct run. Misalignment shifts operating point, raising recirculation, nonuniform cooling, and thermal hot spots. Use CFD Methodology to resolve secondary flows and estimate System Resistance; then apply Computational Validation against pressure-drop measurements to confirm Fan-Duct Integration.
- Local losses at bends and bends and transitions dominate total pressure drop
- Tight clearances amplify turbulence and uneven velocity distribution
- Component layout changes inlet conditions to the fan intake
Understanding System Resistance

In your Cooling Duct Design, system resistance is the combined flow resistance that converts pressure head into pressure losses, setting what airflow you can actually achieve. You’ll see pressure drop rise from friction and wall shear, plus geometric penalties like bends, contractions, and expansions that disturb the velocity field. To match fan-duct integration, you plot the system curve and find its intersection with the fan curve, so the operating point delivers the airflow optimization your thermal loads require.
Definition of system resistance and how it arises in duct networks
System resistance is the total opposition your cooling duct network presents to airflow, and it emerges from every source of pressure loss along the path from the fan to the heat exchanger and back. In your Cooling Duct Design, you treat this opposition as a system curve term: the volumetric flow you get from fan–duct integration depends on how hard the network “pushes back.” As air accelerates, you accumulate Friction losses in straight passages, plus minor losses generated by repeated area changes in components and junctions. Those losses convert pressure into entropy, shrinking static pressure available for heat transfer. You can think of system resistance as:
- Friction losses proportional to duct length and roughness
- Minor losses tied to interfaces and internal features
- Total pressure drop setting the intersection with the fan curve
Factors contributing to pressure drop: friction, bends, contractions, expansions
| Loss source | Primary mechanism | Design lever |
|---|---|---|
| Friction | wall shear | smooth bore |
| Bends | secondary turbulence | radius, vanes |
| Contraction | jetting | gradual taper |
| Expansion | separation | diffuser angle |
The concept of the “system curve” and its intersection with the “fan curve”
Once you model the duct network as a load, you can treat the “system curve” as the relationship between airflow rate and required pressure rise, where system resistance grows roughly with (Delta P propto Q^2) due to frictional losses and minor losses from bends, contractions, and expansions. You then superimpose the fan curve (static pressure vs. flow) to find their intersection: that operating point sets the cooling airflow and thermal margin.
- Use Flow Measurement at multiple speeds to validate the assumed pressure drop law
- Apply Calibration Methods to reduce uncertainty in duct geometry and component layout losses
- Perform fan-duct integration so the fan doesn’t stall or overshoot, preserving airflow optimization
Finally, small changes in duct geometry shift the system curve, so you must rematch performance under each ambient condition.
Key Duct Network Design Parameters
In your Cooling Duct Design, you should start with duct cross-sectional area, because it sets air velocity and directly drives pressure drop along the system resistance curve for fan matching. Next, you need to account for material and surface roughness, since friction losses rise with turbulence and increased roughness at your operating Reynolds number. Finally, you must treat bends, elbows, and intermediate connections as engineered losses—each geometry change shifts the fan operating point and impacts airflow optimization and thermal removal.
Duct cross-sectional area and its impact on air velocity and pressure drop
- Target velocity for airflow optimization without triggering excess Flow turbulence
- Track system resistance to avoid poor fan matching and reduced static margin
- Limit velocity-driven noise generation from unstable flow
Use duct sizing to meet your thermal duty while keeping pressure drop consistent with the fan performance curve.
Material and surface roughness of duct walls affecting friction losses
Material choice and wall surface roughness strongly influence the friction factor in your Cooling Duct Design, which then drives wall-pressure drop, flow resistance, and the operating point on the fan curve. If you pick rougher duct liners or aging coatings, the boundary layer thickens, raising shear stress and worsening System Resistance at a given Reynolds number.
In thermal analysis, that added pressure loss increases fan power demand and can shift Airflow Optimization, reducing heat-transfer effectiveness at the EMD cooling interfaces. During Ventilation testing, quantify how roughness changes the effective Darcy friction and confirm the Fan-Duct Integration with the measured fan curve. You’ll also enable noise reduction by avoiding unstable, high-shear flow regimes near the duct walls, limiting tonal turbulence from excessive drag.
Number and geometry of bends, elbows, and transitions
Bends, elbows, and shape changes strongly govern the local losses that feed directly into your Cooling Duct Design and shift the operating point along the fan curve. You need geometry discipline because each turn alters velocity profiles, turbulence intensity, and System Resistance, pushing Fan-Duct Integration away from the desired airflow. Use bend radius selection to keep curvature gentle and preserve static pressure for Airflow Optimization. You also control Flow turbulence control by minimizing sudden area contractions/expansions and by aligning straight runs before and after each fitting.
- Increase bend radius to reduce separation and peak losses.
- Taper transitions gradually to limit expansion coefficients.
- Limit elbow count and clock them to avoid interacting wakes.
Integration with Heat Exchangers and Radiators
As you integrate the cooling duct design with heat exchangers and radiators, you need to account for the pressure drop across each coil and treat it as part of your system resistance and fan-duct integration. Optimize the spacing and fin geometry within the cooling module to reduce flow resistance while sustaining the required heat-transfer coefficient. Then enforce uniform flow distribution across the heat transfer surfaces so your fan operating point matches the module’s effective flow-area and pressure-drop curve.
Pressure drop across heat exchange coils (radiators, oil coolers)
Model the pressure drop across each heat exchange coil (radiator and oil cooler) as a coupled loss mechanism that directly shifts the system curve your fan must overcome. In your Cooling Duct Design, treat every coil as an added local resistance in series with the duct network, so airflow optimization depends on matching fan static pressure to this higher system resistance. You also need Seal Leakage Prevention because bypass leakage changes effective coil velocity, altering h, ΔP, and heat transfer simultaneously. Account for Material Durability Concerns: fouling and fin damage increase blockage fraction, raising pressure losses over time. Track these contributors:
- Inlet/outlet contraction and manometer losses
- Core face velocity profile non-uniformity
- Fouling-induced hydraulic diameter reduction
Then you’ll align fan–duct intersection to the required flow and thermal margin.
Optimizing spacing and fin design within the cooling module
Once you treat each coil and its associated losses as a local resistance that shifts the system curve, you can tune how the cooling module creates that resistance by optimizing spacing and fin design around the heat exchangers and radiators. In your Cooling Duct Design, set fin spacing to control boundary-layer growth, then use CFD Microgeometry effects to capture how serrations, edges, and junctions alter local turbulence and effective heat transfer coefficient.
You should enforce fin pitch uniformity to avoid streamwise variations in wetted area that drive maldistribution in manifold-adjacent passages. When fin pitch tightens, you raise wetted surface but also increase form drag, steepening system resistance and shifting the fan operating point. Match this added System Resistance with Fan-Duct Integration so Airflow Optimization stays near the fan’s peak efficiency.
Ensuring uniform flow distribution across heat transfer surfaces
To keep your Cooling Duct Design efficient, you need uniform flow distribution across every heat transfer surface in the heat exchangers and radiators, because maldistribution directly increases local air-side resistance and shifts the system curve away from the fan’s optimum. You should treat each core as a parallel network and size duct geometry, plenums, and component layout to balance static pressure and residence time. Use CFD Validation to map velocity uniformity and thermal boundary-layer development, then confirm with Flow Measurement at multiple stations. Target equal pressure drop per branch so fan-duct integration stays within its operating point and airflow optimization holds under off-design speeds. Watch for jetting, recirculation, and bypass leakage:
- Velocity deviation versus fin count
- Local h-transfer sensitivity to boundary-layer thinning
- System Resistance changes as fouling or loading varies
Fan-System Matching for Optimal Operation
In your Cooling Duct Design, you match the fan-system by locating the operating point where the fan curve intersects the system resistance curve set by your duct geometry and pressure drop. If you miss that intersection, you drive inefficient airflow, reduce convective heat transfer, and increase fan energy consumption due to unfavorable flow resistance. Use numerical simulation of fan-duct interaction to predict the operating point under varying boundary conditions and then optimize Fan-Duct Integration for airflow optimization and thermal efficiency.
Locating the fan’s operating point on the performance curve
You match a locomotive fan to the Cooling Duct Design by locating its operating point where the fan’s pressure–flow curve intersects the system curve (pressure drop vs. airflow). Then you read the corresponding volumetric flow rate and static pressure rise to ensure Airflow Optimization under transient thermal loads. Use Computational model validation to predict duct System Resistance and verify that duct geometry and component layout generate the intended flow resistance. Next, apply Experimental duct testing to confirm the measured system curve aligns with your CFD-derived curve before finalizing Fan-Duct Integration.
- Compute system pressure drop across the expected airflow range
- Identify the intersection of curves to set operating point
- Validate with test data to bound uncertainty in losses
Consequences of mismatch: inefficient airflow, reduced cooling, increased energy consumption
When the locomotive fan’s pressure–flow curve doesn’t match the Cooling Duct Design system curve, the fan can’t deliver the airflow the thermal load demands. In fluid dynamics terms, you miss the operating point, so system resistance dominates and effective airflow drops. Reduced mass flow lowers convective heat transfer coefficients, leaving the heat exchangers under-cooled and increasing component temperatures.
You also distort flow distribution: branches with lower impedance steal flow, while high-resistance paths starve. That imbalance can drive heat exchanger bypass effects, where recirculating leakage short-circuits thermal cores instead of using them, worsening performance. To compensate, you often run higher fan speed or longer duty cycles, which increases electrical power, acoustic noise, and net energy consumption. Fan–duct integration fails, and thermal margins erode.
Numerical simulation to predict and optimize fan-system interaction
Numerical simulation lets you predict how your cooling duct design system resistance shapes the fan’s pressure rise and determines the actual operating point. You run coupled CFD/thermal models to capture pressure drop, flow resistance, duct geometry, and component layout, then you overlay the resulting system curve on the fan curve for airflow optimization. In Heat Transfer Modeling, you track temperature rise and local convection coefficients so fan speed changes translate into cooling capacity, not just flowrate. Use staged parametric sweeps to tune Fan-Duct Integration until the operating point sits near best efficiency.
- Model duct junction losses and bends explicitly
- Couple wall heat flux to local airflow fields
- Recompute with uncertainty bands from Validation Experiments
Advanced Considerations and Future Trends
When your Cooling Duct Design includes complex geometry, you should target reduced system resistance by smoothing expansions/contractions and applying flow conditioners or guide vanes to recover pressure and stabilize the velocity field. You’ll improve Airflow Optimization and Fan-Duct Integration by using dynamic control—adjusting duct geometry and/or fan speed—to keep the operating point on your system curve as train loads and inlet temperatures shift. These future trends move you toward adaptive matching, where pressure drop, turbulence intensity, and thermal boundary-layer performance stay within design margins in real time.
Strategies for reducing pressure losses in complex duct geometries
Optimize pressure losses in a locomotive cooling duct network by treating every bend, junction, and expansion like a localized loss generator tied to your Cooling Duct Design and fan operating point. You reduce system resistance by combining duct surface treatment with turbulence suppression strategies, then verify Fan-Duct Integration through system curve analysis. In complex geometries, you target minor losses and their Reynolds-number sensitivity to keep airflow optimization stable.
- Smooth transitions: blend expansions/contractions to cut separation and form drag.
- Manage junctions: use matched branch areas to limit recirculation pockets.
- Apply duct surface treatment: lower roughness to reduce frictional pressure drop.
During thermal analysis, you guarantee reduced losses maintain required mass flow for EMD component heat rejection, so the fan operates near its best efficiency point rather than deeper into the drop-off region.
Use of flow conditioners and guide vanes
Flow conditioners and guide vanes let you shape the velocity profile before the fan—straightening swirl, damping recirculation, and stabilizing the inlet angle that drives your Cooling Duct Design. In your fan-duct integration, you target a more uniform inlet so the fan sees the intended static pressure rise and system resistance. You manage nonuniform inlet effects by using aligned vanes to reduce turbulence production, improving turbulence control and shifting losses from the inlet region into predictable diffuser behavior. For advanced considerations, you pair passive stabilization with vibration isolation, so guide elements don’t excite blade-passing harmonics. You also apply acoustic mitigation by smoothing inlet gradients, lowering broadband noise and preventing pressure pulsation from corrupting airflow optimization.
Dynamic adjustment of duct geometry or fan speed in response to varying conditions
With stabilized inlet conditions from properly placed flow conditioners and guide vanes, you can push Cooling Duct Design further by adding dynamic adjustment strategies that keep airflow optimization aligned with the fan’s operating line. You can implement Flow control by varying duct throat area (variable vanes) or by commanding fan speed, while you continuously update system resistance via pressure sensing and model-based fan-duct integration. Use feedback sensing to track inlet total pressure, temperature rise, and measured flow, then retune setpoints to prevent off-curve operation and avoid surge. Consider:
- Modulate duct geometry to shift the system curve with changing ambient density
- Apply fan speed ramps to hold target mass flow under load transients
- Use adaptive control to minimize System Resistance and Pressure drop mismatch
Frequently Asked Questions
What Happens if Fan and Cooling Duct System Are Not Properly Matched?
If your fan and Cooling Duct Design aren’t properly matched, airflow collapses—fast. You’ll drive the operating point into Fan Stall, where the flow flips from steady to turbulent chaos. Meanwhile, excessive pressure drop and bad duct geometry can trigger Duct Flooding, choking heat transfer and spiking temperatures. System curve analysis will show the mismatch as reduced mass flow, higher thermal stress, and noisy vibration, because your fan can’t overcome the duct system resistance.
How Can Pressure Losses in Ducts Be Minimized?
To minimize pressure losses in the cooling duct design, you reduce system resistance by smoothing duct geometry, avoiding sudden expansions or contractions, and keeping turns gradual. You select a duct layout with shorter effective lengths and consistent cross-sections to prevent turbulence and friction. You seal joints to cut duct leakage risks, since leakage shifts flow and raises pressure drop. Finally, you align fan–stall risk by sizing flow paths so the fan stays on its stable curve.
Are There Different Types of Cooling Duct Configurations in Locomotives?
Yes—locomotives use different cooling duct configurations. You can choose parallel duct layouts for flexible airflow distribution, or series/merged duct layouts to concentrate pressure and improve thermal management. You may also use straight runs with smooth transitions, or include bends, splitters, and diffusers to tune airflow optimization. In fluid-dynamics terms, each duct layout changes system resistance and pressure drop, so fan-duct integration and system-curve matching stay consistent.
How Do Duct Geometry Changes Affect Airflow Optimization and System Resistance?
You’ll see airflow optimization hinge on duct geometry. When you change duct sizing, curvature, and cross-sectional area, you shift local velocities and friction factors, which raises or lowers flow resistance. Smooth, gradual expansions reduce pressure drops and keep the system curve closer to the fan’s operating point. Tight bends, sudden contractions, or uneven manifolds spike losses, causing flow separation and reduced mass flow. Use fluid-dynamic sizing to maintain uniform distribution.
What Does System-Curve Analysis Reveal About Airflow Optimization Limits?
You can’t beat system curve reality: it reveals how rising system resistance with duct geometry, pressure drop, and fittings constrains airflow, setting your airflow optimization limits. Plot the system curve against the fan curve to find where both intersect; that intersection defines the operating envelope you can’t exceed without sacrificing flow or increasing noise. In thermal-fluid terms, as loads rise, static pressure demand grows nonlinearly, squeezing available mass flow.