
You’ll maintain diesel locomotive camshaft bearings by changing oil every 750 hours and conducting thorough bearing inspections at 3,000-hour intervals. Monitor oil pressure continuously—execute immediate shutdown when pressure drops below 8 psi to prevent catastrophic damage. Replace turbocharger oil filters at 1,400 hours and perform visual inspections for scoring, pitting, or discoloration. Measure camshaft runout with dial indicators, replacing units exceeding 0.002″ specifications. These protocols form the foundation of advanced bearing protection strategies.
Key Takeaways
- Standard camshaft bearing maintenance follows 750-hour oil change intervals to ensure proper lubrication and prevent bearing damage.
- Initial break-in requires oil change after 500 miles to remove metal particles that could damage camshaft bearings.
- Deep sump systems allow extended 1,000-hour maintenance intervals while standard sumps require 500-hour servicing schedules.
- Camshaft runout measurements exceeding 0.002″ indicate immediate bearing replacement to prevent catastrophic engine damage.
- Emergency shutdown protocols activate when oil pressure drops below 7.1-14 psi to protect camshaft bearings from seizure.
Oil System Pressure Requirements for Camshaft Bearing Lubrication
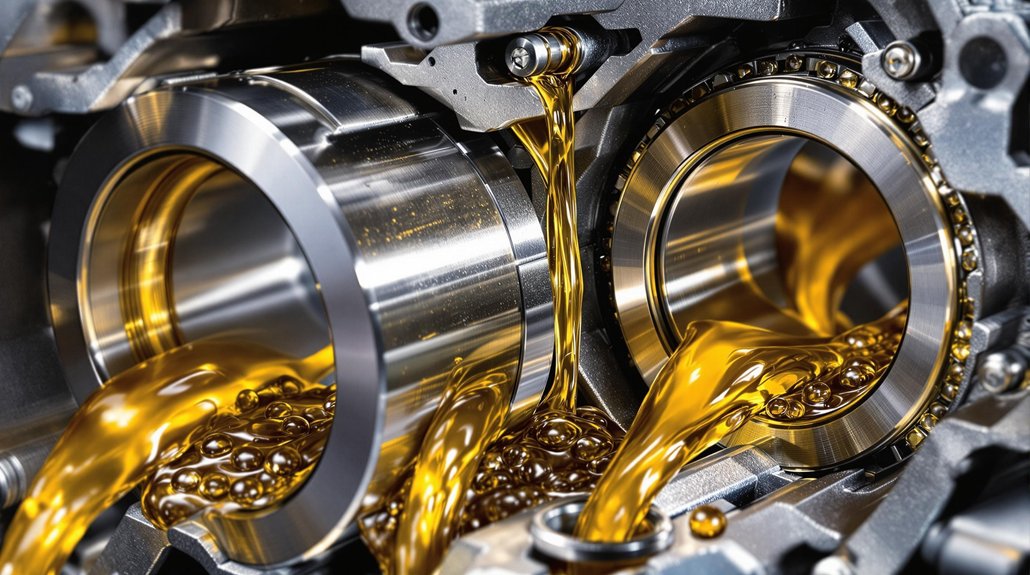
Three critical pressure thresholds determine whether your diesel locomotive’s camshaft bearings receive adequate lubrication throughout the operating range. You’ll need to maintain 8-12 psi minimum during idle operation to prevent bearing damage. At full speed, target 25-29 psi for ideal lubrication efficiency. CI engines require higher pressures of 28.5-64 psi at rated speed.
Monitor your oil pressure continuously through switches installed directly at camshaft bearings. Low-pressure alerts activate between 7.1-14 psi, depending on your engine type. If pressure drops below 10 psi at idle, you’re facing potential cam bearing failure risks that require immediate attention.
Your warning system will trigger automatic shutdowns when oil pressure falls below critical thresholds, protecting expensive components. Relief valves prevent system overload by restricting maximum pressure. Remember that spun cam bearings reduce system pressure, signaling urgent inspection needs before catastrophic failure occurs. Proper oil entrance position at the 1 o’clock location from bearing loading ensures optimal lubrication flow to prevent premature bearing wear.
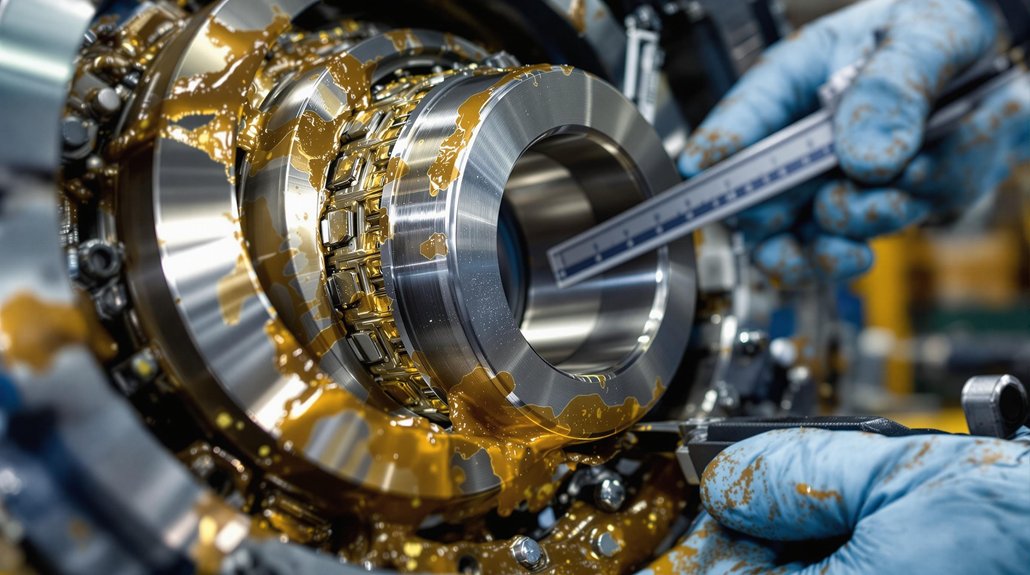
Visual Inspection Techniques for Bearing Wear Detection
While maintaining proper oil pressure protects your camshaft bearings during operation, regular visual inspection reveals developing problems before they trigger pressure drops or system failures.
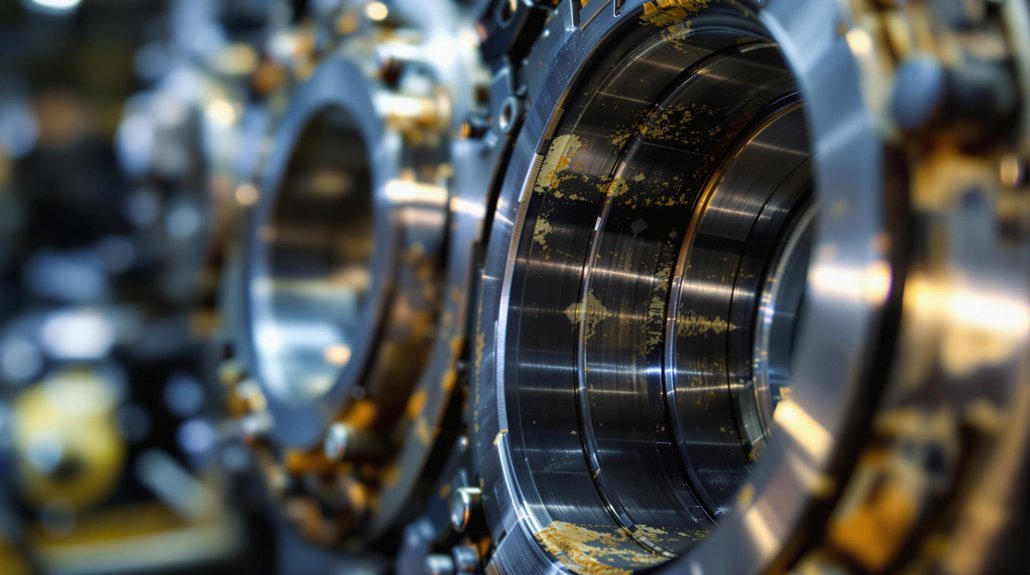
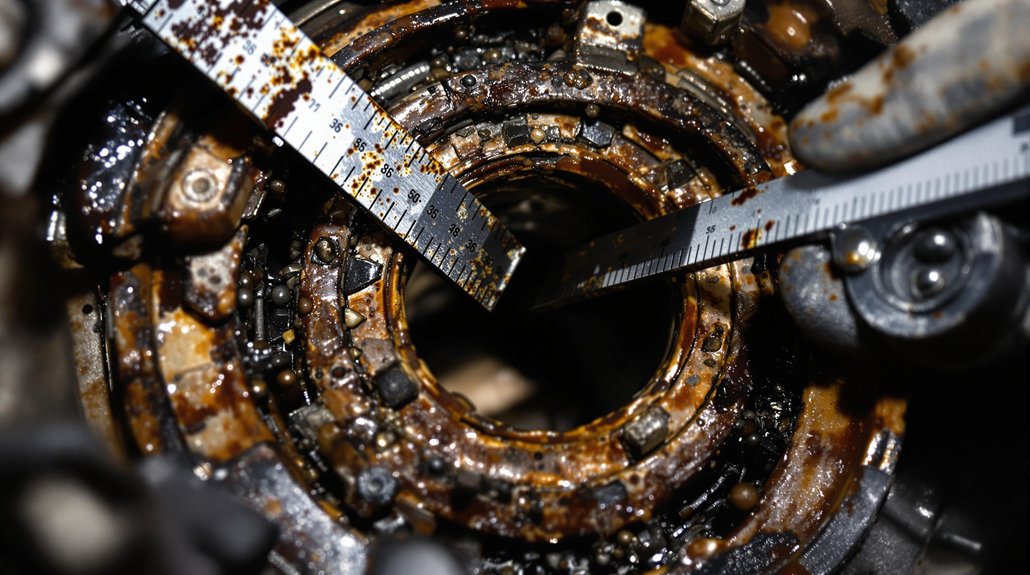
During visual inspection for bearing detection, examine bearing surfaces for scoring, pitting, or discoloration indicating insufficient lubrication or contamination. You’ll identify uneven wear patterns showing irregular loading conditions that require immediate bearing replacement. Check for fatigue cracks, scratches, or embedded debris that accelerate bearing degradation.
Visual inspection reveals critical bearing damage through scoring, pitting, and discoloration before catastrophic failure occurs.
Inspect bearing-to-cap seating by loosening caps enough for examination without full removal, preserving critical alignment marks. Document surface finish quality, rejecting bearings with roughened or contaminated surfaces that’ll cause premature failure.
Distinguish between bearing materials during inspection—softer babbitt bearings show wear differently than hardened copper-lead alloys. Look for flat spots or polished surfaces indicating excessive contact pressure. Any visible marking or surface irregularity warrants replacement, as bearing detection through visual inspection prevents costly camshaft damage and maintains locomotive reliability. Measure bearing wear with micrometer accuracy to determine if replacement thresholds have been exceeded.
Camshaft Runout Measurement and Alignment Verification

Accurate camshaft runout measurement requires precise setup of dial indicators and V-blocks to detect shaft eccentricity before it causes bearing failure or valve timing irregularities. You’ll mount probes perpendicular to journals, ensuring contact points remain clean and properly aligned throughout testing.
For thorough runout analysis, rotate the camshaft through complete 360° cycles while recording measurements at consistent intervals. Set your probe travel range to half the plunger’s capacity, enabling accurate positive and negative deviation recording. This alignment technique captures both axial and radial runout effectively.
| Measurement Type | Tolerance Limit | Action Required |
|---|---|---|
| Well-ground cams | ≤0.001″ | Continue operation |
| Acceptable wear | 0.001″-0.002″ | Monitor closely |
| Poor machining | >0.002″ | Replace immediately |
| Base circle runout | Minimal movement | Verify concentricity |
| Coupling hub deviation | Document values | Trend analysis |
Calculate total runout by subtracting minimum from maximum readings. Replace camshafts exceeding 0.002″ runout immediately to prevent catastrophic bearing damage. Regular run-out checks during scheduled maintenance intervals help identify developing problems before they cause complete mechanical failure.
Bearing Replacement Torque Specifications and Installation Procedures
Once you’ve verified camshaft alignment meets specifications, proper bearing installation becomes your next priority to prevent premature failure. You’ll need specific torque values for each engine series: 15-20 ft-lbs for 4.2 engines, 35-40 ft-lbs for 71-series, and 300-325 lb-ft for 92-series engines. Bearing caps require maximum 15 ft-lbs to avoid stripping threads.
Replace all cam bearing bolts and unsettable fasteners during bearing installation. Use serrated lock washers instead of split washers for better retention. Apply thread-locking compound on 92-series engine fasteners to prevent loosening. Work with a calibrated torque wrench for precise application.
During torque verification, confirm gear teeth are fully seated before tightening. Use thrust plates to hold the camshaft position throughout the process. After initial torquing, manually rotate the crankshaft twice and recheck all torque values. This double-verification prevents fastener loosening and confirms proper bearing contact throughout the camshaft’s operational range. Consider subscribing to manufacturer updates for exclusive online offers on replacement parts and technical bulletins.
750-Hour Oil Change Schedule for Bearing Protection
Three critical factors determine your diesel locomotive’s oil change intervals: sump capacity, operating hours, and bearing protection requirements. Your initial break-in requires an oil change after 500 miles to remove metal particles that compromise bearing maintenance. Follow this with a second change at 50% of standard intervals—typically 7,000 miles if normal operation calls for 15,000.
Your sump capacity dictates ongoing schedules: deep sumps allow 1,000-hour intervals, standard sumps require 500 hours, and shallow sumps need changes every 250 hours. For specialized bearing protection, you’ll replace turbocharger oil filters at 1,400 hours to protect high-speed bearings from contamination.
Oil longevity correlates directly with fuel consumption—schedule changes every 106,000 liters of fuel burned. After two initial oil changes, you can resume standard manufacturer intervals while maintaining dedicated filter schedules for critical bearing systems. Avoid idling the locomotive whenever possible to minimize unnecessary wear during the critical first months following break-in.
3,000-Hour Major Service Bearing Inspection Protocol
When your diesel locomotive reaches major service intervals, you’ll conduct thorough bearing inspections that protect critical engine components from catastrophic failure. These extensive inspection intervals require precise procedures to assess bearing wear and determine component serviceability.
Begin by reviewing service manual specifications for camshaft bearing tolerances and gathering precision tools including dial bore gauges and micrometers. Remove oil pans and obstructions, then lift camshafts using proper equipment to prevent bearing displacement. Keep bearing caps minimally engaged during inspection while documenting positions and wear patterns.
Proper preparation with precision instruments and careful camshaft handling prevents bearing damage during critical locomotive engine inspections.
Measure bearing inner diameters and calculate clearances by subtracting cam journal outer diameters. Evaluate out-of-round conditions and compare readings against factory limits. Replace camshafts showing excessive lobe wear, scoring, or dimensional loss. Address journals with out-of-round readings beyond specifications through resurfacing or replacement.
Check for metal shavings in the oil during inspection as these indicate camshaft bearing wear or potential failure conditions requiring immediate attention.
Document findings photographically and maintain alignment marks during reassembly to guarantee proper component positioning and continued operational reliability.
Oil Analysis Testing for Contamination Monitoring

Since contaminated oil causes 75% of diesel engine failures, you’ll implement systematic oil analysis testing to detect wear metals, chemical degradation, and foreign contaminants before they trigger catastrophic component damage.
Your oil quality monitoring program must target specific contamination sources including water ingress, fuel dilution, and abrasive particles. You’ll establish critical thresholds: iron content exceeding 100 ppm indicates severe bearing wear, while lead levels above 20 ppm signal imminent bearing failure requiring immediate intervention.
Implement these testing protocols for thorough contamination monitoring:
- Spectral analysis using GOST20759 standards to quantify wear metals (Fe, Pb, Cu, Sn, Al) and detect abnormal degradation patterns
- FTIR screening to identify water content above 0.5% and oxidation byproducts affecting additive performance
- Base Number (BN) testing to assess acid-neutralizing capacity and determine oil change intervals
- Acid Number (AN) analysis to detect fuel sulfur contamination and thermal breakdown products
Schedule analysis every 500 operating hours or when abnormal engine conditions occur. Note that ICP spectroscopy has a particle size detection limit of five to eight microns, which may mask issues from larger wear particles that could indicate significant bearing damage.
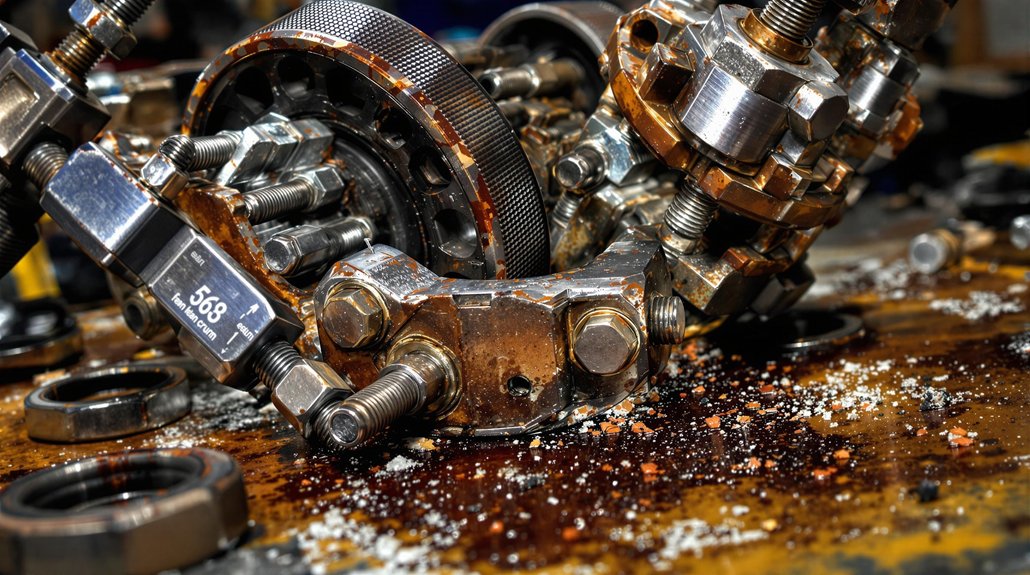
Emergency Bearing Failure Response and Mitigation Strategies
When bearing failure occurs during locomotive operation, you’ll need to execute immediate shutdown procedures to prevent catastrophic engine damage and costly secondary failures. Your detection protocols must focus on critical warning signs including sudden oil pressure drops, unusual vibration patterns, and thermal discoloration on bearing surfaces that indicate imminent failure. You must implement emergency response measures within minutes of detection, as continued operation with compromised bearings can destroy journals, warp cam caps, and require complete engine rebuilds. The metal-on-metal contact from failed bearings will rapidly escalate damage throughout interconnected engine components if operation continues.
Immediate Failure Detection
Although diesel locomotives operate within normal parameters most of the time, bearing failures can develop rapidly and without warning, making immediate detection systems your first line of defense against catastrophic engine damage. Your monitoring equipment must provide real-time alerts when thermal spikes or vibration anomalies exceed predetermined thresholds. Proper sensor calibration guarantees accurate failure prediction before complete bearing seizure occurs.
Establish baseline readings during initial sampling to create reference points for detecting deviations that signal potential bearing deterioration before catastrophic failure occurs.
- Temperature monitoring – Install thermocouples directly in bearing cups to detect thermal spikes exceeding 180°F above baseline temperatures
- Vibration analysis – Deploy accelerometers on engine casings to capture amplitude variations and frequency spikes at crankshaft RPM harmonics
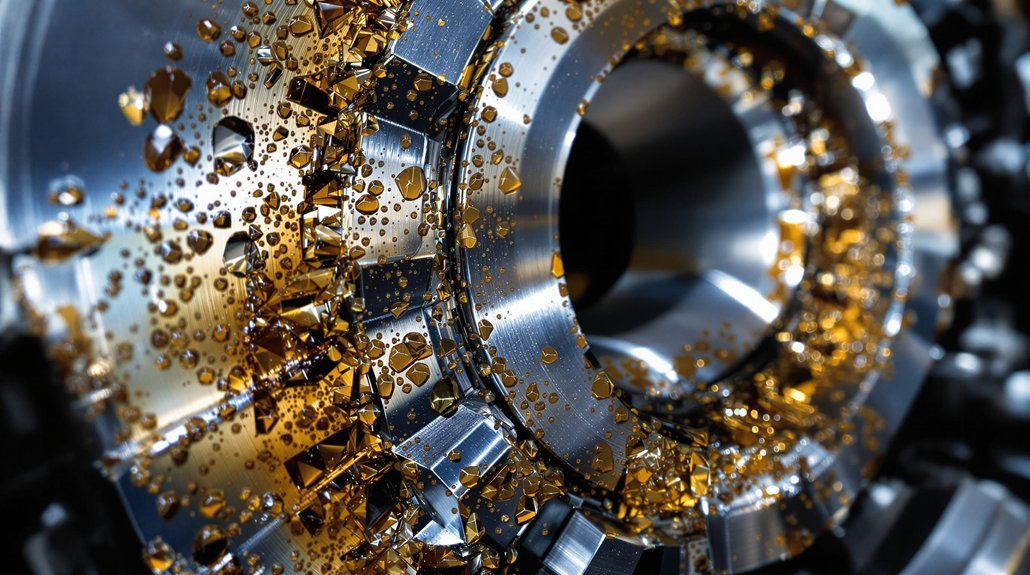
- Oil contamination detection – Monitor lubrication systems for metal debris particles indicating bearing wear progression
- Pressure tracking – Implement hydraulic flow sensors to alarm at abnormal bearing pressure rates
Critical Response Protocols
Detection systems provide the foundation for response, but your emergency protocols determine whether bearing failure results in minor downtime or catastrophic engine destruction. When failure indicators like vibration spikes or metallic noises occur, execute immediate shutdown procedures to prevent cascading damage. Activate cooling systems to stabilize temperatures while isolating lubrication circuits to prevent debris contamination. Remove metal shavings through thorough oil system cleaning before any reassembly attempts.
Implement damage mitigation by verifying alignment with precision tools and retorquing bearing caps using new bolts in side-to-side patterns. Check oil hole alignment and confirm proper chamfer positioning. Maintain regular oil changes to prevent friction-related bearing deterioration during extended operational periods. Your maintenance frequency adjustments should incorporate contamination analysis results to address filtration weaknesses and prevent recurrence of bearing failures.
Frequently Asked Questions
What Are the Cost Differences Between OEM and Aftermarket Camshaft Bearings?
You’ll find aftermarket camshaft bearings cost 50% less than OEM equivalents, with individual units ranging $18.99-$26.95 versus higher OEM pricing. However, OEM benefits include guaranteed compatibility and brand reliability. Aftermarket risks involve potential quality variations despite ISO 9001 certifications. You’re getting 2-year unlimited mileage warranties from quality aftermarket suppliers, matching OEM coverage. Bulk bearing kits provide better value than individual purchases, reducing your overall maintenance costs considerably.
How Do Temperature Variations Affect Camshaft Bearing Maintenance Interval Scheduling?
You’ll adjust maintenance scheduling based on temperature monitoring data showing thermal stress patterns. Higher temperatures accelerate lubricant breakdown, requiring shortened intervals. You’ll use thermal imaging systems to detect localized overheating early, triggering immediate inspections. When temperatures exceed design thresholds, you’ll implement emergency replacement protocols. Your scheduling algorithms must correlate real-time temperature data with predicted wear patterns, ensuring you’re replacing bearings before catastrophic failure occurs during operations.
Can Camshaft Bearing Maintenance Be Performed Without Removing the Entire Engine?
You’ll face a critical decision when bearings start failing—complete engine disassembly or strategic access points? You can perform camshaft inspection through removable cover plates and access panels without full engine removal. However, you’re limited to visual checks and basic measurements. For thorough bearing replacement, you’ll need partial engine disassembly, removing cylinder heads and camshaft assemblies while keeping the block mounted in the locomotive frame.
Which Specialized Tools Are Required for Proper Camshaft Bearing Installation Procedures?
You’ll need universal camshaft bearing tools with expander sleeves for standard installations, plus engine-specific adaptor kits for CAT C10/C12 or Cummins Big Cam series. Essential specialized equipment includes hydraulic rams for controlled insertion, precision alignment components like nylon centering cones, and drive shaft extensions for deep-reach applications. Don’t forget split driving plates with protective rubber sleeves and proper drive bars—24″/55″ lengths guarantee adequate leverage for secure bearing installation procedures.
How Do Different Oil Viscosity Grades Impact Bearing Longevity and Performance?
You must use manufacturer-specified oil viscosity to guarantee ideal bearing performance. Higher viscosity oils create excessive friction and reduce flow through camshaft passages, causing bearing starvation. Lower viscosity oils can’t maintain proper film thickness, leading to metal-to-metal contact. You’ll experience premature bearing failure if you deviate from recommended grades. Proper viscosity maintains hydraulic pressure, guarantees adequate lubrication, and maximizes bearing longevity under operating temperatures.