

Locomotive crews and maintenance teams often struggle to identify which brake valve gaskets must be replaced. Guessing wrong causes air leaks, brake response delays, and costly rework.
Clear rules for inspection, part matching, and soap testing solve this problem quickly and reliably. Mikura International supplies genuine locomotive brake parts for these repairs.
Common problems that lead to gasket failure:
- Air leaks appear at the body joint after reassembly.
- Gaskets flatten or harden from heat and age.
- Gasket material extrudes into the air passage.
- Cracks go unnoticed during visual inspection.
- The wrong kit number is ordered for the valve model.
- Reused gaskets fail after their seals were broken.
- Soap test leaks exceed the specified limit.
- Brake response slows during terminal tests.
Gasket replacement reference:
| Joint or Item | What to Check | Required Action |
|---|---|---|
| Body joint | Flattening, cracking, extrusion | Replace gasket |
| Cover joint | Hardening, seal distortion | Replace gasket |
| Intermediate plate joint | Leak above specification during soap test | Replace gasket and retest |
| Valve nameplate | Model number | Match kit to locomotive parts catalog |
| Any previously opened joint | Broken seal | Replace gasket, do not reuse |
Replacement Requirements
You’ll need to replace every gasket at the body, cover, and intermediate plate joints of the Wabco brake valve. Check the valve nameplate model first.
Match the gasket kit part number to the locomotive parts catalog. Do not reuse any gasket once its seal has been broken, even if it appears serviceable.
Replace gaskets showing flattening, cracking, extrusion, or hardening. Replace any joint that leaks above specification during soap testing.
Inspection and Replacement Steps
- Confirm the valve model from the nameplate.
- Order the matching gasket kit from the locomotive parts catalog.
- Remove the cover and intermediate plate carefully.
- Clean all gasket seating surfaces thoroughly.
- Inspect each gasket for flattening, cracks, extrusion, and hardening.
- Install new gaskets from the matched kit at every opened joint.
- Tighten fasteners evenly in the specified sequence.
- Soap test each joint and recheck any leaks.
Mikura International supplies genuine locomotive parts from ALCO, EMD, GE, and WABCO. Visit https://mikurainternational.com to find the correct gasket kit for your locomotive.
Key Takeaways
- Gaskets at every body and cover joint, plus any intermediate plate, on Wabco locomotive brake valves need replacement.
- Confirm the model stamped on the valve nameplate and match the part number to the locomotive parts catalog.
- Replace the full gasket kit for every joint, since gasket count and size vary by valve family.
- Replace any gasket that is flattened, cracked, torn, extruded, hardened, or oil-saturated, even if it looks serviceable.
- Never reuse a gasket once its seal has been broken, because compression set and tooling damage prevent resealing.
Which WABCO Brake Valves Use Gaskets?
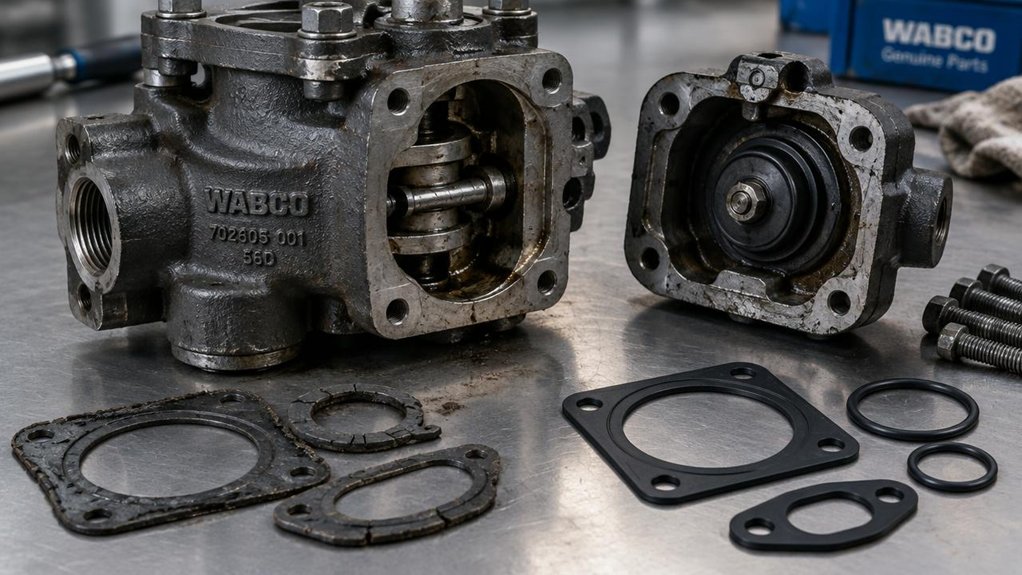
Most Wabco locomotive brake valves with separable housings use gaskets at their body and cover joints. You’ll find these seals between the valve body, the cover, and any intermediate plate. They keep compressed air inside the passages.
Identify each gasket before you disassemble anything. Valve families differ in joint count and gasket size.
Start by checking the model stamping on the valve nameplate. Compare the part number against your locomotive parts catalog. Confirm the gasket kit matches every joint on the unit.
Do not reuse a gasket that is flattened, cracked, or torn. Replace it even if it looks serviceable.
Gasket failure often shows first as a slow pressure bleed. Perform an air leak diagnosis with a soap solution at each joint while the system is charged. Mark any bubbling location for repair.
Complete a brake pipe hose inspection before condemning the valve. Cracked or swollen hoses can mimic a failed gasket.
How Can You Tell a WABCO Brake Gasket Has Failed?
A failed Wabco gasket on a locomotive usually reveals itself as a slow pressure bleed at a valve joint. You cannot trace the leak to a fitting or pipe.
A failed Wabco gasket on a locomotive usually shows up as a slow pressure bleed at a valve joint, not at a fitting or pipe.
You may notice the gauge needle drifting during a brake pipe leakage test. The main reservoir compressor may also cycle more often than it should.
Apply these visual inspection tips to the locomotive brake valve. Check the gasket for extrusion, flattening, cracking, and hardening. Oil saturation around the flange signals a seal past its service life.
Wipe the joint dry. Then watch for fresh seepage after a full main reservoir charge.
Check for these common leakage symptoms:
- You hear hissing at the valve body during brake release.
- Brake cylinder pressure falls after you set the application.
- Soap solution bubbles along the gasket seam.
- You find black residue or gasket fragments on the mounting surface.
Isolate the suspect valve and retest before replacing anything. Misdiagnosis wastes valuable time and costly replacement parts.
WABCO Gasket Parts to Inspect First
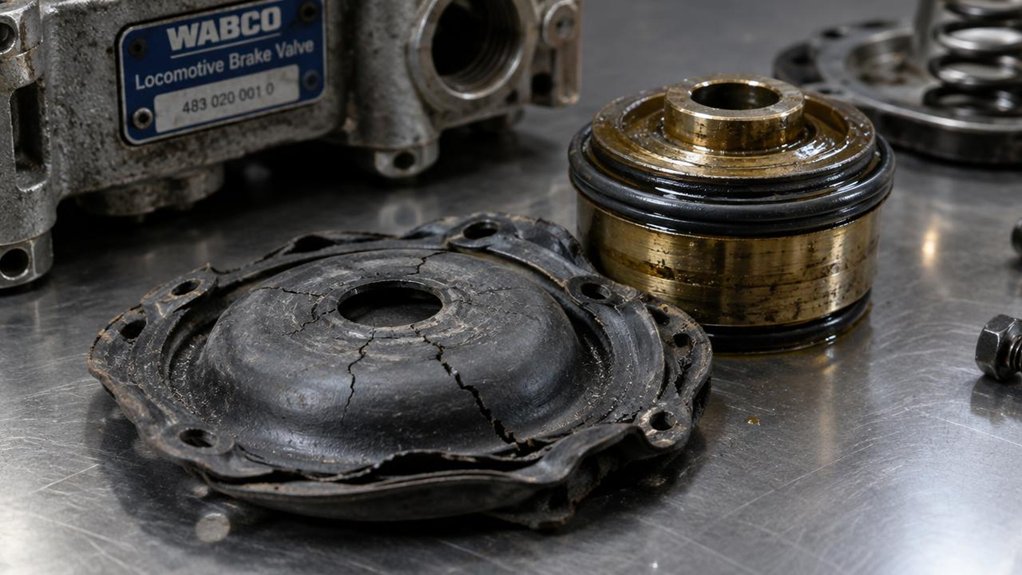
Start with the gasket and its seating surfaces before removing any valve components from the locomotive brake assembly. Remove the cover and examine the gasket’s full circumference for cracks, hardening, flattening, or nicks.
A gasket that looks intact can still fail once compressed. Check its thickness and resilience against the Wabco specification. Note any extrusion into the passages, since it signals excessive pressure or improper seating.
Next, inspect the mating surfaces on the valve body and cover. Look for scoring, pitting, warping, and residue that could prevent a tight seal. Run a straightedge across the sealing face and wipe it clean with a lint-free cloth. Any groove deeper than the gasket can accommodate means the housing needs machining or replacement.
Finally, inspect the fasteners and bolt holes. Uneven clamping often causes air leaks, so verify bolt torque before reassembly. Also, while inspecting brake shoe and wheel tread wear patterns on the locomotive, note the gasket condition.
How Often Should Wabco Brake Gaskets Be Replaced?
Never reuse a Wabco gasket once you have broken its seal. Compression set and tooling damage reduce its ability to reseal.
Replacement timing is not fixed. You must base it on several maintenance interval factors rather than a single calendar date.
Replacement timing depends on several maintenance interval factors, not a single calendar date. Inspect each locomotive’s gaskets based on actual operating conditions and test results.
Review these maintenance interval factors at every scheduled brake valve service on your locomotives:
- Operating environment: Dust, humidity, and extreme heat shorten expected service life. Inspect those gaskets sooner.
- Duty cycle: Heavy grades and frequent emergency brake applications fatigue the seal faster. Track cumulative brake cycles for each locomotive.
- Air quality: Moisture and oil contamination swell elastomers. Verify air dryer and lubricator performance first.
- Leakage results: Any leak exceeding specification during testing requires immediate gasket replacement, regardless of age.
Set your replacement schedule from actual inspection data, not the calendar alone. This data-driven approach helps you avoid costly, unplanned brake failures. Mikura International supports your locomotive brake maintenance program. Keep your entire locomotive fleet running safely and reliably.
WABCO Gasket Part Numbers by Locomotive Model
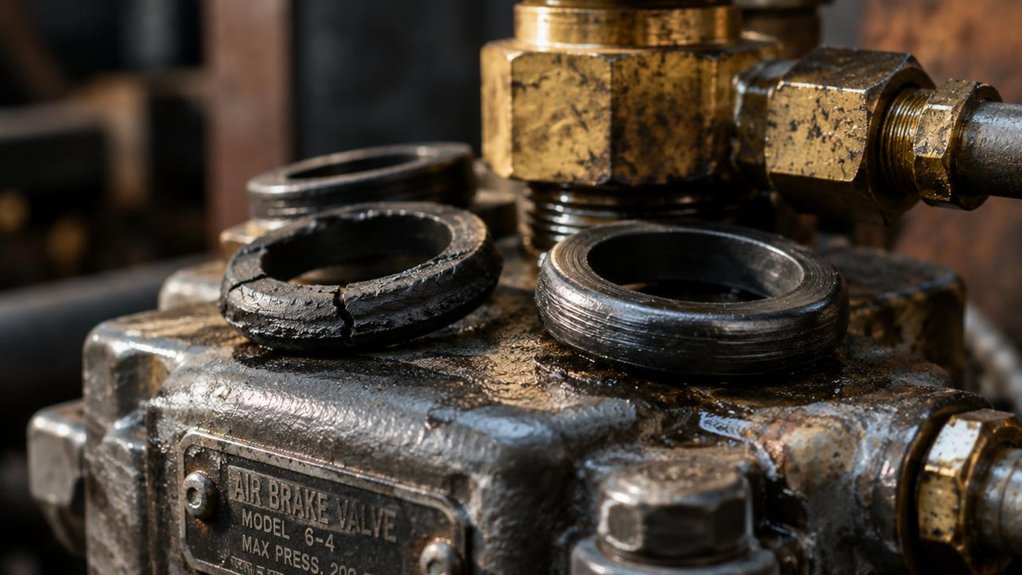
Once you’ve set the replacement interval, confirm the correct part number before you order. Wabco gasket part numbers vary by locomotive model, engine series, and brake system configuration. Don’t rely on memory or a previous order. Start by identifying your locomotive’s model designation and build year from the data plate. Then open the current Wabco model lookup charts. Cross-reference the model against the brake valve and gasket kit listed for it.
Some models share kits, while others require distinct part numbers. Next, run brake gasket compatibility checks. Compare the listed part number against the existing valve housing markings and the original gasket dimensions. If the numbers don’t match, stop and verify with the manufacturer directly. Our team at Mikura International can help you confirm the right part for your locomotive. Record the exact confirmed part number, the locomotive road number, and the lookup date in your maintenance log. Doing so helps you avoid costly returns, delays, and unplanned locomotive downtime.
Frequently Asked Questions
Do Aftermarket Brake Gaskets Meet the Same Standards as Genuine WABCO Parts?
Not automatically. Never assume aftermarket locomotive brake gaskets are equivalent to genuine Wabco parts.
Verification is essential before any gasket enters a locomotive air brake system.
Start by requesting documentation confirming material compliance with the original Wabco specification.
Ask for compatibility test results covering both pressure cycling and temperature cycling.
Verify fitment against the OEM part number before installation.
Measure groove dimensions and sealing surfaces carefully.
Compare every measurement against the Wabco drawing for that specific component.
Check warranty terms closely, because many suppliers exclude damage linked to non-OEM parts.
Demand certifications rather than relying on price or marketing claims.
Can a WABCO Brake Gasket Be Reused After It Has Been Removed?
No, you should never reuse a locomotive brake gasket once it has been removed. The gasket that keeps your air brake system airtight rarely survives removal intact. Before reinstalling, inspect it carefully for cracks, flattening, tears, and hardening. Confirm that your cleaning solvent is compatible with the elastomer. Aggressive solvents can swell or degrade the material. Clean the mating surfaces with an approved solvent and remove all old residue. Torque the fasteners to the manufacturer’s specification. Do not gamble on a used seal in a locomotive brake system. Install a new gasket every time you disturb the joint.
How Much Does a Typical Locomotive Brake Gasket Replacement Cost?
A typical WABCO brake gasket replacement runs $150 to $900 per locomotive. The final cost depends on gasket count and component access.
Gasket kits generally cost roughly $20 to $120. Labor typically adds two to six hours at shop rates.
Freight downtime often costs more than the parts and labor combined. A locomotive out of service can idle thousands of dollars in revenue each day.
Schedule repairs during planned maintenance windows to limit lost service time.
Verify torque specifications before final assembly. Always perform a leak test after reassembly.
Mikura International can help locomotive operators source the right gasket kits for their WABCO brake systems. Contact our team to confirm part numbers before scheduling the job.
What Sealant or Lubricant Is Safe to Use With Brake Gaskets?
Your locomotive brake gasket is a shield that must survive brutal heat and constant pressure. Choose a sealant with proven high temperature compatibility. Use a manufacturer-approved, non-hardening gasket sealer for the best results. Pair it with a silicone-based or PTFE-based lubricant that will not swell the elastomer. Avoid petroleum greases, because they degrade rubber seals over time. Before installation, clean all mating surfaces thoroughly. Remove old sealant, oil, and debris from flanges and grooves. Torque bolts in a star pattern to ensure even clamping force. Do not over-apply sealant, since excess material can squeeze into the brake passages.
Does the FRA Require Documentation When Brake Gaskets Are Replaced?
The FRA does not have a standalone rule requiring a separate record for every brake gasket replacement. Documentation is required when the work falls under required locomotive brake maintenance. Review the required records under 49 CFR 229.27 to confirm which entries you must keep. Record the part identification and the technician’s name for every gasket replacement. Complete post-work verification before returning the locomotive to service. Include a brake leakage test in that verification. Retain the record for the period the regulation requires. Mikura International recommends keeping gasket part numbers, batch details, and installation dates together in one maintenance file.