

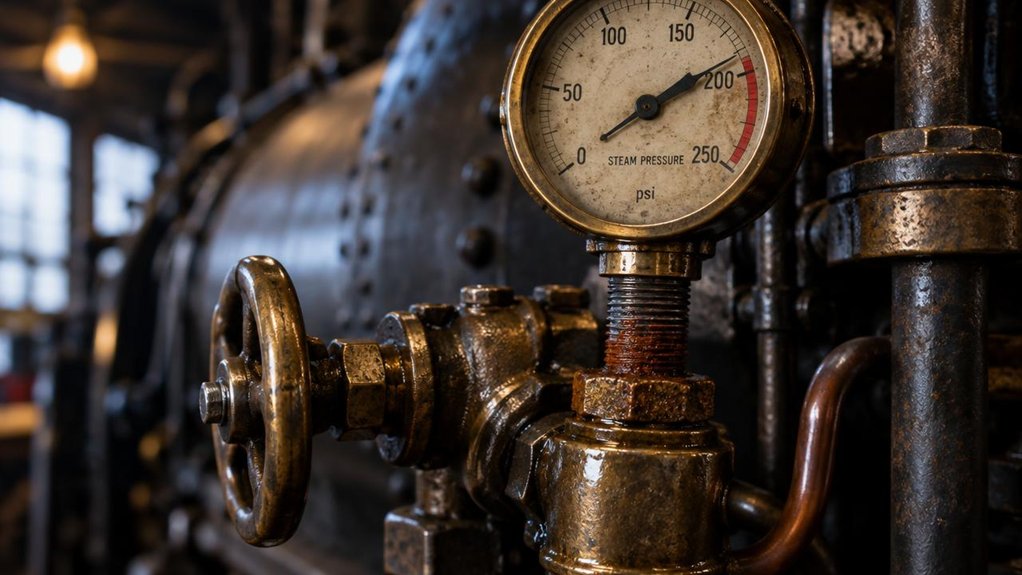
Locomotive crews and maintenance teams often see brake valve pressures drift outside specification without an obvious cause.
Readings look normal one week and fail inspection the next.
Unexpected calibration drift causes brake response delays, uneven braking, and costly unscheduled downtime on the line.
Finding the root cause early saves time and protects train operations.
Common symptoms that signal calibration drift:
- Brake cylinder pressure readings fall outside the specified range.
- Application or release times slow down during brake tests.
- Moisture or oil residue appears inside valve passages.
- Hissing or leakage occurs at diaphragm or seal interfaces.
- Pressure sensor readings disagree with reference gauges.
- Mounting hardware loosens or valve bodies show vibration wear.
- Valve behavior changes noticeably after temperature swings.
- Repeated recalibration fails to hold the setting.
| Observed Symptom | Likely Contributor | Verification Step |
|---|---|---|
| Slow brake release | Spring relaxation | Measure spring preload against OEM specification |
| Pressure drift at steady state | Diaphragm fatigue | Inspect diaphragm for hardening, cracks, or permanent set |
| Erratic pressure readings | Aged pressure sensor | Compare output against a calibrated reference gauge |
| Sluggish response in cold weather | Seal stiffening from thermal cycling | Check seal compliance at operating temperature |
| Contaminated or restricted passages | Moisture, oil aerosols, pipe scale | Flush and inspect passages and valve seats |
| Gauge reading jumps | Vibration-loosened hardware | Torque-check all mounting hardware |
Why Drift Builds Over Time
You will rarely trace an out-of-spec locomotive valve to a single failure.
Drift builds over thousands of brake cycles.
Diaphragm and seal fatigue change elastomer compliance.
Spring relaxation reduces preload.
Moisture, oil aerosols, and pipe scale contaminate passages and seats.
Pressure sensors age.
Vibration loosens hardware.
Thermal cycling stresses seals.
Verify Each Contributor Before Adjusting
Verify each contributor before making any adjustment.
Recalibrating without verification often hides the real problem.
Start with contamination and mechanical condition.
Then check sensor accuracy against a reference gauge.
Adjust calibration only after the physical condition is confirmed.
Understanding these contributors helps crews spot symptoms early and recalibrate correctly.
Sourcing Genuine Locomotive Parts
Mikura International supplies genuine locomotive engine parts from ALCO, EMD, GE, and WABCO.
Replacing worn diaphragms, seals, springs, and sensors with genuine components helps restore calibration stability and extends valve service life.
Key Takeaways
- Diaphragm and seal fatigue alter elastomer compliance, changing the actuation pressure the valve responds to.
- Spring relaxation after thousands of brake application cycles reduces preload, shifting the valve’s regulation setpoint.
- Particulate contamination and rust or pipe scale lodge between moving parts, increasing friction and causing sluggish response.
- Temperature cycling expands and contracts dissimilar materials, loosening fits, stressing seals, and altering internal force balance.
- Continuous track vibration loosens mounting hardware and fatigues seals, while aging pressure sensors add reading drift.
What Are the Signs a WABCO Valve Is Off?
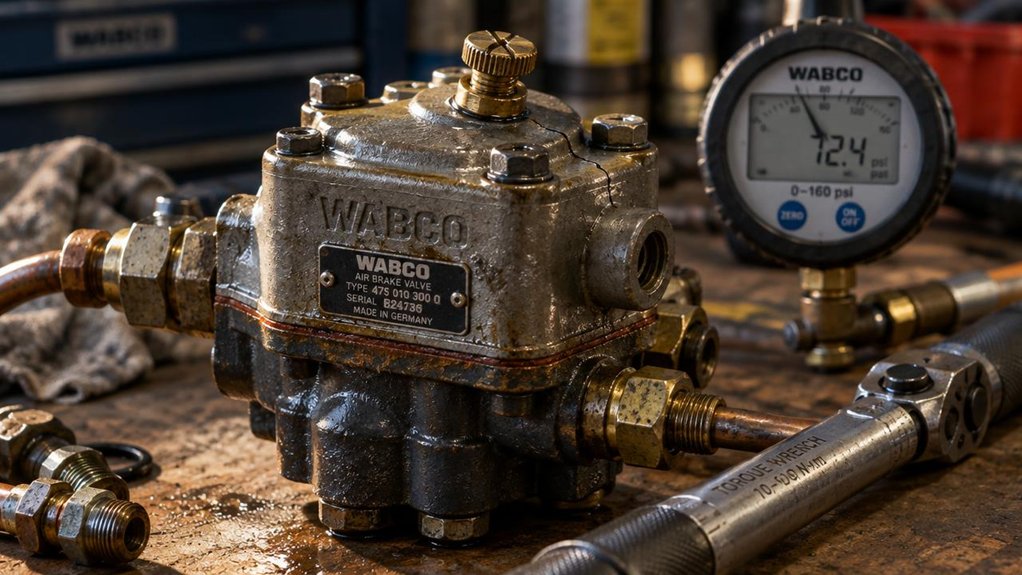
Your locomotive’s air brake system usually reveals a drifting WABCO valve well before it fails outright. Watch for slow brake application and release times, which signal sluggish valve response. Time each application against your railroad’s standard, since a lagging valve stretches the cycle. You’ll often notice pressure readings that wander between service reductions, even when you hold the handle steady. Check the brake pipe gauge during a full service application. If brake cylinder pressure overshoots or undershoots the target, the valve’s regulation has shifted.
Don’t ignore intermittent hissing near the valve body, since it points to a worn seat or diaphragm. Compare every reading against the calibration sheet at each scheduled inspection. Record every deviation, and you’ll spot the trend before it becomes a stopped train. Pull the valve for bench testing and recalibration if readings stay out of tolerance after cleaning. Act promptly. For genuine replacement parts and recalibration support, contact Mikura International’s technical team.
What Causes WABCO Valve Calibration to Drift?
Calibration drift in a WABCO valve usually traces to mechanical wear and contamination that build up over service life. You’ll notice the setpoint shifting gradually, not all at once. That pattern points to slow physical change rather than a sudden fault.
Calibration drift in a WABCO valve usually comes from slow wear and contamination over time. The setpoint shifts gradually, pointing to physical change rather than a sudden fault.
- Diaphragm and seal fatigue: Elastomers in locomotive brake control valves harden and lose compliance, altering the actuation pressure.
- Spring relaxation: Calibration springs take a permanent set after thousands of brake application cycles, reducing preload.
- Particulate contamination: Moisture and oil-carrying debris from the air supply lodge between the piston and bore, increasing friction.
- Temperature cycling: Repeated heating and cooling expand and contract dissimilar materials, loosening fits and stressing seals.
- Sensor aging: Pressure transducers lose accuracy over time, so the valve may respond correctly while the reading drifts.
Don’t assume the valve itself is failing. Verify the reference gauge first, then compare readings against the manual’s spec. You’ll isolate mechanical causes from sensing faults faster that way.
Does Vibration and Wear Shift WABCO Calibration?
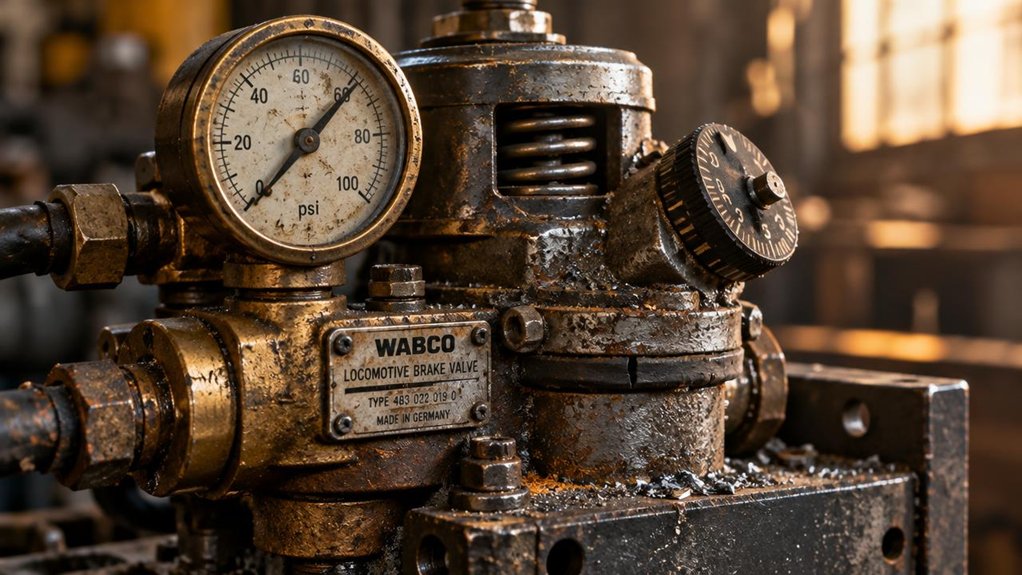
Why would a valve that passed calibration last month read differently today? Vibration and wear often explain the change. Continuous track vibration loosens mounting hardware over time. It also fatigues diaphragm seals, shifting the reference pressure that calibration depends on. Check torque on bracket bolts first. Then inspect elastomer seals for compression set before you adjust anything.
Thermal cycling deserves equal attention. Locomotive engine compartments heat and cool with every duty cycle. Repeated expansion and contraction changes the valve body and spring. This alters the force balance inside the valve. You will notice drift that follows compartment temperature rather than elapsed time.
Connector corrosion often mimics mechanical drift. Locomotive environments expose harness connectors to moisture, dust, and constant vibration. Corrosion raises contact resistance and causes voltage drops across the sensor harness. These drops skew the electronic readout. Clean pins with an approved contact cleaner. Reseat each connector firmly. Verify continuity against the specification.
Retest at the calibration bench. If the reading returns to specification, you have isolated a wear or connection issue. If it does not, investigate a setpoint error. At Mikura International, we recommend logging readings after each inspection to track these trends.
How Does Air Contamination Throw Off Valve Calibration?
How does contaminated air shift a locomotive valve’s output before any mechanical wear appears? The answer lies in what travels inside the air stream. Moisture entering the system condenses inside passages and changes pilot pressure response. Particulates settle on seats and diaphragms. Contamination-induced leakage then bleeds pressure you did not account for. The valve reports a setpoint it never actually holds.
Moisture and particulates shift a locomotive valve’s output before mechanical wear ever appears. The valve reports a setpoint it never actually holds.
You will typically find these contaminants in locomotive air systems:
- Water condensate pooling in control volumes and reservoirs
- Oil aerosols swelling elastomer seals in distributing and control valves
- Rust and pipe scale abrading seat surfaces along the brake pipe
- Desiccant dust migrating from the air dryer into the main reservoir
- Compressor lubricant carbonizing in discharge passages
Check the air dryer purge cycle and drain the main reservoirs before you recalibrate. If you adjust the setting while moisture remains, the reading will drift again within days of service. Isolate the air supply, purge the lines, and verify dew point with a calibrated hygrometer before adjusting.
How to Recalibrate a WABCO Valve Step by Step?
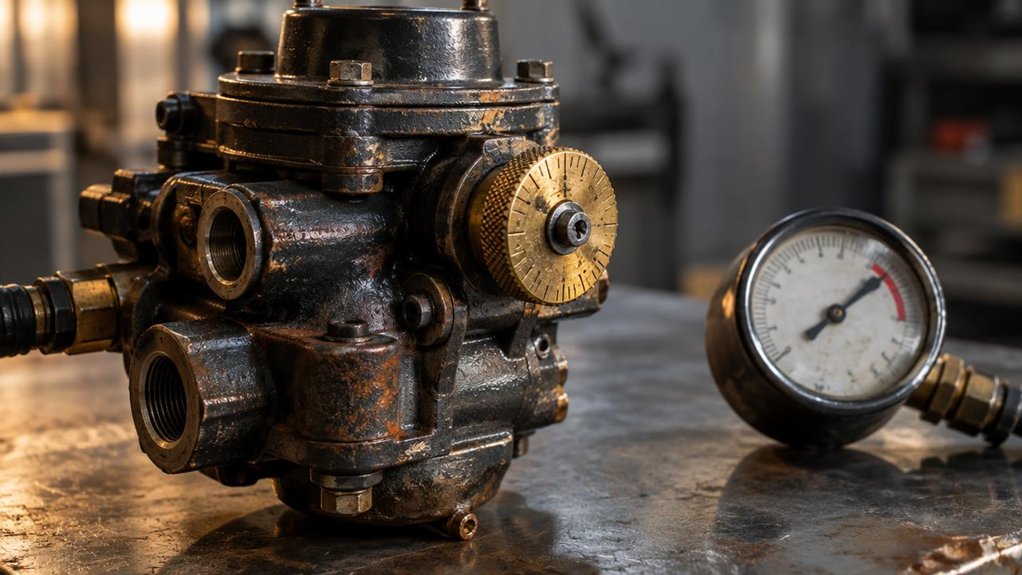
When you start recalibrating a WABCO locomotive brake valve, pull the service data for that exact part number and revision. Adjustment specifications vary across locomotive models, so never rely on memory or older manuals.
Before you begin, make sure the locomotive is secured and shut down. Then isolate the main reservoir air supply and bleed the reservoirs to zero pressure.
Connect your diagnostic tool to the valve controller and confirm the pressure sensor reads zero. Next, run the initial diagnostic steps to capture fault codes and baseline readings.
Then perform a calibration check at each specified test pressure. Compare every reading against the tolerance band in the service data. If a reading falls outside tolerance, adjust the setting in small increments.
After each adjustment, allow the system to stabilize before repeating the calibration check. Once readings hold within specification, start valve learning through the diagnostic interface. This allows the controller to store the new values.
Finally, clear stored fault codes, perform a full brake test, and document every setting. Keep detailed records of all settings for future locomotive maintenance reference.
Frequently Asked Questions
Does WABCO Valve Calibration Drift Affect Fuel Consumption on Long-Haul Locomotives?
Yes, valve calibration drift raises fuel consumption on long-haul locomotives, though the effect is indirect. The first symptom usually appears in brake response accuracy.
When misadjusted relay or distributing valves delay application and release, the locomotive over-brakes. The crew must then re-accelerate with extra throttle, which burns more fuel.
Air leakage from drifted settings forces the main reservoir compressor to cycle more often. That added cycling increases engine load and diesel draw.
Benchmark each valve against the manufacturer’s specification during scheduled maintenance. Regular checks protect long-haul reliability and help control fuel burn. Mikura International can help locomotive operators review valve calibration as part of their maintenance planning.
How Often Do FRA Regulations Require Brake Valve Inspections on Locomotives?
Locomotive operators must perform a time-based inspection of brake equipment at least every 92 days.
Under 49 CFR 229.29, this periodic inspection keeps locomotive brake equipment in compliance.
The annual test under 49 CFR 229.27 must be completed within 368 days.
Brake valves do not wait for a calendar date to misbehave.
When a valve misbehaves, do not wait for the next scheduled check.
FRA incident-based checks apply after a brake-related failure, accident, or FRA directive.
Document every finding and complete a retest before returning the locomotive to service.
Mikura International offers locomotive brake valve components and guidance to help operators stay compliant.
Can WABCO Valves Be Calibrated Using Test Equipment From Other Manufacturers?
Yes, locomotive brake valves can be calibrated with test equipment from other manufacturers. Compatibility must be confirmed before relying on that equipment.
Start by checking that gauges, transducers, and test fixtures meet WABCO’s published accuracy tolerances. Confirm that every fixture matches the port configuration of the locomotive valve under test. Verify that the equipment carries NIST-traceable certification and that its calibration dates are current. Run a known-good reference valve through the setup before testing production units. Document every result so that performance can be traced during audits or railway inspections. If the equipment cannot cover the required pressure ranges, stop testing and use OEM calibration equipment instead.
Mikura International supplies genuine WABCO locomotive valves and can guide buyers on suitable calibration practices.
When Should a Faulty WABCO Valve Be Replaced Instead of Recalibrated?
Replace the valve when recalibration cannot restore specification on a locomotive. This is especially true when the same fault returns at the next check. Review inspection intervals closely. Cracked diaphragms, worn seals, or internal scoring often appear alongside drift that no adjustment corrects. These findings point to physical damage inside the valve body. Recalibration cannot repair mechanical wear, so replacement becomes the only sound option. Log every failure in the locomotive’s compliance documentation. Record the new valve serial number before returning the unit to service. Verify the replacement’s function under load before closing the work order. Perform a full brake application and release cycle during this test. Confirm that brake cylinder pressure response matches the locomotive manufacturer’s specification. Mikura International supplies genuine WABCO replacement valves for locomotive brake systems.
What Certification Do Technicians Need Before Adjusting Locomotive Brake Valve Settings?
Before adjusting locomotive brake valve settings, you need documented qualification under your railroad’s written program. The program must align with 49 CFR Part 232 brake system requirements. You cannot adjust any setting until you complete manufacturer-specific instruction. Passing a practical evaluation is also required before you adjust any setting. Once qualified, you will attend periodic training to refresh your skills. Refresher sessions typically cover calibration procedures, gauge verification, and test protocols. Keep your certification records current and easily accessible at all times. Federal inspectors routinely request these records during audits and inspections, so organized documentation saves time.