

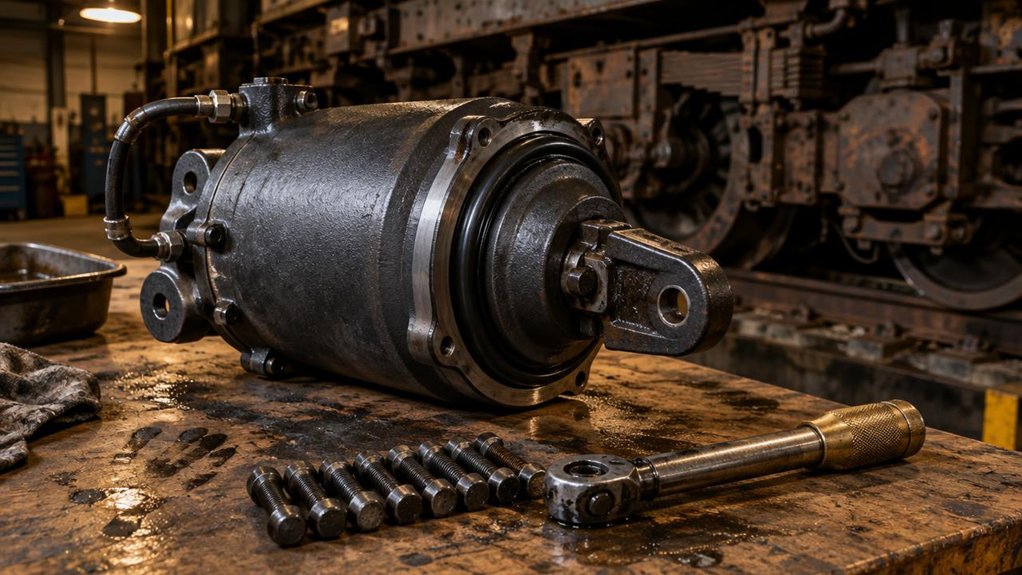
Brake cylinder gasket leaks are a common problem for locomotive maintenance crews. A worn or mismatched gasket causes air loss, slow brake response, and unexpected brake failure.
Many crews also struggle to identify the correct kit and complete the replacement without damaging the cylinder bore.
This guide addresses these pain points with practical steps and reference data.
Common problems:
- Ordering the wrong kit number, which causes fitment failure
- Residual air left in the reservoir during disassembly
- Scored or out-of-round cylinder bores
- Gasket pinched or unseated during assembly
- Uneven bolt torque that causes air leaks
- Leaks missed during post-installation testing
Troubleshooting reference:
| Problem | Likely Cause | Corrective Action |
|---|---|---|
| Air leak at cylinder head | Gasket not fully seated | Remove head, reseat gasket, and retest |
| Wrong gasket fit | Incorrect kit number | Verify the WABCO kit number against the catalog before ordering |
| Slow brake application | Air loss through worn gasket | Replace gasket kit and inspect bore |
| Bubbles at joint during soap test | Uneven or insufficient torque | Retorque bolts crisscross in stages |
| Scoring marks on bore wall | Piston or head damage during removal | Repair or replace the cylinder per manufacturer limits |
5 Tips for Gasket Replacement:
1. Match the WABCO kit number to the catalog.
Confirm the locomotive model and brake cylinder part number before ordering. Genuine kits ensure correct seal dimensions.
2. Confirm zero pipe pressure and bleed the reservoir.
Isolate the brake system first. Verify that the gauge reads zero pressure.
Bleed the reservoir completely. Lift the cylinder head straight off to protect the piston.
3. Inspect the bore under strong light.
Check the bore for ridges, scoring, and roundness.
Use a strong light source for accurate inspection. Repair or replace the cylinder if defects exceed manufacturer limits.
4. Seat the gasket fully and torque bolts crisscross.
Seat the gasket evenly in its groove.
Tighten bolts in stages using a crisscross pattern. Apply the torque value specified by the manufacturer.
5. Charge, hold, and soap-test every joint.
Charge the cylinder to 90 psi.
Hold the pressure for three minutes and watch the gauge.
Apply a soapy solution to every joint and check for bubbles.
Key Takeaways
- Confirm the gasket kit’s part number matches the maintenance manual or WABCO catalog exactly, and return any mismatched kit to Mikura International.
- Bleed all auxiliary reservoir air and crack the supply fitting slowly, then loosen head bolts in a crisscross pattern.
- Clean the bore with a lint-free rag and approved solvent, never a wire brush, then check for scoring and roundness.
- Seat the gasket fully in its groove and confirm it sits flush before torquing bolts in crisscross stages to specification.
- Charge the cylinder to 90 psi, hold for 3 minutes, and soap-test all joints; a drop over 3 psi indicates a leak.
Match Your WABCO Gasket Kit Number First
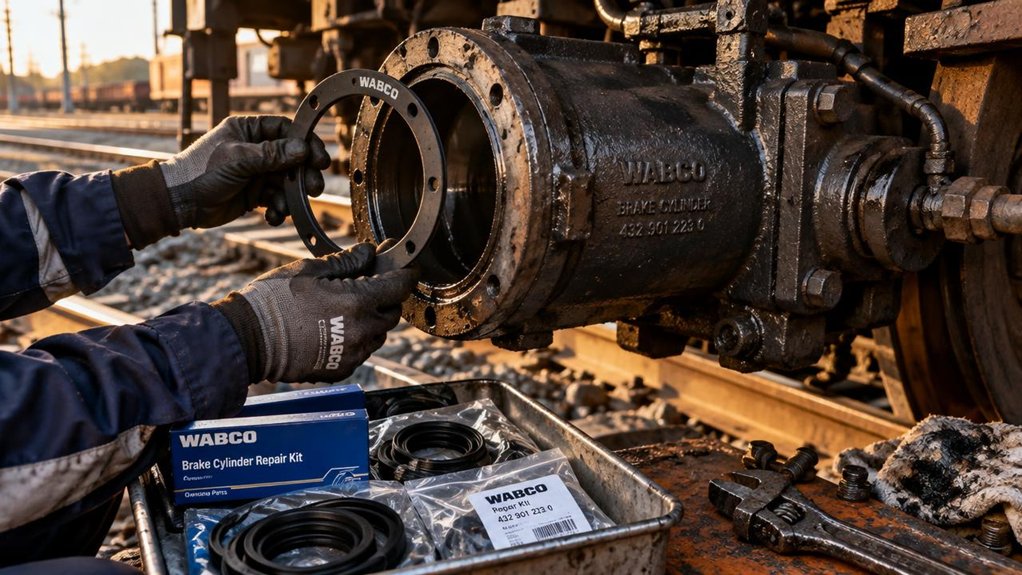
Confirm the kit number before you open the locomotive brake cylinder. Compare the kit label against the part number in your locomotive’s maintenance manual or the WABCO parts catalog. Do not rely on memory or previous orders.
Identify gasket compatibility issues by checking the cylinder model, bore diameter, and port configuration. Mismatched kits cause leaks, misapplied brakes, and costly locomotive downtime. You will find the kit number and cylinder model stamped on the cylinder nameplate. Verify correct WABCO fitment before installation by cross-referencing both against the packing slip. Reject any kit that does not match exactly.
Photograph the kit label and cylinder nameplate before disassembly. This record simplifies warranty claims and future troubleshooting. Keep the documentation with the locomotive’s service file for later reference.
Check the gasket’s material rating against brake fluid and operating temperature specifications. Never skip this check, even under schedule pressure.
Release Air and Remove the Cylinder Head
Before you loosen anything, secure the locomotive. Apply the independent and automatic brakes. Chock the wheels, then shut down the engine. Confirm the brake pipe pressure has dropped to zero on the gauge before you proceed.
Next, bleed the system safely by following this sequence:
- Open the bleeder valve on the auxiliary reservoir and let all air drain completely.
- Crack the cylinder supply fitting slowly so you do not trap pressure in the piston chamber.
- Watch the main reservoir and brake cylinder gauges until both read zero.
- Loosen the cylinder head bolts in a crisscross pattern.
Work methodically to prevent air lock in the lines. Keep the bleeder open during removal to avoid trapping pressure behind the piston. Lift the cylinder head straight off the studs. Keep the gasket surface clean and undamaged.
Store the head on a clean bench, face up, so its gasket seat stays protected.
Inspect the WABCO Bore for Scoring
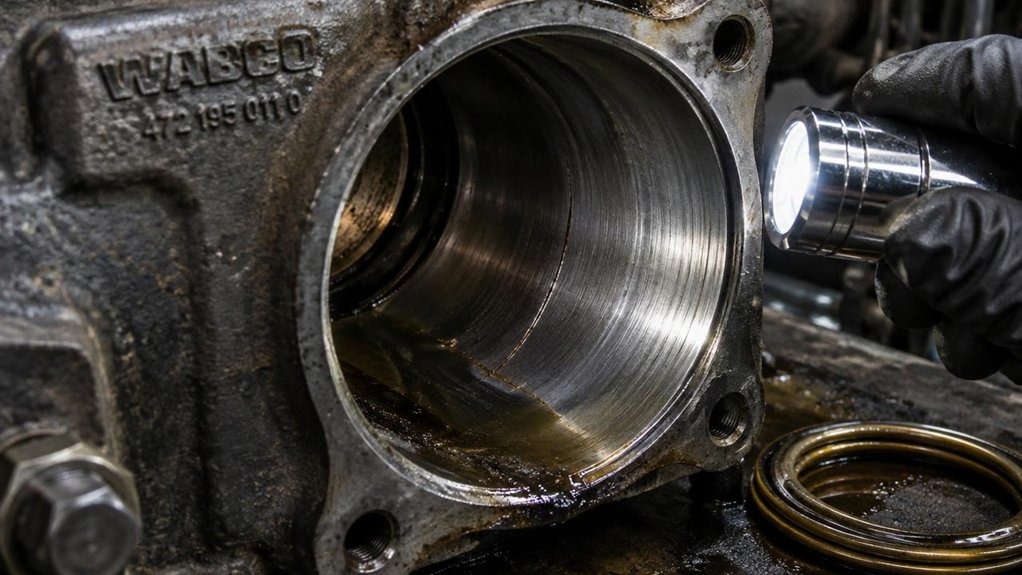
With the cylinder cover removed, the bore is exposed for inspection. Clean it thoroughly before checking for scoring. Wipe away old gasket residue, carbon, and oil deposits with a lint-free rag and approved solvent. Never use wire brushes, since they can gouge the surface.
Once the cylinder cover is off, clean the bore thoroughly with a lint-free rag and approved solvent. Never use wire brushes, as they can gouge the surface.
Examine the bore under a strong light. Rotate a flashlight to reveal shallow grooves. Run your fingernail across the wall. If it catches on a ridge, you have found scoring. Light scratches that do not catch are acceptable. Deep grooves, however, require bore replacement. They cause air leaks and erratic brake response on locomotives.
Check for scoring at multiple depths. Wear often concentrates near the piston’s travel limits. Confirm the bore is round using a bore gauge. Reject any cylinder that falls outside the manufacturer’s tolerances. Never install a new gasket over a damaged surface, or leakage will repeat. Dry the bore thoroughly before reassembly.
Seat the Gasket, Then Torque Bolts in Crisscross Order
Seat the Gasket, Then Torque Bolts in Crisscross Order
Seat the gasket fully in its groove before you touch the fasteners. You will prevent leaks and uneven loading by confirming the gasket sits flush around its full circumference. Check the gasket surface orientation against the engine manual. Installing the wrong side can compromise sealing under marine operating loads. Once the gasket is seated, tighten the cylinder head bolts in crisscross order, working in stages.
- Check bolt thread condition. Inspect threads for damage and clean them thoroughly. Replace any stretched or corroded fasteners before assembly.
- Verify even gasket seating. Press the gasket evenly and confirm no gap appears around the perimeter.
- Tighten in crisscross order. Work in stages, bringing each bolt to specification over multiple passes.
- Avoid over-tightening. Stop at the specified torque value. Excess torque distorts the cylinder head and damages the gasket.
Log each final torque value for your maintenance records. Recheck all bolts after the first heat cycle. Bolt relaxation often appears early in a marine engine’s service life. Catching it early prevents leaks. This routine helps maintain a reliable, leak-free seal under full operating pressure.
Leak-Test the WABCO Cylinder Before Returning to Service
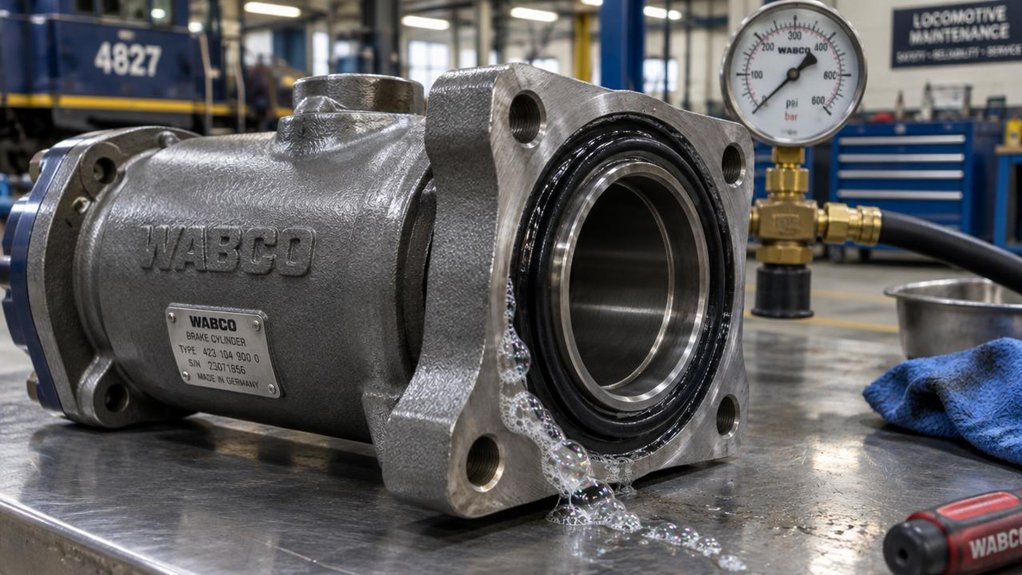
Once the cylinder head bolts are torqued, pressurize the WABCO brake cylinder to confirm the seal. Locomotive brake reliability depends on this check. Connect a regulated air supply and charge the cylinder to 90 psi. Close the supply valve, then watch the gauge. Pressure should hold steady. Any pressure drop signals a leak at the gasket or piston seal.
| Test Step | Target Reading | Failure Action |
|---|---|---|
| Apply 90 psi air | Hold steady for 3 min | Troubleshoot valve wear |
| Check gauge drop | Under 3 psi | Verify air pressure at supply |
| Soap-test joints | No bubbles | Retighten or re-gasket |
| Cycle brake application | Smooth piston travel | Inspect piston seal |
Do not skip the soap test. Apply soapy water to every joint and fitting. Look for bubbles. If the gauge falls or bubbles appear, troubleshoot valve wear before the cylinder returns to locomotive service. Verify air pressure again after completing all repairs.
Frequently Asked Questions
How Often Should Locomotive Brake Cylinder Gaskets Be Replaced as Preventive Maintenance?
Locomotive brake cylinder gaskets should be replaced on a scheduled basis, not after leaks appear. Mikura International recommends replacing them at every major brake overhaul. Inspect the gaskets at every periodic service. Look for wear, hardening, and extrusion. Replace any gasket that shows these signs. Record every replacement promptly in the maintenance log.
Follow manufacturer specifications and AAR guidance when setting intervals. Adjust those intervals to match your fleet’s actual duty cycle. Consider the operating environment too. Heavy grades, extreme temperatures, and dusty yards accelerate gasket deterioration. Shorter intervals may be needed for these locomotives. Mikura International supports railway maintenance teams with dependable brake components. Check that every gasket meets the specifications for your locomotive model.
Can a Generic Gasket Be Used Instead of an OEM WABCO Gasket Kit?
Yes, you can use a generic gasket, but only if it matches OEM specifications. Verify material compatibility with compressed-air and lubricant exposure. Confirm the operating temperature range meets locomotive requirements. Check the durometer against the original WABCO specification. Check all dimensions against the original part number.
Mikura International recommends verifying every specification before purchase. You are responsible for pressure testing the assembly. Test to the specified brake cylinder leakage limits before returning the locomotive to service. Document all pressure test results. Retain these records for regulatory audits. If you cannot confirm compliance, do not install the gasket.
What Early Warning Signs Suggest a Brake Cylinder Gasket Is Failing?
Like a canary in a coal mine, your locomotive brake system signals trouble long before it fails. Listen for hissing near the brake cylinder during operation. Watch for slow brake release after each brake application. Check for gradual air pressure loss during static brake tests. Inspect for oil residue around the cylinder gasket and mating surfaces. Look for soap-bubble seepage around flanges during leak tests. Note any extended reservoir recharge times. Track rising pressure drop rates at every inspection interval. Catch these warning signs early. A failing gasket on a grade can lead to a runaway train.
Does FRA Regulation Require Records When a Brake Cylinder Gasket Is Replaced?
Yes, documentation matters when a locomotive brake cylinder gasket is replaced. FRA rules in 49 CFR Part 229 require railroads to keep records of locomotive brake inspections, tests, and repairs. Each gasket replacement falls under this recordkeeping framework. Do not rely on memory alone. Maintenance logs should capture the date, locomotive number, cylinder location, gasket part number, technician, and test results. Part 229 does not list every field for every component.
Confirm specifics with your railroad’s maintenance program. Verify retention periods and form requirements there as well. Auditors will check compliance, so complete records protect both your crews and your operation. Mikura International recommends a standard log template for all locomotive brake work. Consistent entries make inspections faster and audits easier to pass.
What Is the Typical Cost of a Locomotive Brake Cylinder Gasket Kit?
Like a compressed ring holding back air, a locomotive brake cylinder gasket kit is a small but vital part. Typical costs range from roughly $75 to $550. Pricing depends on whether the kit is OEM or aftermarket, and on what it contains. Mikura International supplies locomotive brake cylinder gasket kits for railroad maintenance teams. Before ordering, request a labor time estimate from your shop. Installation hours add substantially to the total. Confirm warranty coverage details with your supplier directly. Some locomotive manufacturers void coverage when non-approved parts are installed. Check approved part numbers before you buy.