

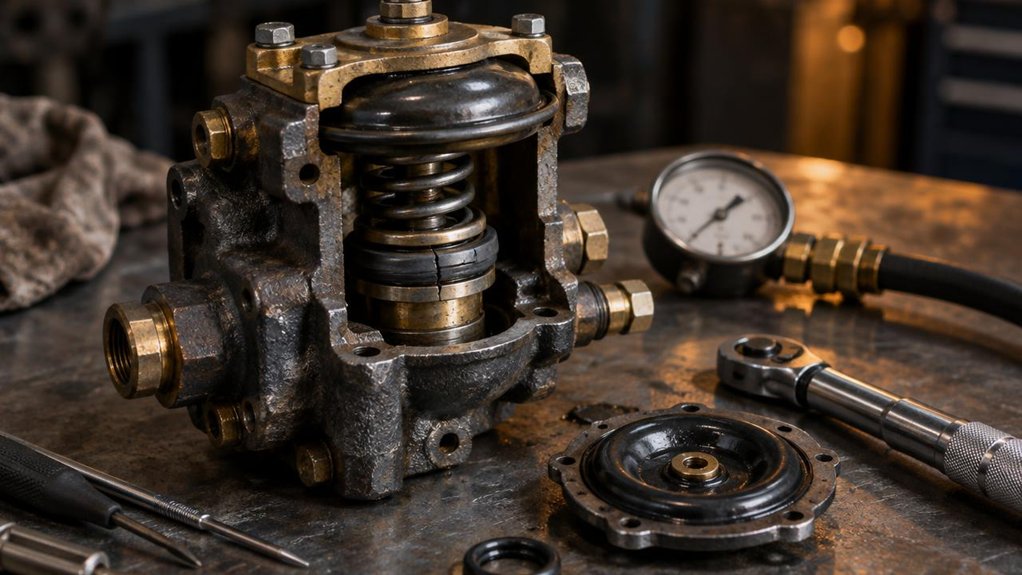
Locomotive crews and maintenance teams often struggle to find the source of brake valve faults.
Symptoms like slow application, sluggish release, and gradual pressure loss can mimic each other.
Guessing wastes time and risks running with a compromised brake system.
A disciplined, step-by-step approach isolates the fault faster.
Common problems in brake valve diagnosis:
- Brake application is slow or uneven across the consist.
- Brake release is sluggish after a full application.
- Brake pipe pressure drops faster than the allowable limit.
- Small air leaks are difficult to locate by sound alone.
- Solenoid valves fail to energize or remain stuck.
- Diaphragms show hardening, cracking, or swelling.
- Gauge readings change after the system is charged.
- The decision to rebuild or replace the assembly is unclear.
Symptom-to-cause reference table:
| Symptom | Likely Cause | First Check | Corrective Action |
|---|---|---|---|
| Slow application | Restricted supply passage or worn diaphragm | Reservoir pressure and diaphragm condition | Clean passages; replace diaphragm |
| Sluggish release | Sticky solenoid or restricted exhaust path | Solenoid response and exhaust flow | Clean or replace solenoid |
| Excess brake pipe leakage | Loose fitting or damaged gasket | Soapy water test on all joints | Tighten or replace fitting or gasket |
| Gauge reading mismatch | Faulty gauge or leaking gauge line | Compare against a calibrated reference gauge | Replace gauge or repair line |
| Repeated pressure loss | Seat or seal damage inside the valve | Leak test under full charge | Rebuild with genuine kit or replace assembly |
Step-by-Step Diagnostic Sequence
Follow this sequence to avoid misdiagnosis.
Each stage depends on the one before it.
Step 1: Drain the reservoirs.
Drain both main reservoirs completely.
Confirm that both gauges read zero.
Step 2: Charge and test the brake pipe.
Charge the brake pipe.
Run an air leak test against the allowable drop limit in the maintenance specification.
Step 3: Inspect every fitting.
Apply soapy water to every fitting, joint, and gauge connection.
Small seepage often stays silent until tested.
Step 4: Run application and release checks.
Perform application and release checks only after all leak tests pass fully.
Step 5: Evaluate the failure mode.
Worn diaphragms and sticky solenoids cause most symptoms.
Inspect these components first.
Rebuild or Replace Decision
Rebuild the assembly when the body is sound.
Wear limited to seals, diaphragms, and gaskets usually justifies a rebuild.
Replace the assembly when the casting is cracked.
Replace it when the bore is scored or the valve fails after repeated rebuilds.
Use genuine rebuild kits for consistent fit and performance.
Mikura International supplies genuine WABCO locomotive brake valve parts, rebuild kits, and complete assemblies. We also supply genuine locomotive parts for ALCO, EMD, and GE platforms.
Key Takeaways
- Perform the residual pressure check first and drain main reservoirs until both gauges read zero.
- Run the air leak test at specified brake pipe pressure, then isolate leaks with soapy water on every fitting.
- Common failure modes include worn or ruptured diaphragms, leaking graduating or relay valve seats, and contaminated passages.
- Sticky solenoid valves holding exhaust or supply paths open are a high-frequency cause of brake malfunctions.
- Rebuild worn pistons or cracked diaphragms, but replace valves with housing cracks, warped surfaces, or repeated failures.
Warning Signs of a Failing WABCO Brake Valve
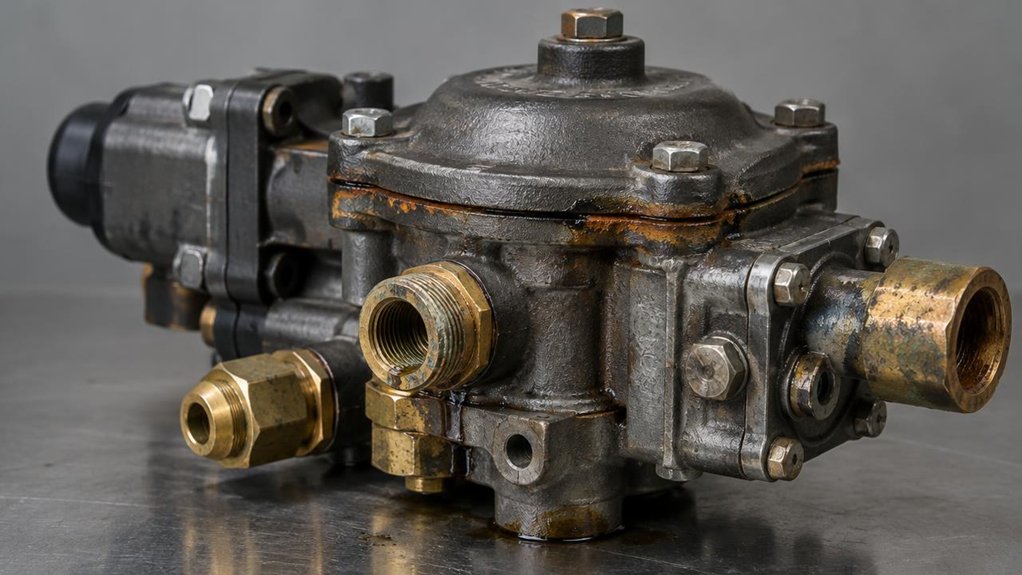
Before a WABCO brake valve fails outright, it usually shows measurable symptoms during a routine brake test. You’ll spot the earliest clues during the locomotive’s service application. Watch the brake pipe gauge closely. If it drops faster than the specified rate, suspect air pressure loss at the valve or its connections. Don’t dismiss it as a gauge fault until you’ve verified it.
Next, check for intermittent brake behavior across the train. Brakes that apply on one stop but fail to release on the next need immediate attention. A sticking relay valve or a worn graduating piston seal is a likely cause. Listen for exhaust hissing from the valve body during release. Any audible leak at the exhaust port is a serious defect. Do not defer the repair.
Log each occurrence with the time, speed, and brake pipe pressure reading. This record makes patterns easier to identify. Compare those entries against the previous test to confirm a developing trend. Mikura International supplies genuine WABCO brake valve parts for locomotive operators.
How the WABCO Valve Assembly Works
Your locomotive’s WABCO valve assembly converts brake pipe pressure changes into a proportional brake cylinder response. Its operation is rooted in basic air system principles. Compressed air from the main reservoir charges the brake pipe. Brake pipe pressure sets the control state of the system.
Your locomotive’s WABCO valve assembly converts brake pipe pressure changes into a proportional brake cylinder response. Compressed air from the main reservoir charges the brake pipe, and that pressure sets the system’s control state.
When you reduce brake pipe pressure, the equalizing portion senses the drop. It then shifts the relay valve, which routes reservoir air to the brake cylinders. Larger reductions produce greater brake cylinder pressure. The feed valve restores brake pipe pressure once the reduction stops.
Understanding valve operation principles helps you interpret gauge readings during testing. Stay alert. A sluggish response or uneven braking usually signals internal leakage or a worn diaphragm.
You will verify each function during diagnostics by comparing gauge readings against specification. Check that brake cylinder pressure matches the size of the reduction. Never skip the final release check before returning the locomotive to service.
Common Failure Modes Behind These Symptoms
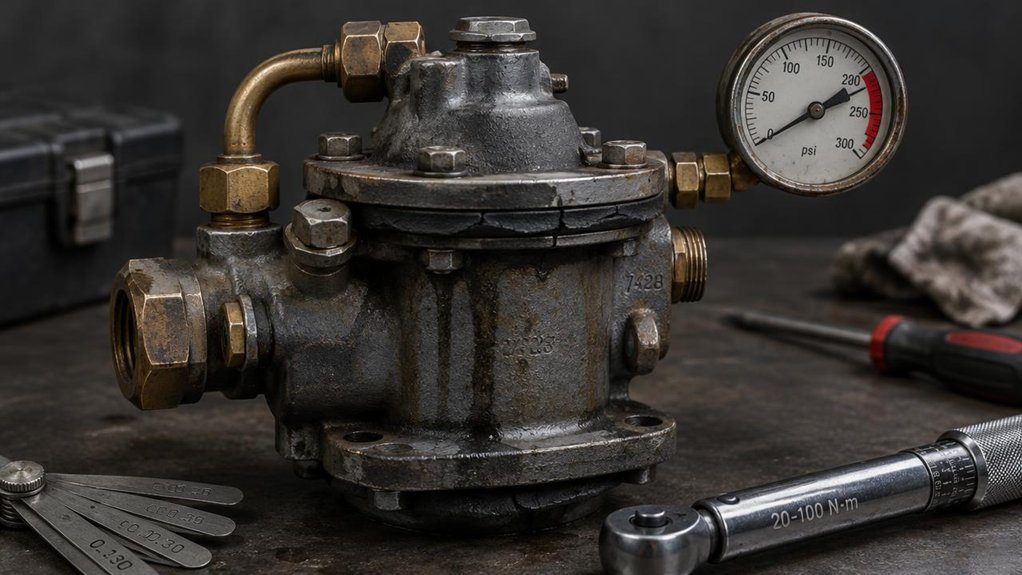
When locomotive brake response lags or varies between applications, most faults trace to four sources. These are worn or ruptured diaphragms, leaking graduating and relay valve seats, contaminated passages, and sticking pistons or slides. Trace each symptom to its source before replacing any parts. Start with a static leakage test. It separates external leaks from internal ones. This isolates the faulty component quickly.
Focus on these three high-frequency culprits:
- Sticky solenoid valves in electropneumatic brake control that hold exhaust or supply paths open
- Internal air leaks past graduating valve seats in the distributor valve
- Ruptured brake cylinder diaphragms that bleed pressure under load
Do not ignore contamination. Sludge and scale restrict passages in valves, brake pipe connections, and cylinder ports. Clean these passages with an approved solvent. Blow them dry with clean, dry air before reassembly. Verify each repair with a full brake cycle test. Confirm consistent response across service and emergency applications. Check that brake pipe pressure and cylinder pressure respond in step. Replace components only after confirming the fault. Unnecessary part swaps waste shop time and increase maintenance costs. Document every reading you record, including leakage rates, pressures, and timing.
Walk Through These WABCO Brake Valve Tests
WABCO brake valve tests on locomotives follow a fixed sequence. Run them in order instead of jumping to the test that matches the symptom. Start with the residual pressure check, because stored air in the main reservoirs and brake pipe skews every reading that follows.
Drain the main reservoirs fully and confirm both gauges read zero. Then perform the air leak test with the brake pipe charged to specification. Watch the gauge for a drop beyond the allowable limit, and note the rate.
Isolate leaks by applying soapy water to each fitting, since audible hissing misses small seepage. Finish with the application and release checks only after both tests pass.
Record every reading on the test sheet, because the sequence matters when you troubleshoot later. Don’t skip ahead, even when the symptom points to one valve. Skipping steps hides the fault you’re chasing and wastes time you cannot recover.
Should You Repair or Replace the Valve?
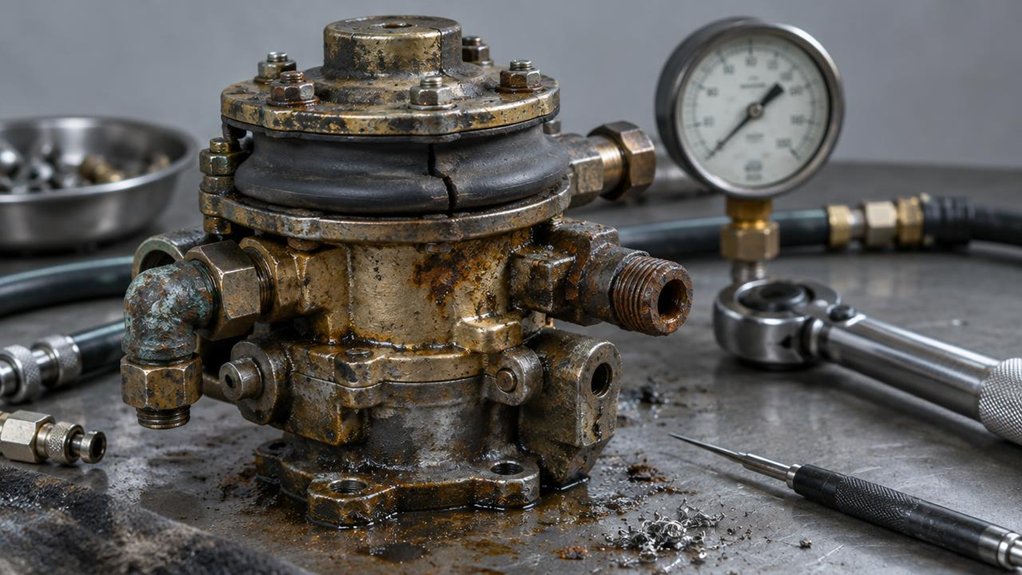
A failed test sequence does not automatically condemn the locomotive valve. You still need a clear basis for choosing between a field repair and replacement.
Start by identifying the failure mode. Internal leakage, worn graphite pistons, and cracked diaphragms often justify a rebuild. Housing cracks, warped mating surfaces, or repeated failures after service generally call for replacement.
Base your decision on three factors:
Weigh failure scope, repair turnaround, and certification status before committing a locomotive valve to a field rebuild or an exchange unit.
- Failure scope: isolated seal or gasket fault versus multiple failed functions
- Repair turnaround: rebuild time against the locomotive’s scheduled availability
- Certification status: whether the rebuilt unit meets the original specification
Weigh cost against downtime for each option. A cheaper rebuild can cost more than an exchange unit. A rebuild that idles the locomotive for days can lose to an exchange unit fitted in hours.
Document every decision, because consistent criteria across the fleet strengthen your repair strategy and simplify warranty tracking. Don’t skip the teardown findings in your records.
Frequently Asked Questions
Does FRA Regulation Require a Specific Test Interval for Locomotive Brake Valves?
Yes, FRA regulations under 49 CFR Part 229 set specific test intervals for locomotive brake valves. You must complete the annual regulatory test of locomotive brake equipment, including brake valves, within 368 days. The previous test date sets the deadline for the next one. Periodic maintenance inspections under §229.29 add 92-day checkpoints to your schedule. Because these intervals overlap, a tracking system helps your locomotive fleet stay compliant. Do not skip interval compliance. Document each test date, inspector, and result for every locomotive. Accurate records help you avoid costly civil penalties during routine FRA compliance audits.
Can a WABCO Brake Valve Be Safely Installed on a Non-Wabco Locomotive?
You cannot safely install it based on assumption alone. Compatibility depends on port sizing, pressure ranges, and control logic. These must match the host locomotive’s brake system. Written approval is required from the original equipment manufacturer. The railroad’s mechanical department must also approve the installation. Mikura International recommends this review before any installation begins.
Before the valve enters service, perform OEM calibration verification. Check application timing, equalizing pressures, and emergency response. Confirm each result against the manufacturer’s specifications. Then verify FRA compliance under 49 CFR Part 232. Do not place the locomotive in service until this process is complete.
Mikura International supports locomotive operators with technical guidance on brake system components. Contact our team to discuss your locomotive’s requirements.
Are Rebuilt Brake Valves Covered by Warranty, and How Long Does Coverage Last?
Yes, rebuilt locomotive brake valves are often covered by warranty. You’d think a part that has already failed once would earn a shorter leash, not a longer one. Coverage periods vary by product line, so review the written terms before installation. Read the warranty exclusions carefully. Coverage is typically voided by improper installation or use in non-approved locomotive applications. Start claim processing immediately after a failure. Gather the warranty documentation: purchase invoice, serial number, and a detailed failure report.
What Tools and Training Are Required to Certify a Brake Valve Technician?
Certifying a locomotive brake valve technician requires specific tools and structured training.
You will need calibrated pressure gauges for accurate brake system measurements.
A torque wrench ensures valve fasteners meet manufacturer specifications.
A brake pipe leakage tester helps identify leaks in train brake piping.
A bench test stand allows technicians to evaluate valves outside the locomotive.
A digital multimeter is needed for diagnosing electronic control modules on locomotives.
Certification also requires manufacturer-specific classroom instruction.
Supervised hands-on practice builds the skills needed for real locomotive repairs.
Candidates must pass both a written exam and a practical assessment.
The practical assessment tests troubleshooting skills through simulated brake valve faults.
Training should cover safety compliance, including lockout/tagout procedures and PPE requirements.
Technicians must renew their credentials on the schedule required by their railroad.
How Do I Record and Report Brake Valve Defects in the Maintenance Log?
Ironically, the defect you’re tempted to skip deserves the first entry. Log it immediately in the locomotive maintenance log. Record the locomotive number, date, brake valve position, and symptom. Include visual inspection notes describing leaks, cracks, or worn seals. Reference any fault code documentation from the locomotive event recorder. Tag the defect for immediate supervisor review. Do not close the entry until you have logged the repair, retest results, and final sign-off initials. Mikura International recommends complete records for every locomotive brake valve defect.