

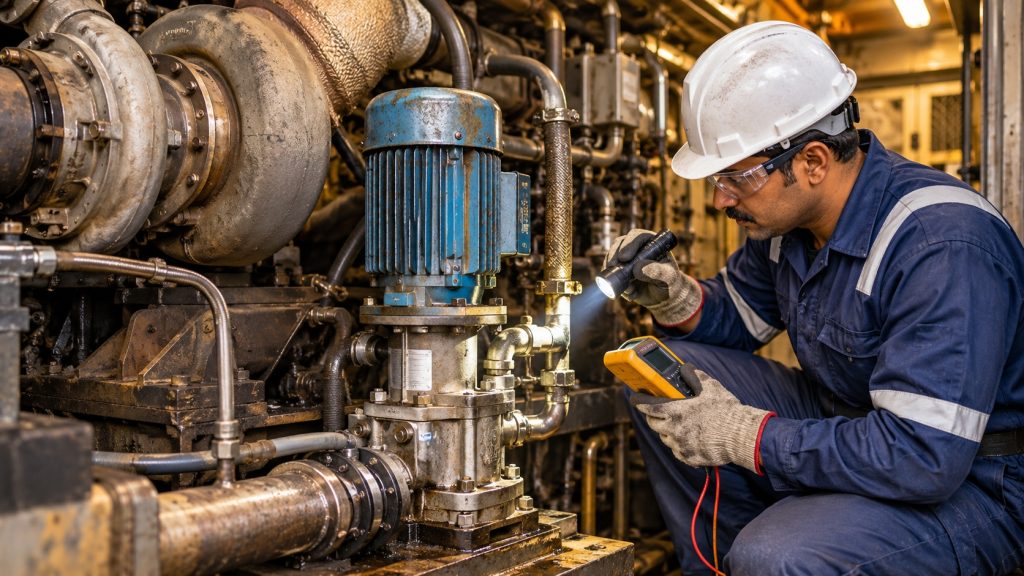
When a soak-back pump fails, the turbocharger is usually the first casualty, but often not for weeks. A pump that has stopped running, or one that runs without delivering enough oil, gives few obvious signs during normal operation. By the time the turbo shows bearing damage, the original fault may have gone unnoticed through dozens of shutdowns.
This guide is for maintenance staff facing a suspected soak-back fault on an EMD-type diesel locomotive. It follows a simple sequence: confirm the symptom, work through the electrical side if the pump will not run, then work through the hydraulic side if it runs but pressure is low. It ends at one point: confirming whether the pump itself is faulty or the problem lies elsewhere in the circuit.
Always work from the maintenance manual and wiring diagrams for your specific locomotive. Component names, test values and circuit designs vary between engine models, build years and modifications. The figures in your manual take priority over any general guidance here.
Recognising a Soak-Back Pump Fault
Signs the pump is not running
The simplest check is also the one most often skipped: listen and feel. After a normal engine shutdown, the soak-back pump should start or keep running for the period set by its timer circuit. Stand near the pump within the first minute after shutdown. A healthy motor produces a steady hum, and the pump body and delivery line should carry light vibration.
Any of the following suggests the pump is not running:
- Silence at the pump after shutdown
- A motor that starts and stops within seconds
- A tripped breaker in the electrical cabinet
- Logged faults on the event recorder or diagnostic display relating to the soak-back circuit or motor supply
Also watch the start sequence. Where the pump provides pre-lubrication before cranking, a pump that will not run may show up as a delayed or inhibited start, depending on how the control logic is configured.
Signs of low or no oil pressure
A running pump does not guarantee that oil is reaching the turbocharger. Low delivery pressure is harder to spot than a dead pump, because the motor sounds normal.
Where a pressure gauge or test port is fitted in the turbo lube circuit, compare the reading with the specified range in the manual, under the same oil temperature conditions. Without a fitted gauge, watch for these warning signs:
- Unusual pump noise: rattling, whining or a labouring sound different from normal operation
- Oil leaks: wetness around the pump body, filter housing or pipe joints, meaning oil is escaping before it reaches the turbo
- Filter warnings: a restriction or bypass indicator on the turbo lube filter, where one is fitted
- Decaying pressure: a reading that starts normal but falls steadily as the pump keeps running
Note when the low reading occurs. Pressure that is low only with hot oil points to different causes than pressure that is low at all temperatures.
Secondary warning signs from the turbocharger
Sometimes the first evidence comes from the turbocharger rather than the pump. These signs do not prove a soak-back fault, but they justify checking the circuit:
- Carbon or coked oil deposits found in turbo oil drain passages during routine inspection
- Increased bearing noise, or a noticeably shorter coast-down time, after shutdown
- Smoke at startup that clears once the engine is running
- Turbo lube filter elements repeatedly showing dark, carbon-laden debris
If any of these appear, check the soak-back system before replacing or overhauling the turbocharger. A new turbo fitted to a locomotive with a failing soak-back circuit is likely to suffer the same damage as the one it replaced.
Before You Start: Safety and Preparation
Isolation and hot-oil precautions
Soak-back faults are often investigated soon after shutdown, when the turbocharger, oil and surrounding pipework are at their hottest. Allow time for components to cool before opening any oil connection. Wear heat-resistant gloves and eye protection when working near hot oil.
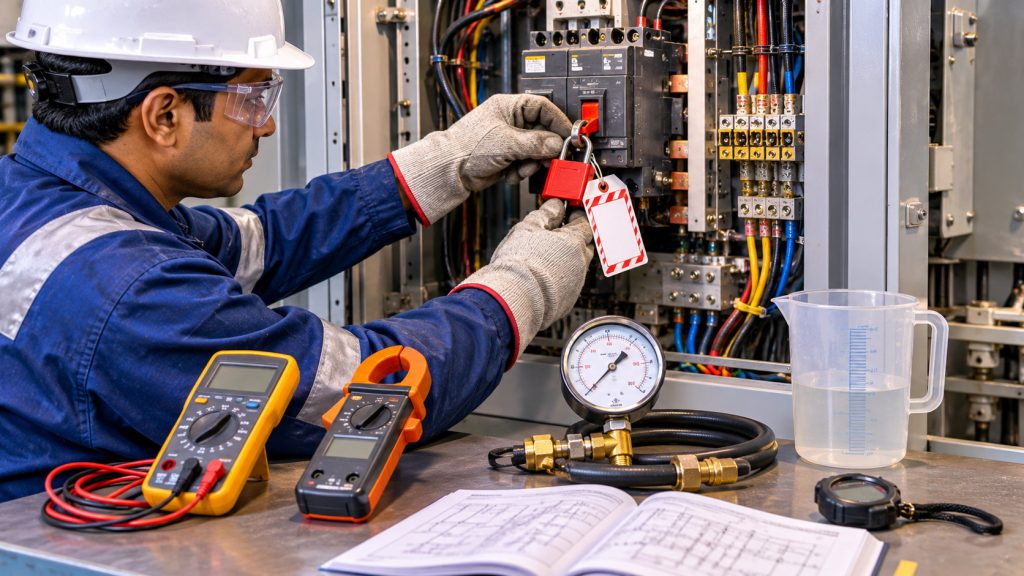
Follow your site’s lockout and tagout procedure before touching electrical connections, motor terminals or the pump coupling. The soak-back circuit is designed to run automatically after shutdown, so an idle pump may start without warning if its circuit is still live. Isolate the battery supply or the soak-back circuit breaker, and verify zero voltage before handling any conductor.
Some tests need the pump running, such as voltage checks under load or pressure readings. For these, keep guards in place and keep hands clear of the coupling. Agree clear communication with anyone operating the controls.
Tools and reference documents
Gather the following before starting:
- The maintenance manual and wiring diagram for the locomotive’s soak-back circuit
- A digital multimeter rated for the locomotive’s battery voltage
- A clamp meter for measuring motor current
- An insulation resistance tester, where your procedures allow its use
- A calibrated pressure gauge with adapters for the circuit’s test port
- A clean graduated container and a stopwatch for flow checks
- Spill trays and absorbent material
The manual is the most important item on the list. It gives the correct supply voltage, motor current, pressure range, flow rate and timer duration for your configuration. Without these figures, you cannot judge whether any reading is normal.
Recording the fault conditions
Before changing anything, write down what you observed:
- When the fault appeared
- Whether it is constant or intermittent
- Oil temperature at the time
- Engine hours since the last oil change
- Any recent work on the engine, electrical cabinet or lube system
Recent work deserves particular attention. A pump that fails straight after a component replacement, harness repair or oil change often has an installation-related cause. Typical examples are a reversed connection, a loose terminal, an air-locked suction line or the wrong filter element.
Good records also prevent the most expensive mistake in soak-back troubleshooting: replacing a working pump because the real cause was never found. If the fault returns after a pump change, your notes will show which checks were already completed and where to look next.
Pump Will Not Run: Electrical Diagnosis
Checking the supply: breaker, battery voltage and connections
Start at the source by checking the soak-back circuit breaker or fuse. A tripped breaker is a symptom, not a cause. If it trips again after one reset, stop and investigate rather than resetting it repeatedly. Repeated tripping usually points to a short circuit, a failing motor or a mechanically seized pump.
Next, measure battery voltage at rest. A weak battery bank or failing charging system can leave the motor without enough voltage to start, particularly after long idle or shutdown periods. If voltage is acceptable at rest but drops sharply when the motor is energised, suspect the batteries or a high-resistance connection.
Then inspect the wiring between the supply and the motor, including terminals, lugs, connectors and junction points. Look for:
- Corrosion
- Heat discolouration
- Chafed insulation
- Oil contamination
Finally, measure voltage at the motor terminals with the circuit energised. A large difference between source voltage and motor-terminal voltage points to resistance in the wiring or connections.
Testing the control circuit: switch, timer and contactor
If voltage is present at the source but not at the motor, the fault lies in the control circuit. Using the wiring diagram, trace it in order:
- The control switch or engine control logic that commands the pump
- The timer relay that keeps it running after shutdown
- The contactor or relay that switches motor current
Confirm that each device receives its command signal and changes state when it should. Listen for the contactor pulling in. Inspect its contacts for pitting or burning that could block current even when the coil is energised.
A drifting or failed timer produces distinctive symptoms. The pump may run during operation but stop immediately at shutdown, or it may never stop and slowly drain the batteries.
On locomotives with microprocessor control, check the diagnostic display for logged faults. Confirm that the output commanding the soak-back pump is active. If the command signal is missing, the investigation moves to the control system rather than the pump.
Checking the motor and drive
If correct voltage reaches the motor terminals but the motor still will not run, check the motor and the load it drives.
With power isolated, remove the coupling guard and try turning the coupling by hand. If it will not turn, separate the motor from the pump and turn each one individually. This shows whether the seizure is in the motor bearings or in the pump. A seized pump confirms a pump fault.
If the coupling turns freely, the problem lies with the motor or its drive. The checks depend on the motor type:
- DC motors: inspect the brushes for wear and free movement in their holders. Check the commutator for burning or heavy grooving. Test winding continuity and insulation resistance against the manual’s values.
- AC motors fed by an inverter: check the DC input voltage to the inverter, any fault indicators, and its AC output to the motor. An inverter fault can leave a perfectly healthy motor and pump sitting idle.
A clamp meter reading during an attempted start adds useful evidence. Very high current with no rotation points to a mechanical load or shorted winding. Zero current points to an open circuit.
Pump Runs but Pressure Is Low: Hydraulic Diagnosis
Verifying the reading and the oil
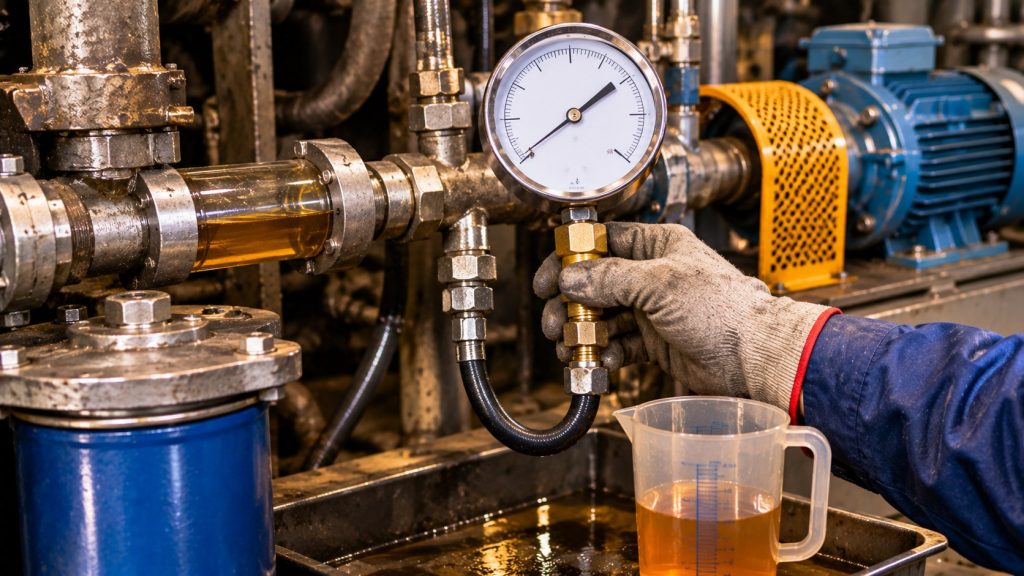
Before suspecting the pump, confirm that the low reading is real. Fit a calibrated test gauge at the circuit’s test port and compare it with the fixed gauge or sensor reading. Faulty gauges, blocked gauge lines and failing pressure senders cause many false low-pressure reports.
Next, check the oil:
- Level: confirm the sump level is within range so the pump suction is not drawing air.
- Temperature: hot oil is thinner and normally gives a lower reading than cold oil, so compare readings only at the temperatures specified in the manual.
- Condition: review recent oil analysis results if available. Fuel dilution, coolant contamination or the wrong oil grade can reduce viscosity enough to lower pressure across the whole lube system.
Also confirm that the motor is running at full speed. A motor on low supply voltage turns slower and pumps less. If voltage at the motor terminals is low while running, return to the electrical checks in Section 3 first.
Working through the suction and delivery sides
The pump can only deliver what reaches its inlet, so start on the suction side:
- Inspect the inlet strainer or screen for blockage.
- Check the suction hose for collapse, internal delamination or cracking.
- Look for air leaks at fittings and gaskets.
An air leak on the suction side often shows as foamy oil, noisy operation or a fluctuating pressure reading.
On the delivery side, start with the turbo lube filter. A blocked element raises restriction, and a filter in bypass may pass contaminated oil to the turbo. Confirm that the correct element is fitted, then inspect delivery lines and joints for external leaks.
Next, check the valves:
- Relief valve: if it is stuck partly open, it returns oil to the sump and caps pressure below specification.
- Check valve: where one separates the soak-back supply from the main lube system, a valve that fails to seat lets oil escape through the wrong path.
Finally, consider downstream wear. Excessive turbocharger bearing clearance can also reduce circuit pressure, even with a healthy pump.
Isolating the pump and confirming the fault
Once the electrical supply, oil condition, suction side, filter and valves have been checked and found good, test the pump directly.
First, confirm the direction of rotation against the arrow on the pump housing, particularly after any motor replacement or rewiring. A pump running backwards delivers little or no oil. Check the coupling insert as well. A worn or broken insert can let the motor spin without driving the pump properly.
Then perform a flow check:
- Disconnect the delivery line at a convenient point.
- Direct it into a graduated container.
- Run the pump for a timed period.
- Calculate the flow rate and compare it with the rated flow in the manual or on the nameplate, allowing for oil temperature.
Alternatively, fit a test gauge directly at the pump outlet to take the rest of the circuit out of the reading.
If the pump turns at the correct speed and in the correct direction, with a clear suction supply and good oil, but still delivers below its rated flow or pressure, the pump itself is faulty. At that point, diagnosis is complete and the unit should be removed for overhaul or replacement.
Working in this order (symptom, electrical supply, control circuit, motor, oil, suction, delivery, pump) avoids the most common and costly error: replacing a sound pump while the real fault remains in the circuit. Each check eliminates one possible cause, so when the pump is finally condemned, you can be confident the decision is correct.