

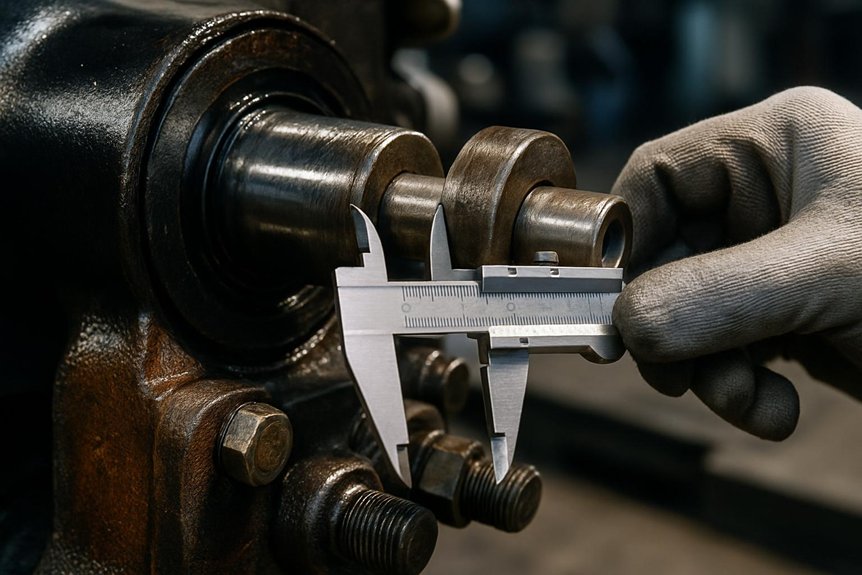
Importance of Regular Maintenance
Locomotive damper assemblies often go unnoticed until failure strikes. You’ll quickly face serious consequences when maintenance schedules slip. Corrosion risks develop rapidly in damper housings exposed to moisture and debris. These weakened components can’t absorb vibrations effectively, straining connected systems. Failure propagation becomes a real threat once one damper starts degrading. You’ll notice increased suspension wear across the bogie assembly as compensating parts overwork themselves. Neglected dampers also compromise ride stability, affecting crew comfort and cargo safety. Safety compliance standards demand consistent inspection intervals for all damper components. Rail authorities require documented proof that assemblies meet operational thresholds. Inspection documentation isn’t just paperwork; it’s your defense against liability and unexpected downtime. You should treat every inspection log as a critical safety record. Regular checks help you catch early signs of wear before they escalate. Proactive maintenance protects locomotive performance, protects passengers, and protects your operational reputation over time.
Signs of a Failing Damper Assembly
Damper assemblies rarely fail without warning signs. You’ll notice specific symptoms before complete failure occurs. Recognizing these indicators early helps you schedule timely repairs and avoid costly downtime.
Unusual Noise or Vibration
Why does a damper assembly suddenly start rattling during operation? You should treat abnormal sounds as early warnings of internal wear. Rattling often points to bearing wear inside the damper housing. Clicking noises may signal bushing degradation around mounting points. Hissing indicates hydraulic cavitation during compression strokes. Vibration at specific speeds suggests suspension resonance affecting stability. Grinding sensations typically indicate internal corrosion weakening critical components. Inspect each sound carefully to pinpoint the root cause.
The table below breaks down common noises and their causes:
| Noise Type | Likely Cause | Action Needed |
|---|---|---|
| Rattling | Bearing wear | Inspect bearings |
| Clicking | Bushing degradation | Replace bushings |
| Hissing | Hydraulic cavitation | Check fluid levels |
Addressing these symptoms early prevents further suspension resonance issues. Delaying repairs risks internal corrosion spreading throughout the assembly. You’ll extend service life by monitoring these signs consistently. Rail engineers should log every unusual sound during routine checks. This ensures safety.
Visible Fluid Leakage
Although fluid leaks seem minor, they often reveal serious seal degradation inside the assembly. You’ll often spot fluid staining along the damper’s housing or mounting points. Grease contamination can occur when compromised seals easily allow foreign particles into the chamber. Left unchecked, this leads to shaft scoring, which accelerates wear on internal components. Seal swelling also causes leaks by distorting the seal’s ability to maintain a tight fit. Rod corrosion becomes visible when leaked fluid mixes with moisture, weakening structural integrity. Inspect these areas regularly to catch failures early.
- Fluid staining near seals signals internal seal wear.
- Grease contamination inside housings indicates seal breach.
- Rod corrosion appears where fluid meets exposed metal surfaces.
Inconsistent Ride Behavior
Frequently, uneven damping surfaces as irregular bouncing or swaying during transit. You’ll notice roughness variation across different track sections during operation. Bounce rebound becomes exaggerated when dampers lose consistent resistance. Load sensitivity worsens, causing instability under varying axle weights. Ride harshness increases, especially at higher speeds or through curves. Brake influence also shifts, since inconsistent damping affects deceleration smoothness.
| Symptom | Cause | Impact |
|---|---|---|
| Roughness variation | Worn damper seals | Uneven vibration transfer |
| Bounce rebound | Degraded fluid viscosity | Delayed stabilization |
| Load sensitivity | Inconsistent piston resistance | Reduced axle control |
| Ride harshness | Damper misalignment | Passenger discomfort |
| Brake influence | Uneven damping response | Compromised deceleration |
Engineers should inspect these signs early to prevent structural fatigue.
Damper Assembly Inspection Checklist
A structured checklist keeps your damper inspections consistent and thorough. You’ll need to cover visual checks, functional tests, and mounting integrity in every session. Each step below helps you catch issues before they compromise locomotive performance.
Visual Inspection Steps
Before you inspect any damper assembly, make sure the locomotive’s fully de-energized and secured. Start with corrosion spotting across the housing and mounting brackets. Rust patches often signal moisture intrusion or coating failure. Next, focus on dent assessment along the outer casing. Dents can compromise internal alignment and reduce damping efficiency.
Check seal condition around piston rods and joints. Cracked or hardened seals point to potential leak detection issues. Fluid traces near seals confirm active leakage points.
Then, examine wear patterning on contact surfaces. Uneven wear suggests misalignment or bushing degradation.
- Look for corrosion spotting on metal surfaces and welds.
- Assess dent depth and location for structural risk.
- Inspect seals for leak detection and fluid residue.
Functional Testing During Inspection
Visual checks only reveal part of the damper’s condition. You’ll need functional tests to confirm proper performance under load. Start with a free play assessment at the mounting points and rod ends. Excessive movement indicates worn bushings or loose linkages.
Next, perform a bounce test on the locomotive body near the damper location. Watch how quickly oscillations settle after you release pressure. Rebound timing should match the manufacturer’s specified range—delayed response signals fluid degradation.
Take stroke measurement readings to verify the damper moves through its full rated travel. Restricted stroke often points to internal blockage or seal failure.
Don’t overlook temperature effects during testing. Cold conditions can mask leaks, while operational heat may reveal seal weaknesses invisible during static checks.
Mounting and Fastener Check
Since mounting hardware bears constant vibration loads, you’ll need to inspect it thoroughly. Bolts, brackets, and bushings require careful examination for wear or looseness. Check every fastener against torque specification compliance to prevent shifting during operation. Corrosion protection matters too, since rust weakens structural integrity over time. Grease or protective coatings help maintain fastener material grading standards on damper mounts.
- Inspect bolts for thread integrity inspection, ensuring no stripped or cross-threaded connections exist.
- Verify brackets sit securely, confirming alignment verification between damper and frame surfaces.
- Examine bushings for cracking, replacing any showing deformation or excessive play.
Tighten loose fasteners immediately, and document findings for future reference. Proper mounting checks extend damper assembly life markedly.
Preventive Maintenance Schedule
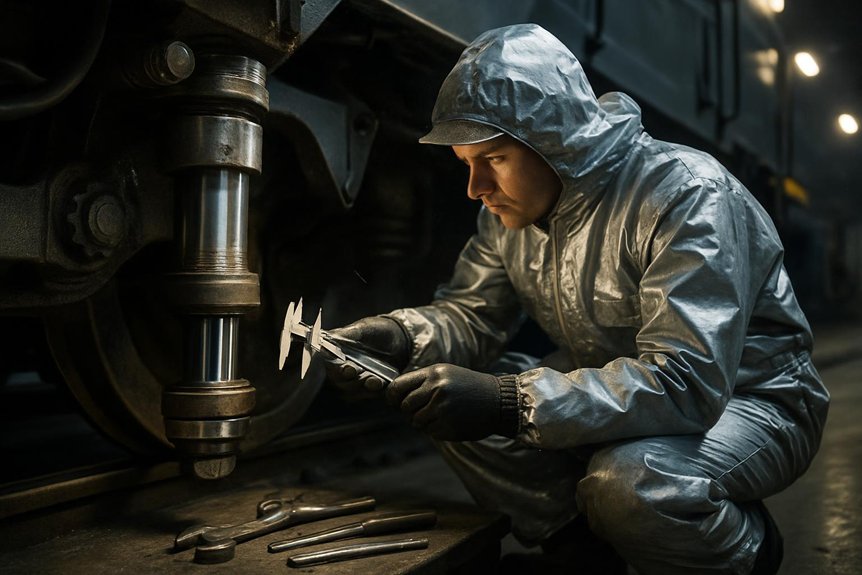
You’ll need a structured schedule to keep damper assemblies performing reliably. Daily and weekly checks catch early signs of wear before they escalate. Periodic overhaul intervals then address deeper component fatigue that routine inspections can’t reveal.
Daily/Weekly Checks
Regularly scheduled inspections keep damper assemblies functioning within safe operating limits. You should examine lubrication condition on all moving components each day. Grease points need consistent checks to prevent premature wear. Corrosion inspection matters most on exposed mounting brackets and housings. Rust weakens structural integrity over time if left unchecked.
Seal integrity requires close attention during weekly rounds. Damaged seals allow contamination that degrades damper performance quickly. Hose connections deserve careful visual checks for cracks or leaks. Loose fittings can cause pressure loss during operation.
Consider these daily checks for reliable performance:
- Verify lubrication condition and confirm seal integrity remains intact.
- Monitor temperature monitoring gauges for unusual heat buildup patterns.
- Inspect hose connections and check for early corrosion inspection signs.
Technicians catch problems before failures occur through consistent monitoring.
Periodic Overhaul Intervals
Periodic overhaul intervals often determine how long damper assemblies stay reliable. You should schedule major overhauls every 12 to 18 months, depending on duty cycles. Environmental factors, such as humidity and dust, accelerate wear on seals. Lubricant and seals need replacement during each overhaul to maintain damping performance. Temperature effects can degrade fluid viscosity, so you must verify consistency across seasons. Corrosion protection requires reapplying coatings on exposed metal surfaces. Alignment tolerances should get rechecked to prevent uneven load distribution. Technicians must inspect mounting bolts for fatigue cracks during overhauls. Always document findings to track component degradation over time. Following these intervals ensures dampers operate safely under varying rail conditions.
Step-by-Step Damper Assembly Replacement Procedure (Overview)
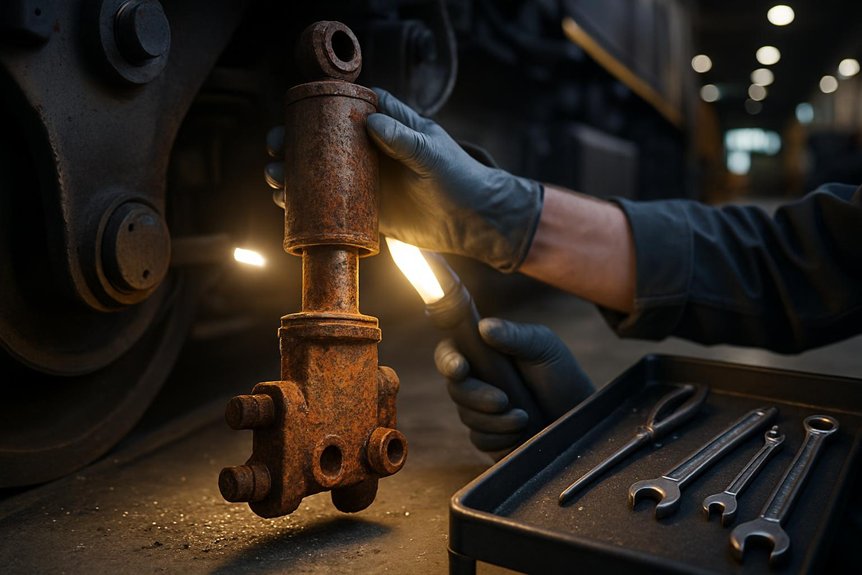
Since damper failures can compromise ride stability, technicians must adhere to a structured replacement process. You begin with safety isolation, ensuring the locomotive is de-energized and secured. Proper tool preparation follows, gathering torque wrenches, lifting equipment, and calibrated gauges. Adequate working clearance around the bogie frame allows safe access to mounting points.
Safety isolation comes first: de-energize, secure, and prepare tools before any damper work begins.
- Remove the damper assembly by detaching mounting bolts and disconnecting hydraulic lines carefully.
- Inspect the housing, seals, and mounting brackets for wear, corrosion, or cracks.
- Reinstall the new assembly, aligning brackets and tightening bolts to specification.
Torque verification comes next, confirming every fastener meets manufacturer-specified values. Testing follows reinstallation, checking damper response under simulated load conditions. Documentation records finalize the procedure, capturing torque values, part numbers, and inspection results. This structured approach reduces oversight risks and ensures consistent quality across every replacement.
Conclusion: Extending Damper Assembly Lifespan Through Proactive Maintenance
Because damper assemblies endure constant mechanical stress, proactive care validates their true service life. Consistent lubrication practices preserve sealing integrity and prevent premature wear. Environmental protection measures strengthen corrosion control across harsh operating conditions. Alignment monitoring supports suspension stability and safeguards ride quality over time. Documentation of components ensures asset traceability throughout the locomotive’s operational history. Strategic spare parts planning improves inventory readiness and reduces downtime risks.
| Maintenance Focus | Key Action | Outcome |
|---|---|---|
| Lubrication & Sealing | Scheduled greasing intervals | Reduced friction, extended seal life |
| Alignment & Stability | Routine geometry checks | Balanced suspension performance |
| Documentation & Supply | Digital tracking, stocked spares | Faster repairs, traceable history |
You’ll protect your fleet’s reliability by embedding these practices into daily operations. Mikura International remains committed to supporting rail engineers with durable, precision-engineered damper components.
Frequently Asked Questions
Can Damper Assemblies Be Repaired Instead of Replaced Entirely?
Yes, you can repair damper assemblies if repair feasibility meets strict safety assessment criteria. You’ll need to weigh cost tradeoffs against full replacement before proceeding. Technicians should evaluate wear patterns during scheduled inspection intervals to confirm repair viability. Never skip OEM approval when authorizing repairs, since unapproved modifications compromise reliability. You’re responsible for documenting every repair decision thoroughly. Prioritize safety over short-term savings whenever damper integrity remains questionable.
What Certifications Should Replacement Damper Assemblies Meet for Locomotives?
Think of certifications as a locomotive’s heartbeat monitor, quietly confirming reliability before it ever leaves the yard. You’ll want damper assemblies backed by strict safety compliance and rigorous quality assurance protocols. Emissions standards must align with railway regulatory frameworks to avoid operational setbacks. Material certifications verify that alloys withstand extreme thermal and mechanical stress. Regulatory approvals confirm assemblies meet international rail authority benchmarks. Choosing certified components protects locomotives, crews, and long-term performance.
Does Climate Affect Damper Assembly Performance in Different Regions?
Yes, climate noticeably impacts damper assembly performance across regions. You’ll notice regional humidity accelerates seal degradation, especially in tropical zones. Temperature swings in continental climates stress rubber components, causing premature cracking. Coastal areas demand superior corrosion resistance due to salt-laden air exposure. Arid regions introduce dust contamination risks, clogging seals and reducing damping efficiency. You should select dampers rated for your specific operating environment. Always verify manufacturer specifications match your region’s climatic challenges before installation.
How Long Does a Typical Damper Assembly Replacement Procedure Take?
Replacing a damper assembly feels like defusing a puzzle box, where every bolt hides a hidden clue. You’ll typically need four to six hours, depending on damper type. Safety checks come first, ensuring the locomotive’s fully isolated and secured. Downtime planning matters, since yards often schedule replacements during off-peak windows. Tooling requirements include torque wrenches and alignment gauges for precise fitting. Post install testing verifies damping response under simulated loads. Documentation procedures wrap things up, recording specs, torque values, and inspection dates for compliance.
Are Damper Assemblies Interchangeable Between Different Locomotive Models?
No, you can’t assume damper assemblies swap freely across locomotive models. Dimensional compatibility varies materially between platforms, so you’ll need thorough fitment verification first. Mounting interfaces often differ, since manufacturers design model specific mounts for particular chassis configurations. You should always consult manufacturer guidance before attempting cross-model installation. Skipping this step risks improper alignment, load distribution issues, or premature failure. Verifying specifications protects both equipment integrity and operational safety across your fleet.