This guide provides a comprehensive overview of oil specifications and maintenance practices critical for ensuring the longevity and optimal performance of locomotive engine bearings. Selecting the right oil and adhering to a strict maintenance schedule are crucial steps in preventing premature wear and costly repairs.
Understanding Locomotive Engine Bearings

Locomotive engine bearings are essential components that minimize friction between moving parts, allowing for smooth and efficient operation. Understanding the types, functions, and common issues associated with these bearings is crucial for effective maintenance and ensuring the longevity of locomotive and marine engine performance. Selecting the appropriate lubricant is paramount for optimal operation.
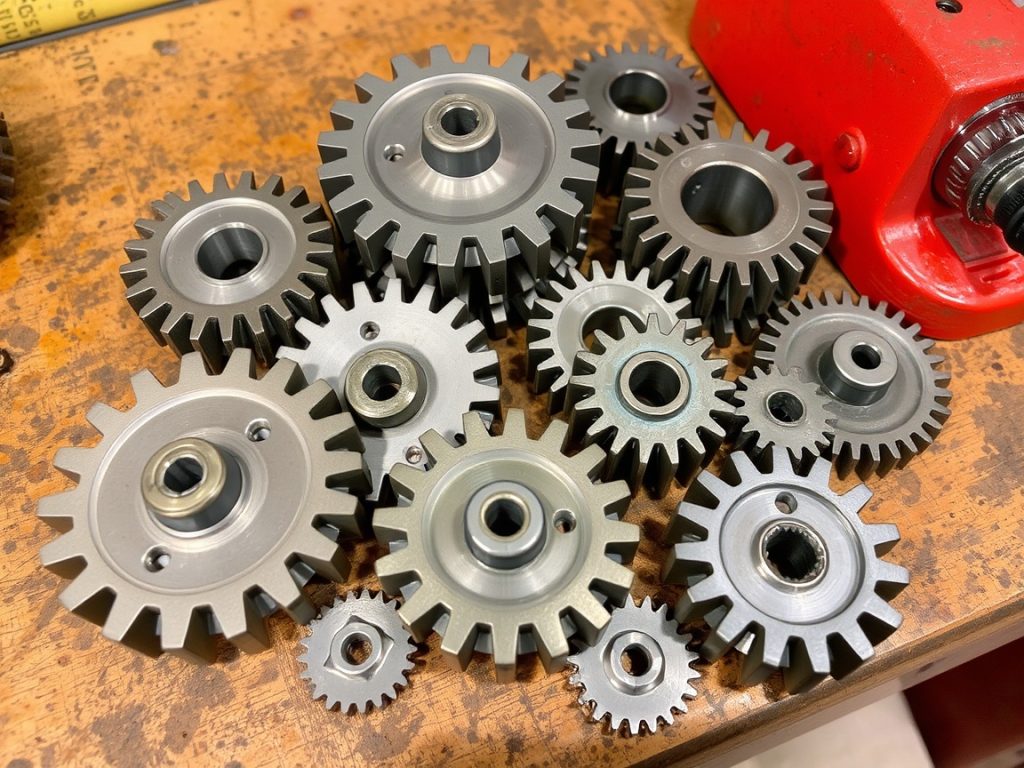
Types of Engine Bearings
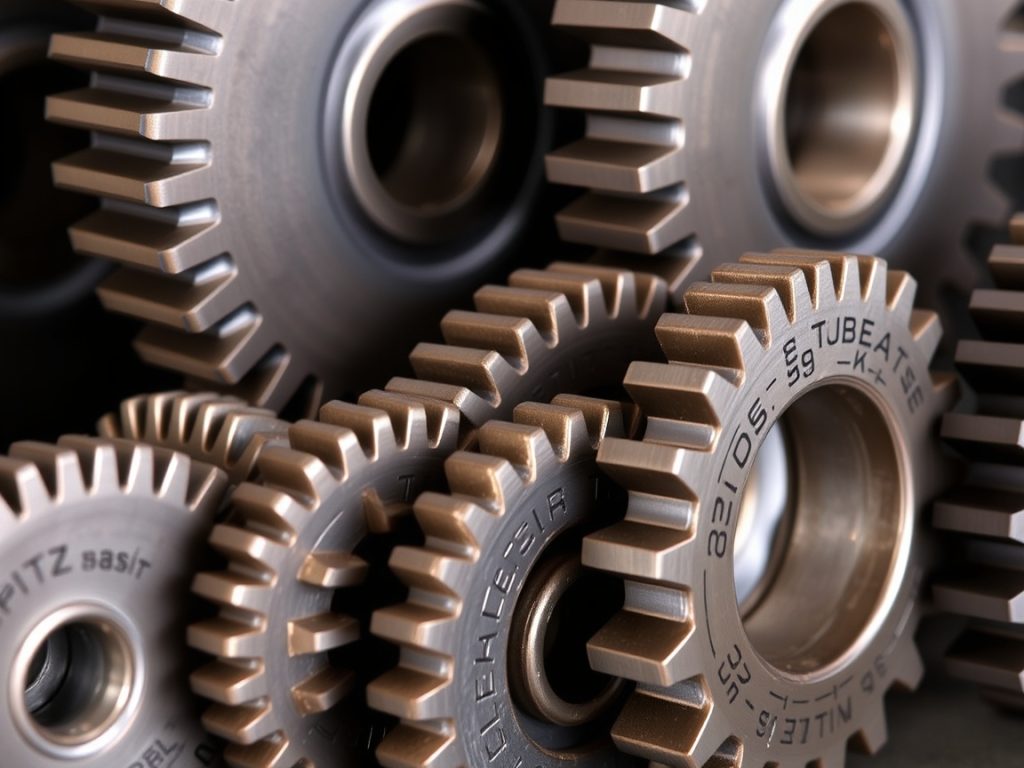
Various types of engine bearings are utilized in locomotives and marine vessels, each designed to withstand specific loads and operating conditions. These include plain bearings, roller bearings, and ball bearings. Each type of bearing has unique characteristics. Understanding these differences is important for selecting the appropriate lubricant to ensure premium performance and long life in demanding locomotive and marine engine applications.
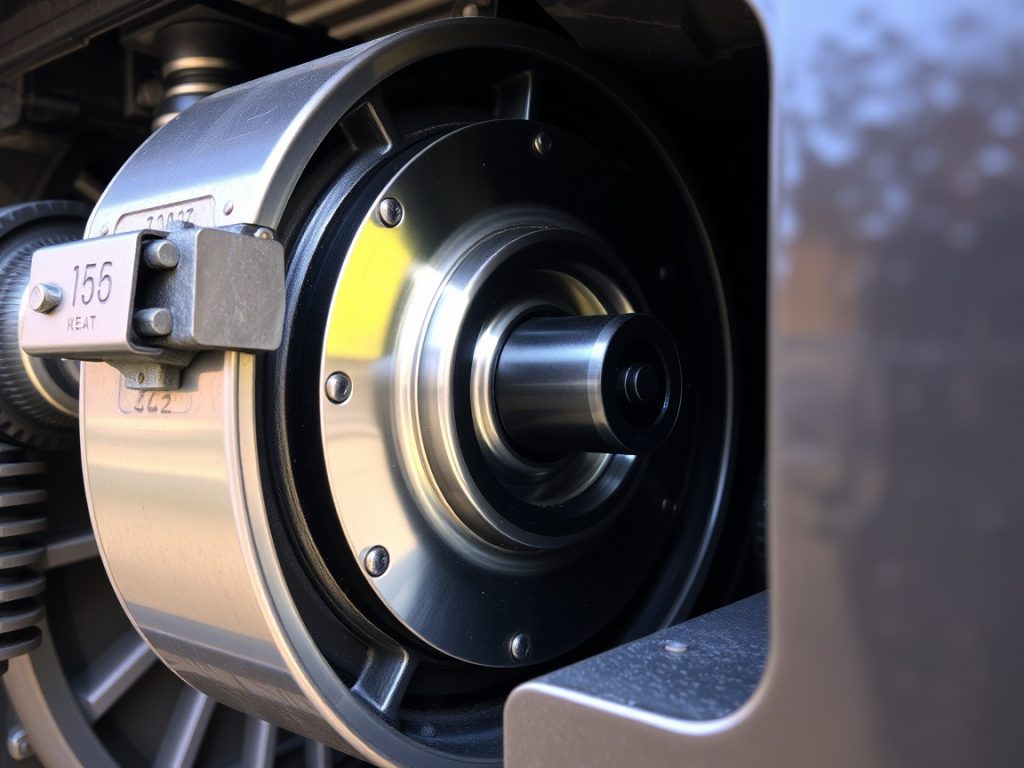
Function and Importance of Bearings
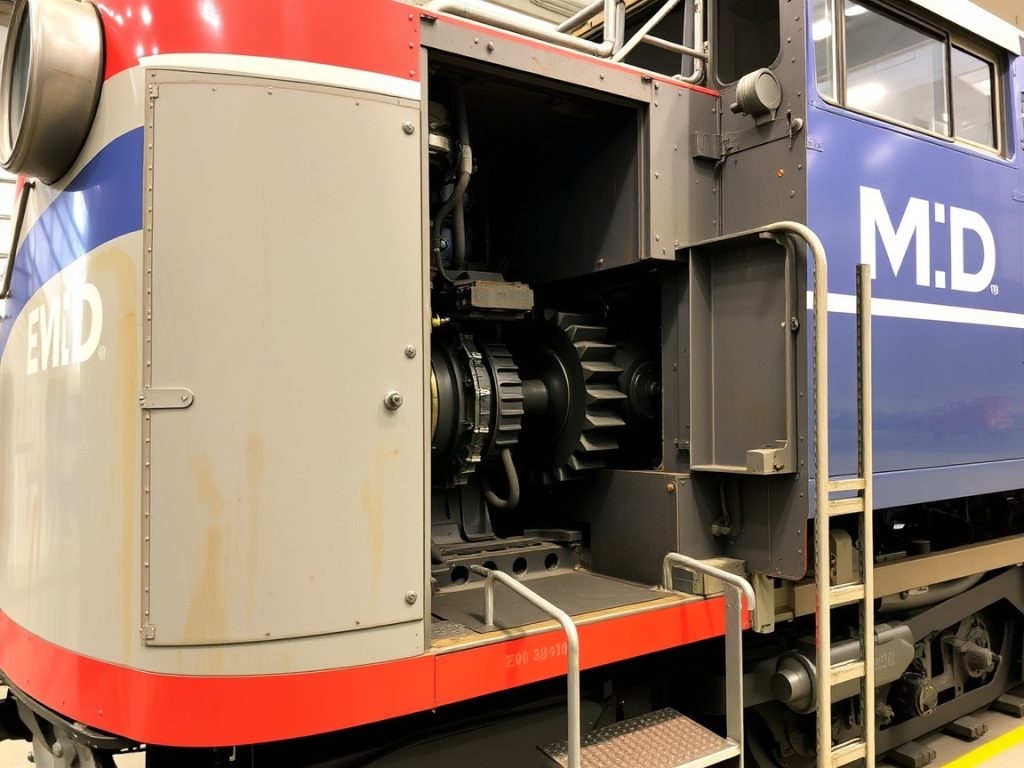
The primary function of bearings is to reduce friction between moving surfaces within the locomotive engine, enabling smooth and efficient power transfer. Bearings support the crankshaft, connecting rods, and other critical components, allowing them to rotate freely. Superior bearing function ensures optimal engine performance, minimizes wear and tear, and contributes to the overall reliability of the locomotive and marine engine.
Common Issues with Locomotive Bearings
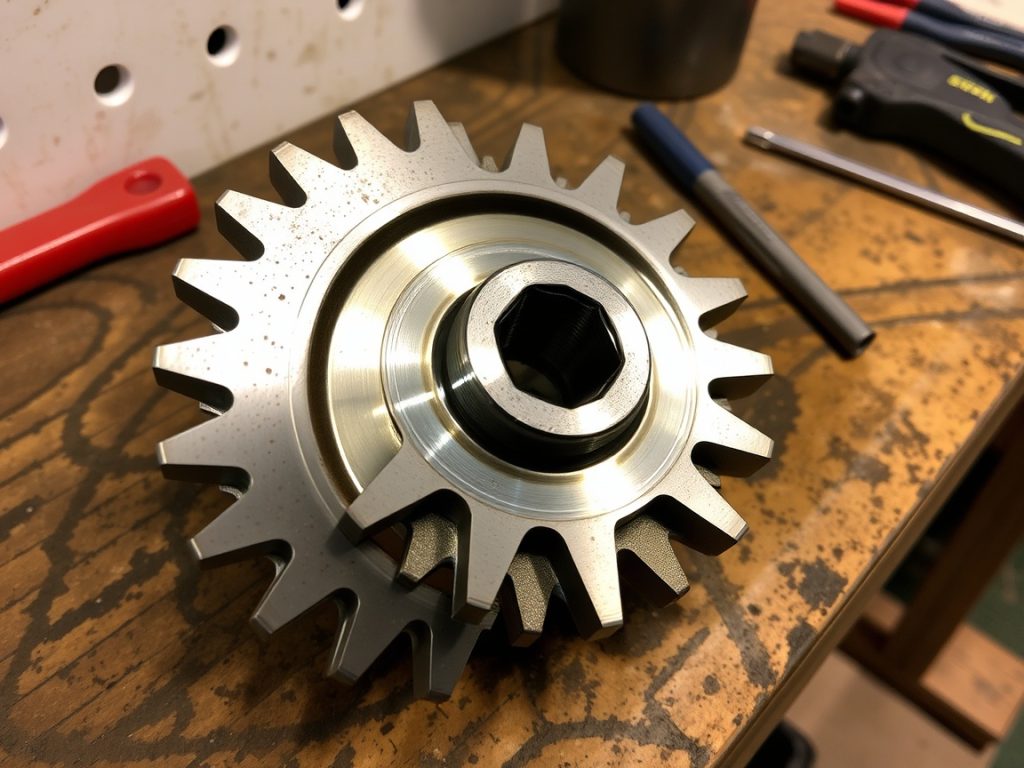
Locomotive bearings are susceptible to various issues that can compromise their performance and lifespan. These include wear, corrosion, fatigue, and contamination. Wear can occur due to inadequate lubrication or excessive loads, while corrosion can result from moisture or chemical exposure. Regular inspections and adherence to strict oil standards help prevent these issues and ensure the reliable operation of locomotive engine bearings. Mikura International understands these challenges and can provide the necessary spare parts.
Oil Specifications for Locomotive Engines
Selecting the correct locomotive oil is critical for maintaining optimal performance and extending the life of engine bearings in both locomotive and marine vessels. The right oil not only lubricates but also cools, cleans, and protects engine components from corrosion and wear. Using substandard oil can lead to premature bearing failure, reduced engine efficiency, and costly repairs. Therefore, understanding oil specifications and choosing a premium product is essential.
Types of Oils Used in Locomotive Engines
Different types of oils are used in locomotive engines. These oils can be categorized as follows:
- Mineral oils, which are derived from crude oil and are suitable for many applications.
- Synthetic oils, engineered to provide superior performance under extreme conditions.
- Semi-synthetic blends, offering a balance between cost and performance.
The selection depends on the engine type, operating conditions, and manufacturer recommendations to ensure optimum locomotive operation.
Viscosity Ratings and Their Importance
Viscosity is a measure of an oil’s resistance to flow, and it is crucial for maintaining proper lubrication in locomotive engines. The viscosity rating indicates how well the oil will perform at different temperatures. Multi-grade oils, such as SAE 15W-40, are commonly used because they provide adequate lubrication across a wide temperature range. Choosing the correct viscosity grade ensures that the oil maintains a sufficient film thickness between moving parts, preventing wear and tear on critical engine components.
API and SAE Standards for Locomotive Oil
The American Petroleum Institute (API) and the Society of Automotive Engineers (SAE) set standards for oil performance. These standards cover different aspects of oil quality and suitability, including:
- API standards, which classify oils based on their suitability for different engine types and operating conditions.
- SAE standards, which define viscosity grades.
Locomotive oils must meet specific API and SAE standards to ensure they provide adequate protection and performance. Compliance with these standards guarantees that the oil has undergone rigorous testing and meets the necessary requirements for marine vessels and locomotive applications.
Maintenance Practices for Engine Bearings
Effective maintenance practices are vital for prolonging the life of engine bearings and maintaining the performance of locomotive engines. Regular inspection, proper lubrication, and timely oil changes are essential steps in preventing premature bearing failure. By adhering to a strict maintenance schedule and utilizing advanced oil analysis techniques, operators can ensure the reliable operation of their locomotive fleets. Mikura International is committed to helping you ensure optimal locomotive performance.
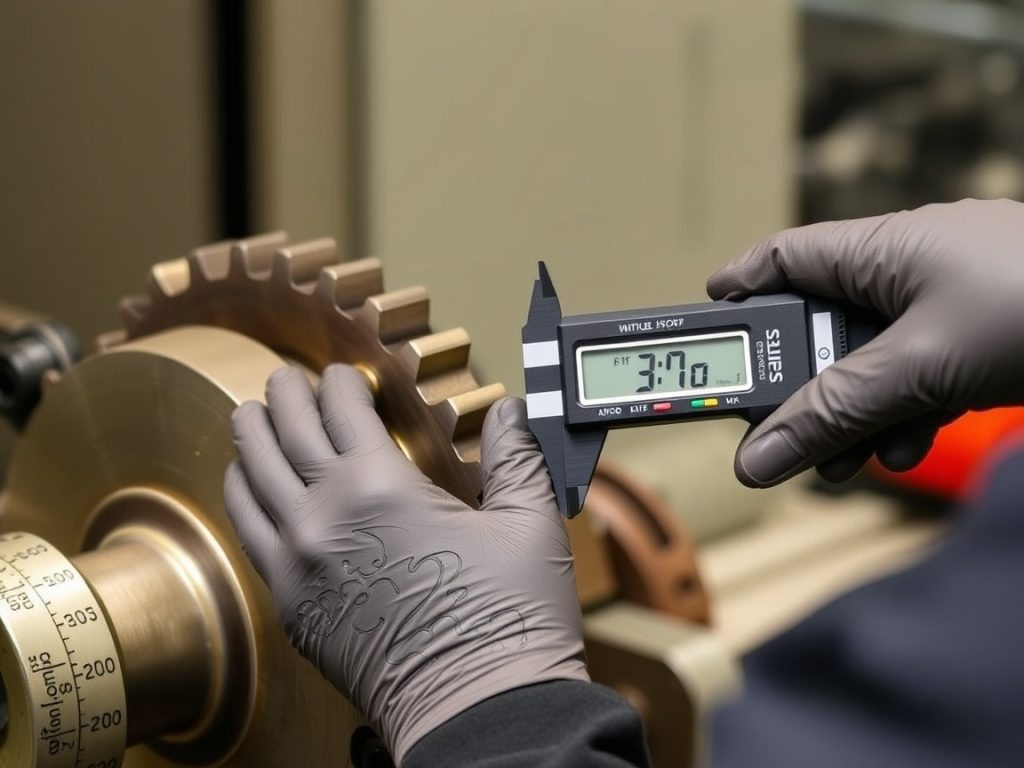
Regular Inspection and Monitoring
Regular inspection and monitoring of engine bearings are essential for identifying potential issues before they lead to catastrophic failures. Visual inspections can reveal signs of wear, corrosion, or contamination. Monitoring oil pressure and temperature can also indicate the health of the bearings. Implementing a proactive inspection program allows for early detection of problems, enabling timely intervention and preventing costly downtime.
Oil Change Intervals and Best Practices
Adhering to recommended oil change intervals is critical for maintaining the performance of engine bearings. Over time, oil degrades and becomes contaminated with dirt, debris, and combustion byproducts, reducing its ability to lubricate and protect engine components. Following the manufacturer’s recommendations for oil change intervals and using high-quality filters can ensure that the oil remains clean and effective, extending the life of the bearings and the engine. These best practices help provide superior maintenance.
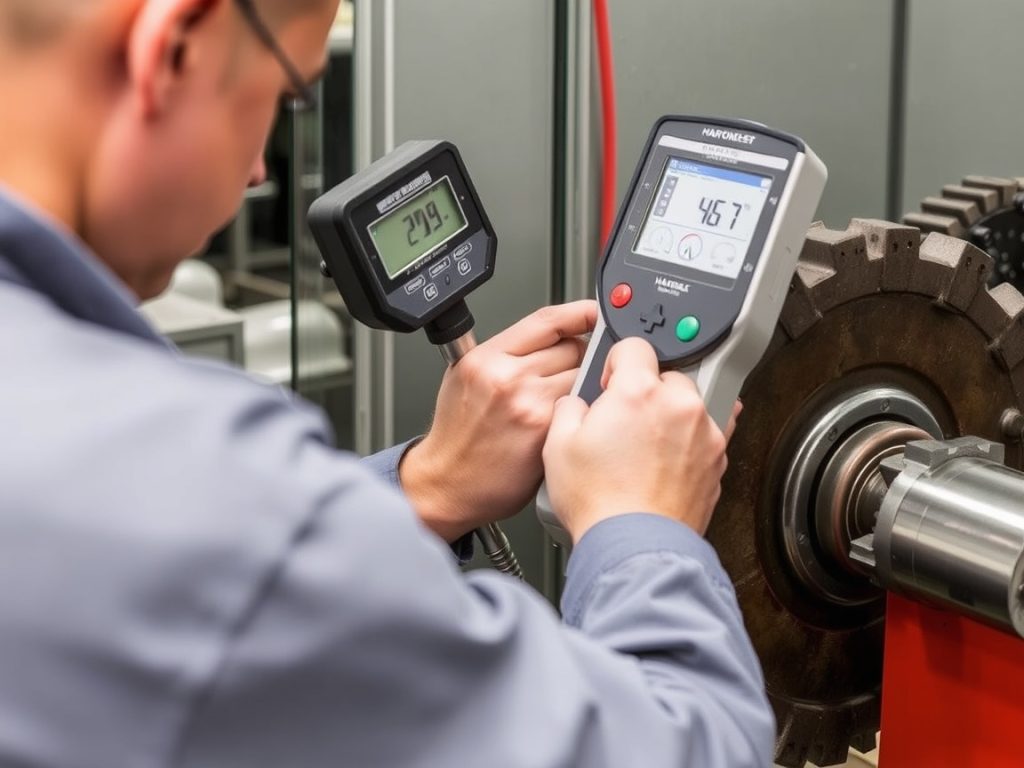
Utilizing Advanced Oil Analysis Techniques
Advanced oil analysis techniques can provide valuable insights into the condition of the oil and the engine bearings. Spectrometric analysis can identify the presence of wear metals, contaminants, and additives in the oil. Viscosity measurements can indicate whether the oil has thinned or thickened, while acid number testing can assess its level of degradation. By regularly analyzing oil samples, operators can detect potential problems early and take corrective action, preventing costly repairs and downtime. Doing so helps to ensure future reliability and long life.
Best Oils for Locomotive Engine Bearings

Recommended Oil Brands for Locomotive Bearings
Selecting the right oil brand is crucial for the optimal performance of locomotive engine bearings. While various brands claim to provide superior lubrication, it’s important to focus on those that meet or exceed industry standards. Look for brands known for their rigorous testing, quality control, and specialized formulations designed specifically for heavy-duty applications. Consider brands that have a proven track record, as these are more likely to ensure the longevity and reliability of your bearings.
Choosing Oil Based on Operating Conditions
The selection of locomotive oil should also be influenced by the specific operating conditions of the engine. Factors such as ambient temperature, load, and duty cycle can all affect oil performance. In high-temperature environments, synthetic oils may be preferable due to their superior thermal stability. For engines operating under heavy loads, consider oils with enhanced anti-wear additives to provide additional protection. Matching the oil to the operating conditions will ensure optimal lubrication and prolong the life of engine bearings and associated components.
Impact of Quality Oil on Bearing Longevity
The quality of oil used in locomotive engines has a direct impact on the longevity of bearings. High-quality oils contain additives that reduce friction, prevent corrosion, and dissipate heat, all of which contribute to extending bearing life. Conversely, using low-quality or unsuitable oil can lead to premature wear, increased friction, and potential bearing failure. Investing in a premium oil that meets or exceeds the manufacturer’s specifications is a cost-effective way to ensure the reliable performance and longevity of your locomotive engine bearings.
Expert Insights on Locomotive Engine Maintenance
Common Mistakes to Avoid
Several common mistakes can compromise the effectiveness of locomotive engine maintenance, including neglecting regular inspections, using the wrong type of oil, and failing to adhere to recommended oil change intervals. Overlooking these seemingly minor details can lead to significant performance issues and costly repairs. Another frequent error is ignoring early warning signs of bearing distress, such as unusual noises or elevated temperatures. Avoiding these mistakes is essential for ensure optimal locomotive engine performance and extending the life of critical components.
Tips from Industry Experts
Industry experts emphasize the importance of proactive maintenance strategies to ensure the longevity and reliability of locomotive engines. One key tip is to conduct regular oil analysis to monitor its condition and identify potential problems early on. Experts also recommend using high-quality filters to remove contaminants and prevent wear on bearings and other critical components. Furthermore, they advise closely following the manufacturer’s recommendations for lubrication and maintenance schedules to provide the best possible performance and protection.
Future Trends in Locomotive Engine Oil Technology
The future of locomotive engine oil technology is focused on developing more sustainable and high-performance lubricants. Researchers are exploring the use of bio-based oils and advanced additives to reduce environmental impact and improve engine efficiency. Nanotechnology is also being applied to create oils with superior friction-reducing and wear-resistant properties. These advancements promise to provide enhanced protection for locomotive bearings, extending their lifespan and reducing maintenance costs. Mikura International stays abreast of these developments to ensure we provide the best possible parts and advice.
FAQ
Q: What are the key oil specifications for locomotive engine bearings?
A: The key oil specifications for locomotive engine bearings typically include viscosity grade, detergent and dispersant levels, and anti-wear additives. It is essential to follow the manufacturer’s guidelines to ensure optimal performance and longevity of the bearings.
Q: How does oil viscosity affect locomotive engine performance?
A: Oil viscosity plays a crucial role in the lubrication of locomotive engine bearings. The right viscosity ensures that the oil can effectively reduce friction while maintaining a proper film thickness under varying temperature and load conditions, similar to requirements in a marine engine.
Q: What maintenance practices are recommended for locomotive engine bearings?
A: Recommended maintenance practices include regular oil changes, monitoring oil levels, checking for contamination, and inspecting bearing surfaces for wear. Following these practices helps ensure the efficient operation of the bearings, akin to maintenance protocols in marine engines.
Q: How often should oil be changed in locomotive engine bearings?
A: The frequency of oil changes depends on operating conditions and the type of oil used. Generally, it is recommended to change the oil every 500 to 1,000 hours of operation, but this may vary based on specific locomotive and environmental factors.
Q: What are the signs of oil degradation in locomotive engine bearings?
A: Signs of oil degradation include increased engine temperature, unusual noises from the bearings, visible discoloration of the oil, and the presence of metal particles in the oil. Regular oil analysis can help detect these issues early.
Q: Can marine engine oil be used in locomotive engine bearings?
A: While some marine engine oils may meet the viscosity and performance requirements for locomotive engine bearings, it is essential to consult the manufacturer’s specifications before using marine oil to ensure compatibility and efficacy.
Q: What additives are important in oil for locomotive engine bearings?
A: Important additives for oil used in locomotive engine bearings include anti-wear agents, detergents, dispersants, and antioxidants. These additives help maintain oil performance and protect against wear and corrosion, similar to the needs in marine engine applications.
Q: How does temperature affect oil performance in locomotive engines?
A: Temperature significantly impacts oil performance in locomotive engines. High temperatures can lead to oil thinning and reduced lubrication effectiveness, while low temperatures can cause the oil to become too viscous. Maintaining optimal operating temperatures is critical for bearing longevity.
Q: What role does oil filtration play in locomotive engine bearing maintenance?
A: Oil filtration is crucial in maintaining clean oil in locomotive engine bearings. Effective filtration helps remove contaminants that can cause wear and damage to the bearings, thus prolonging their life and enhancing engine performance.